I was still getting a dribble of water in boot after heavy rain (and yes, we've had heavy rain!). However, it wasn't coming in from the light seals, so was a bit confused.
Then whilst doing some cavity waxing on the back arches.
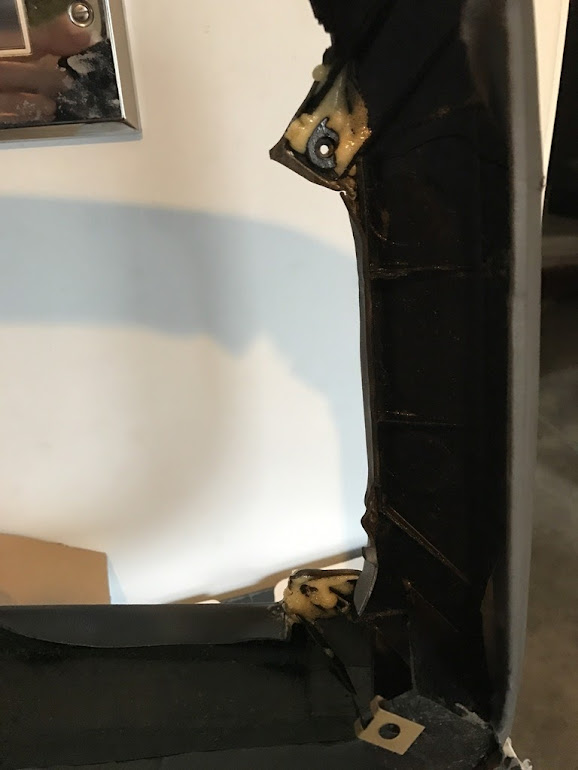
I noticed the near side was like this (this was after Cavity waxing) - We're looking in through the hole the plastic flappy vent normally occupies.

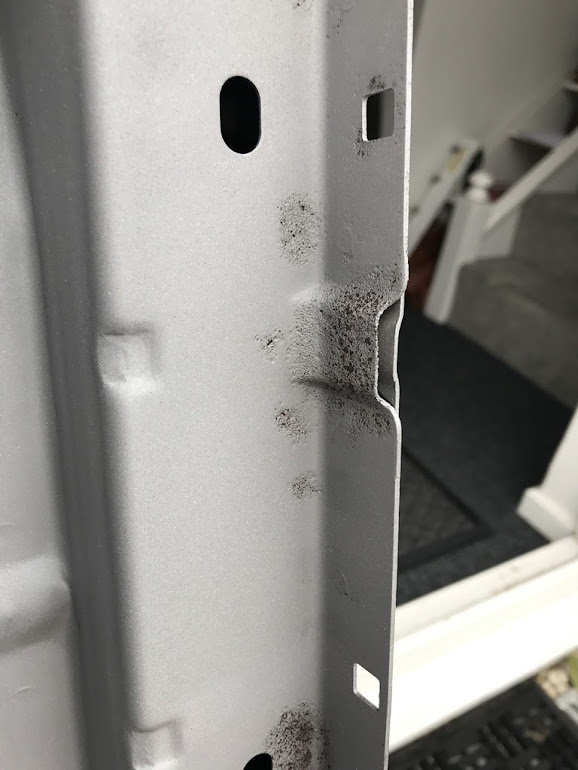
when I went to the OS, it was like this:

Now, if you look carefully, there's a hole on the "floor" of the section, but on the O/S, you can just make out a drainage hole, on the side, running parallel to the floor hole. Not so on the NS!
So, under heavy rain, water would build up here (its a drainage point for the sunroof amongst other things), drain for the floor hole into the bumper sponges, and the Side hole drains out into the bumper cavity behind the arch liner. However, as it couldn't drain out to the side hole, it would fill up, and very slowly work it's way through the seam.
Needless to say, the hole is now cleared (build of debris) and both areas thoroughly cavity waxed!

The plastic side vents then went back with some butyl tape sealing the edges for good measure.
Speaking of Butyl tape, I've got plenty to remove as I'm now running without side bumpers...

As you can see, whilst I've got a great bumper bar, I've got lots of bodywork to do! Only the roof has escaped damage.