Broken seat-belt arms
Posted: Tue Sep 14, 2021 8:49 am
Most of us have been there - the impatient mother-in-law/clumsy friend (here insert an appropriate person) insists they can get into the back without moving the seat-belt arm (here insert any other appropriate scenario) and there is the snapping sound of another piece of unobtanium biting the dust 

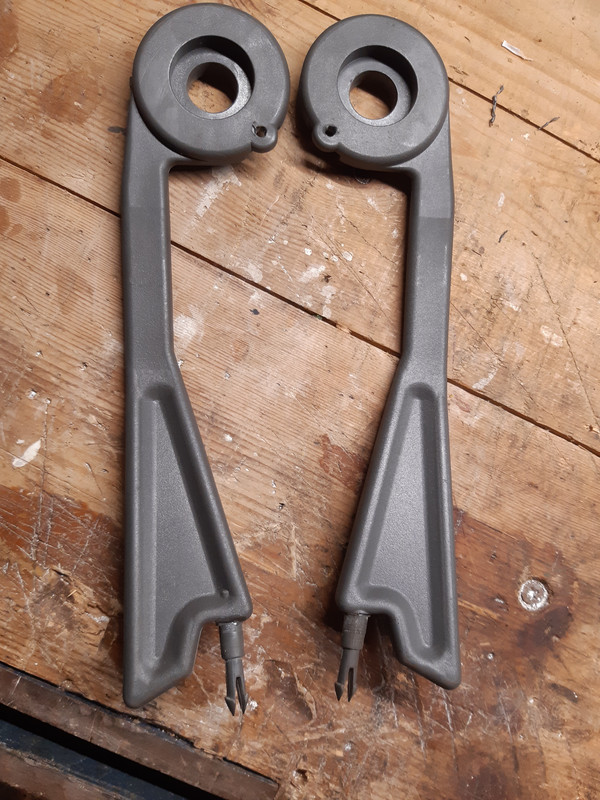
Although not the only point they can break, the usual problem is that the small prong that holds the roller fitment snaps off:
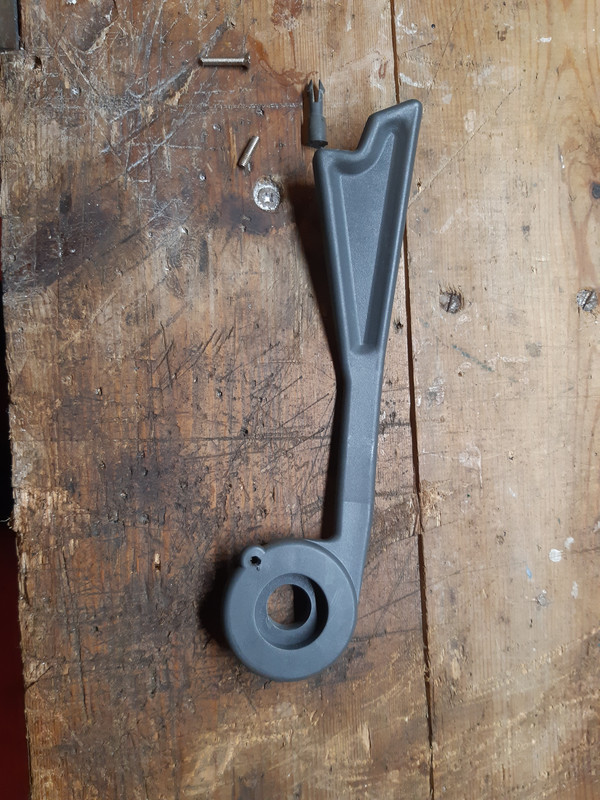
Having seen mention of repairing these in a number of places, and given that these arms are simply a convenience and not an integral part of the seatbelt (which in my view should never be repaired) I thought I'd give it a go and do a "How To" at the same time.
Usually when these prongs snap off it isn't a clean break, meaning you can easily see exactly what angle they need to go back on.
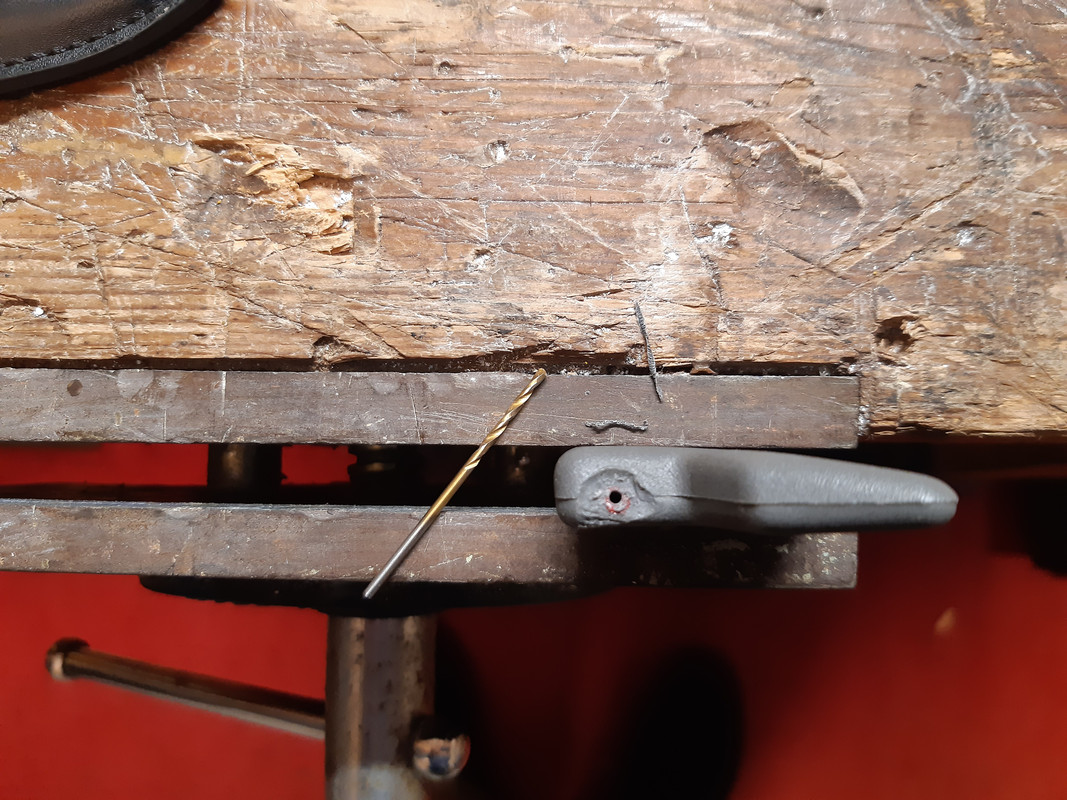
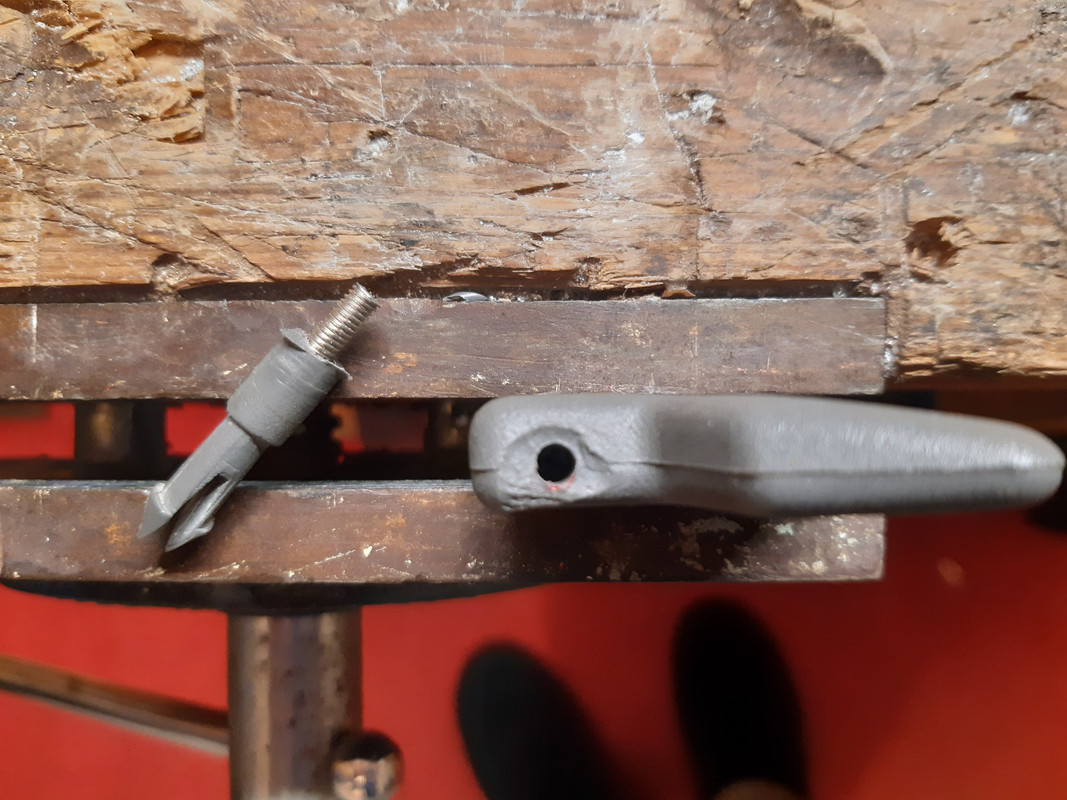
Take a blunt ended (ie not self-tapping screw) and cut it to about 1 cm length - I used a screw designed for fixing a household socket to its back-box, because it is a good width and has a fine thread, meaning it should get a good grip. You can see it on the bench in the above photo - discard the part with the head on it.
Then carefully put a blob of paint in the centre of the broken end of the prong and gently press it into position against the rest of the arm - that will give you a location mark for drilling:
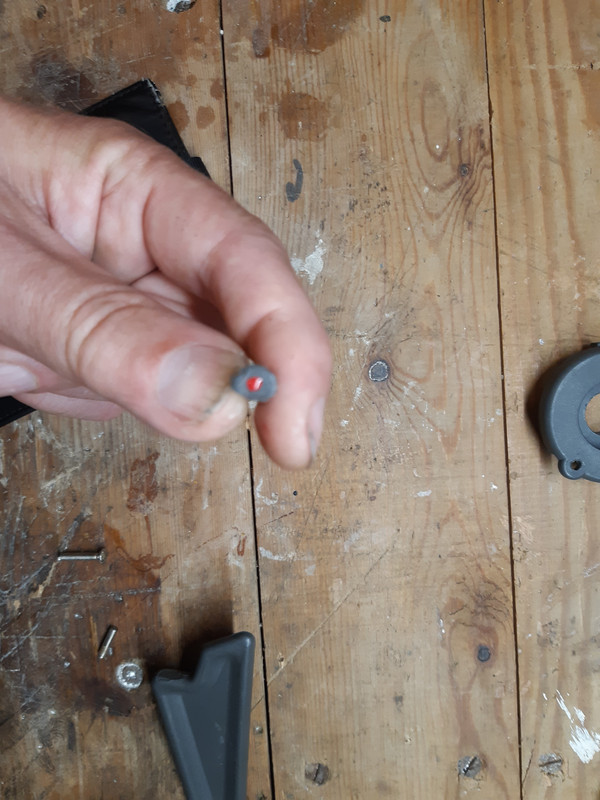
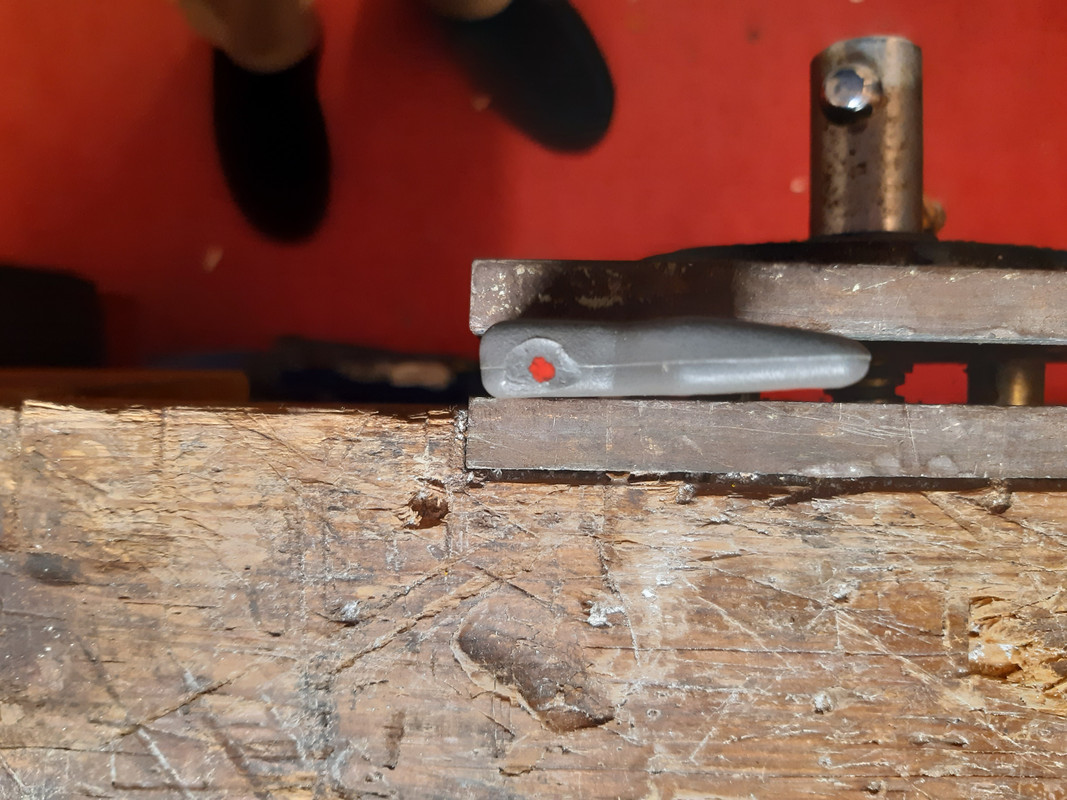
I used some red acrylic modelling paint but anything that isn't instantly dry would do...
Although not the only point they can break, the usual problem is that the small prong that holds the roller fitment snaps off:
Having seen mention of repairing these in a number of places, and given that these arms are simply a convenience and not an integral part of the seatbelt (which in my view should never be repaired) I thought I'd give it a go and do a "How To" at the same time.
Usually when these prongs snap off it isn't a clean break, meaning you can easily see exactly what angle they need to go back on.
Take a blunt ended (ie not self-tapping screw) and cut it to about 1 cm length - I used a screw designed for fixing a household socket to its back-box, because it is a good width and has a fine thread, meaning it should get a good grip. You can see it on the bench in the above photo - discard the part with the head on it.
Then carefully put a blob of paint in the centre of the broken end of the prong and gently press it into position against the rest of the arm - that will give you a location mark for drilling:
I used some red acrylic modelling paint but anything that isn't instantly dry would do...