How to replace the rear washer nozzle - The Guide
Posted: Sun Jun 21, 2020 4:59 pm
So I have now successfully completed this operation, I will now write this so others can benefit from it.
Those who try to remove the nozzle will find that it cannot be simply pulled out and replaced, it is a rather more complex process.
Step 1: remove the C-Pillar trim
On first inspection this is a very solid piece of 480 trim, in order to remove it one has to look for the two brass coloured C-clips that hold it in place. These can be found hiding underneath the boot seal.
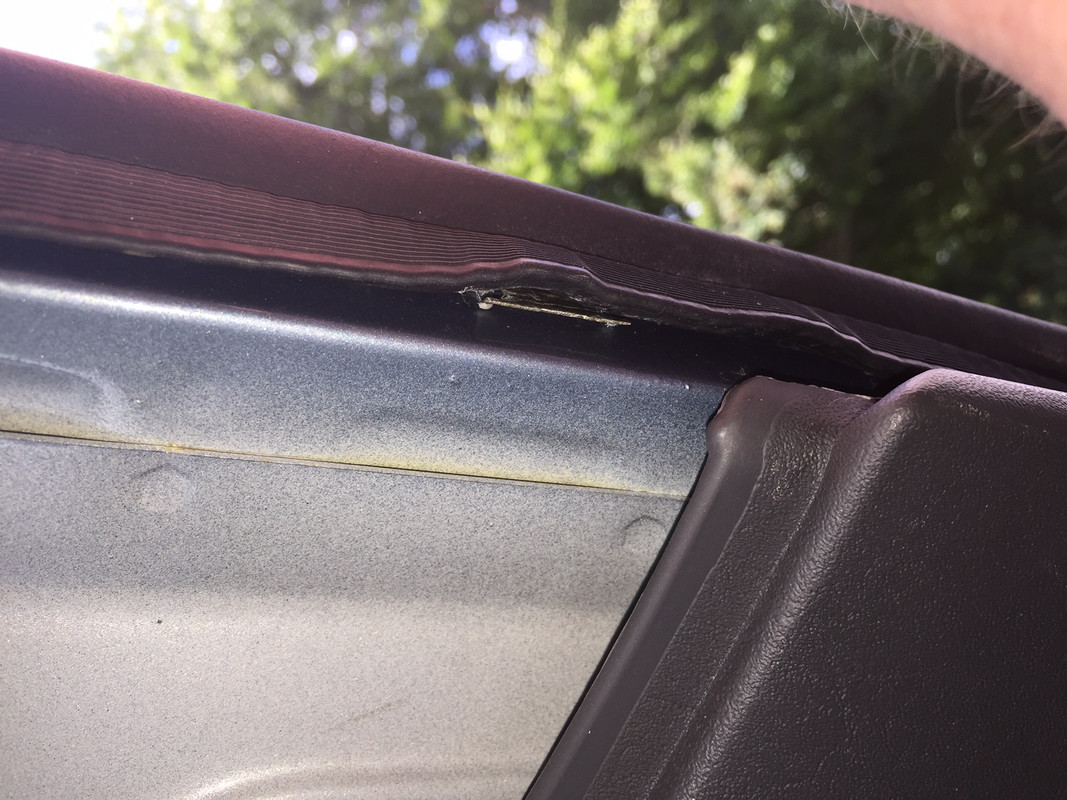
Now one can choose to be 'brutal' with them and eventually the piece will come out, but that runs the risk of snapping stuff. As I didn't quite know what I was doing, I loosened the rear wheel/seat belt trim that includes the storage bins, allowing me to pry the window side of the C-Pillar trim out with a screwdriver, it should just pop out gently.
For the C-Clips in the boot seal, just gently push them with a flathead and again the piece should pop out. Again you could be brutal but I can't recommend it
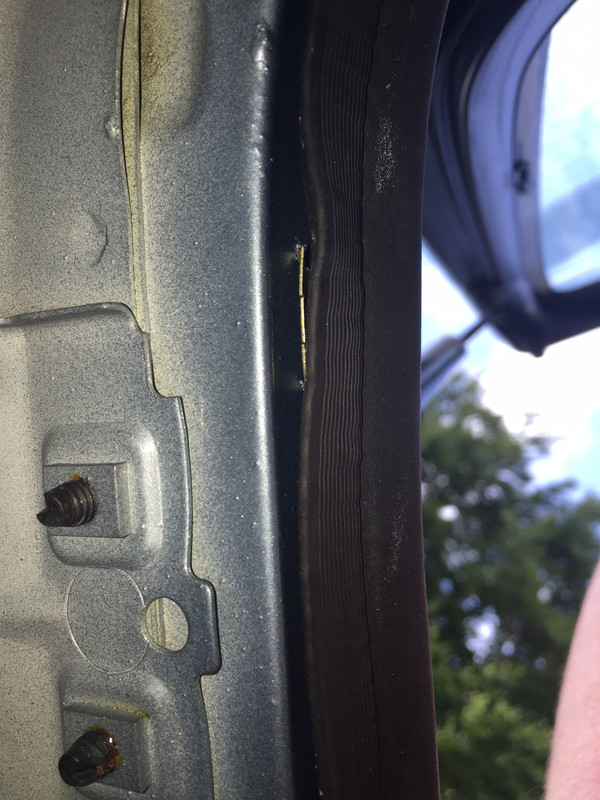
you should now see the exposed pillar:
Step 2: Undoing the nut

This sounds simple, but is more difficult than it sounds. The nut is located in a position which means that it cannot be got at by a spanner at all, or a ratchet easily. If you remove the water hose first, then a ratchet might do the job, however, I used a pair of pliers to slowly spin the nut until it came out. Be very careful at this stage as the nut can all to easily fall into the depths of the C-pillar, and I doubt many people want to structurally compromise their car in the name of a nut .
.
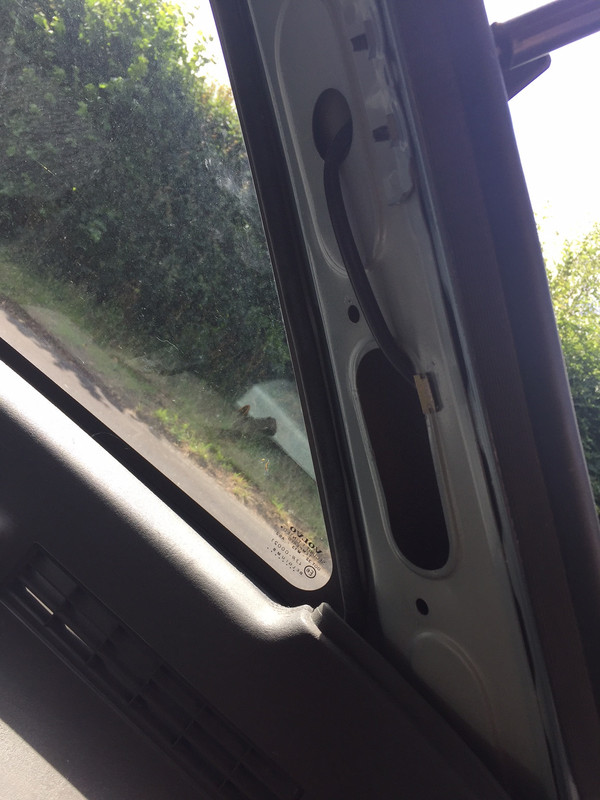
Step 3: Replacing the Nozzle
Perhaps the simplest part of the job is slotting the new nozzle unit into the hole. The nut can be seen to be difficult to replace so it is vital that the nut is placed onto the thread, but with the water hose attached behind it so it cannot fall off before you tighten it. The tightening can only be done with pliers unless you have a special tool the existence of which I am unaware of.
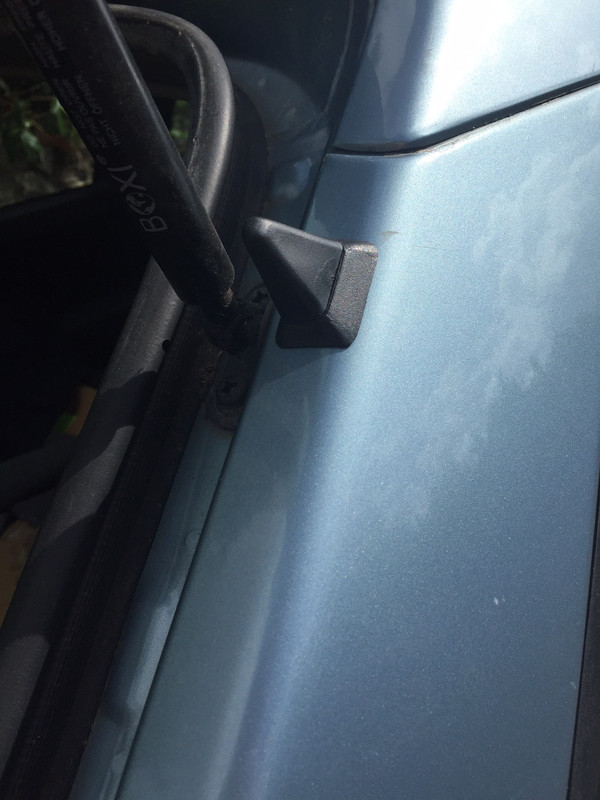
Step 4: Refitting the trim
"Refit is the reverse of removal" - St Haynes, Patron of lies and Misery
This is actually fairly straightforward, if you are well versed in 480 trim you shouldn't be phased. The C-Pillar trim just slots and clips in, and if you did loosen the seat belt/boot trim, then replace the screws as necessary.
One of the cases where that old saying does ring true
Conclusion
The first job I have carried out and completed unassisted physically, and I must say I am quite proud (I am probably blissfully unaware).
It is a fairly simple job, but the nut is in a really awkward position and so that is definitely a curveball
Many thanks to all who advised me before I set out
I hope this helps someone one day, please let me know if there is anything I have missed or if there is a better way of doing things
Good Day!
Ben
Those who try to remove the nozzle will find that it cannot be simply pulled out and replaced, it is a rather more complex process.
Step 1: remove the C-Pillar trim
On first inspection this is a very solid piece of 480 trim, in order to remove it one has to look for the two brass coloured C-clips that hold it in place. These can be found hiding underneath the boot seal.
Now one can choose to be 'brutal' with them and eventually the piece will come out, but that runs the risk of snapping stuff. As I didn't quite know what I was doing, I loosened the rear wheel/seat belt trim that includes the storage bins, allowing me to pry the window side of the C-Pillar trim out with a screwdriver, it should just pop out gently.
For the C-Clips in the boot seal, just gently push them with a flathead and again the piece should pop out. Again you could be brutal but I can't recommend it
you should now see the exposed pillar:
Step 2: Undoing the nut
This sounds simple, but is more difficult than it sounds. The nut is located in a position which means that it cannot be got at by a spanner at all, or a ratchet easily. If you remove the water hose first, then a ratchet might do the job, however, I used a pair of pliers to slowly spin the nut until it came out. Be very careful at this stage as the nut can all to easily fall into the depths of the C-pillar, and I doubt many people want to structurally compromise their car in the name of a nut
Step 3: Replacing the Nozzle
Perhaps the simplest part of the job is slotting the new nozzle unit into the hole. The nut can be seen to be difficult to replace so it is vital that the nut is placed onto the thread, but with the water hose attached behind it so it cannot fall off before you tighten it. The tightening can only be done with pliers unless you have a special tool the existence of which I am unaware of.
Step 4: Refitting the trim
"Refit is the reverse of removal" - St Haynes, Patron of lies and Misery
This is actually fairly straightforward, if you are well versed in 480 trim you shouldn't be phased. The C-Pillar trim just slots and clips in, and if you did loosen the seat belt/boot trim, then replace the screws as necessary.
One of the cases where that old saying does ring true
Conclusion
The first job I have carried out and completed unassisted physically, and I must say I am quite proud (I am probably blissfully unaware).
It is a fairly simple job, but the nut is in a really awkward position and so that is definitely a curveball
Many thanks to all who advised me before I set out
I hope this helps someone one day, please let me know if there is anything I have missed or if there is a better way of doing things
Good Day!
Ben