here is a little doorboards how-to, i've made them last summer. i've posted it on a german forum a year ago and i thought maybe its usefull for some of you also.
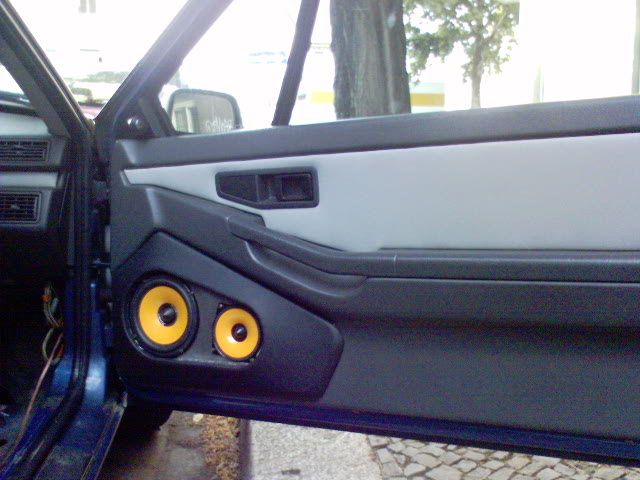
the idea was to put a hertz 3-way system in the doors (the tweeters are in the mirror-corners) this one: http://www.audison.de/hertz/energy/esk163s.html
i'll upload the pics first and write the text tommorow
EDIT: i forgot to write the text
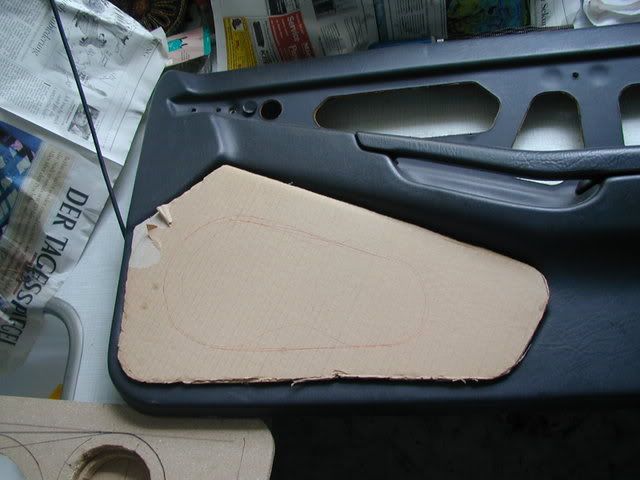
at first i started with the design, well i've seen this design on others 480 so it was nothing new.
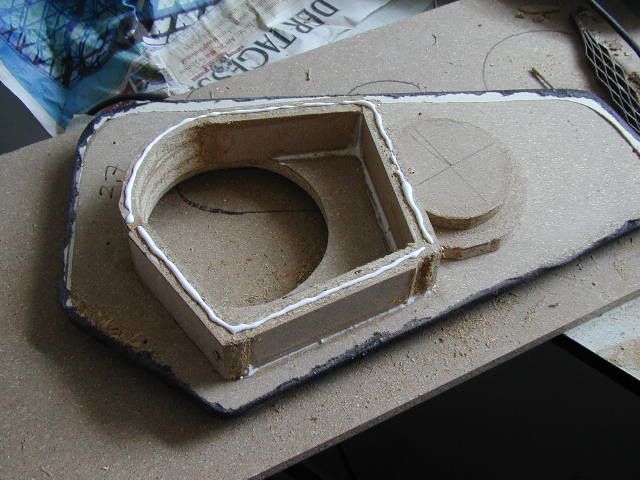
cut out the right shape out of cardboard and aplly it to wood (i used 10mm ones - this is enough if you plan to cut the frequencies under 60Hz)
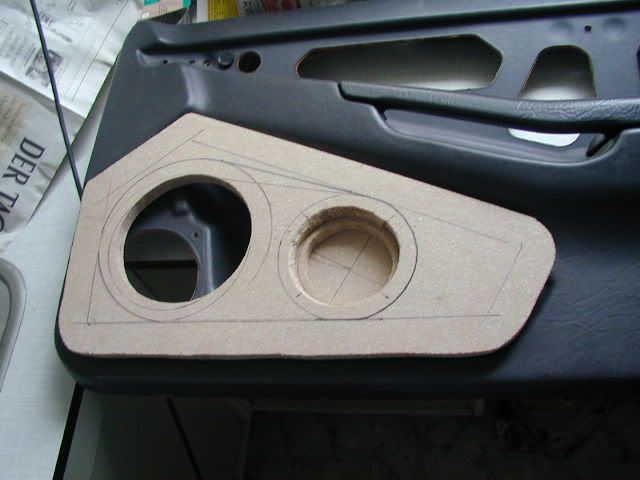
position the board and make holes for the speakers. at this point you have to consider the depth of each speaker and the desired volume, since there isnt much space beneath the doorcards (side impact bar and the window)
the surface where the doorboards are placed isnt even, so the board has to be modified a little to make sure there are no gaps afterwards.
next carefully cut out two frames. the smaller is needed to make a detachable speaker cover, the outer frame will be glued on the board to create a better look
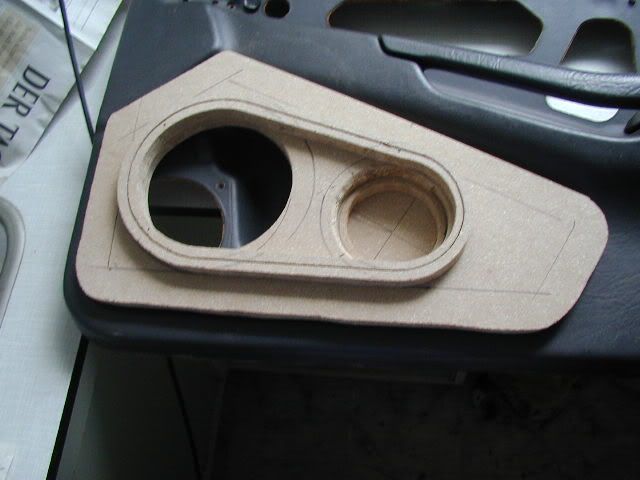
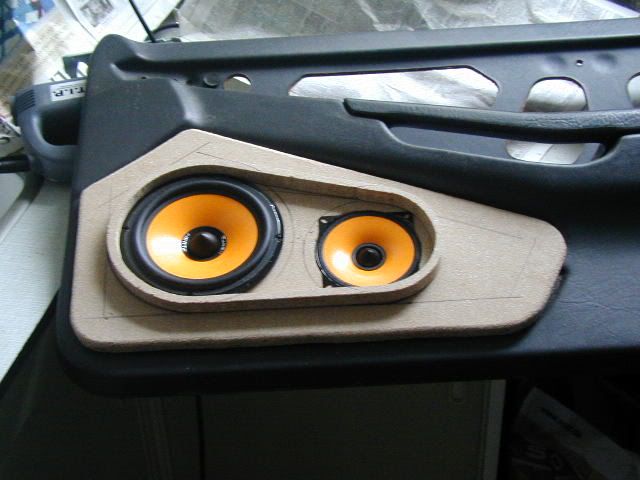
place the speakers and be happy cause it looks so sweet...
at this point i already have grinded the edges of the board
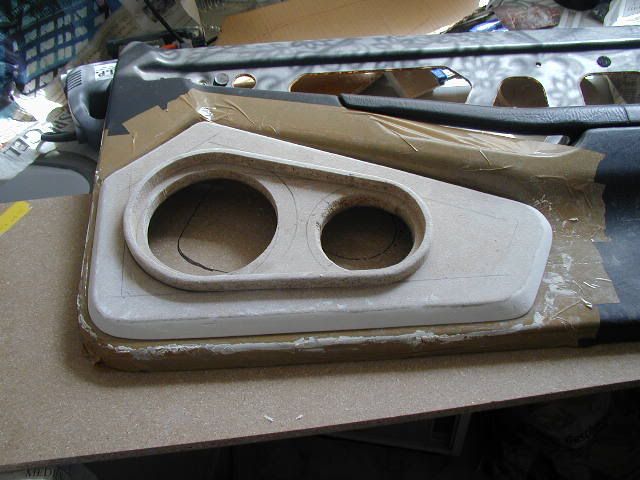
glue the outer frame to the board and grind the edges in the same way. the edges should have the same radii to make sure it looks good afterwards.
the next step is to mask the doorcard with duct tape, fix the doorboard to the doorcard (with screws from the inside - i used about 10 of them to make sure the board is fixed rigidly)
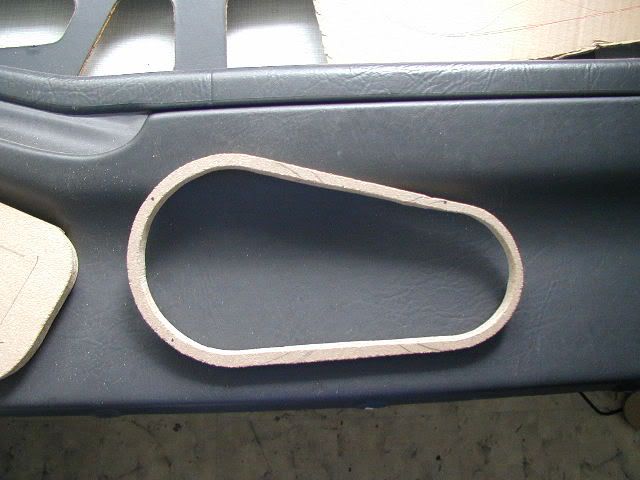
fill the edges around the board with filler and unse sandpaper to create a smooth surface (unfortunately i dont have the pics for each step - the next pic is the result of it)
i have to say that this method is a bit complicated, but will lead to better results because the board fits better to the doorcard, for the other side i decided to make this shape right out of the wood, at the first look you dont see any differences but the filler method is still better.
the next step is to create a smooth surface around the board and the frame on the top of it. cover the whole with an old t-shirt or something and fix it on the undersite. apply some epoxi with a brush and wait till the form becomes hard.
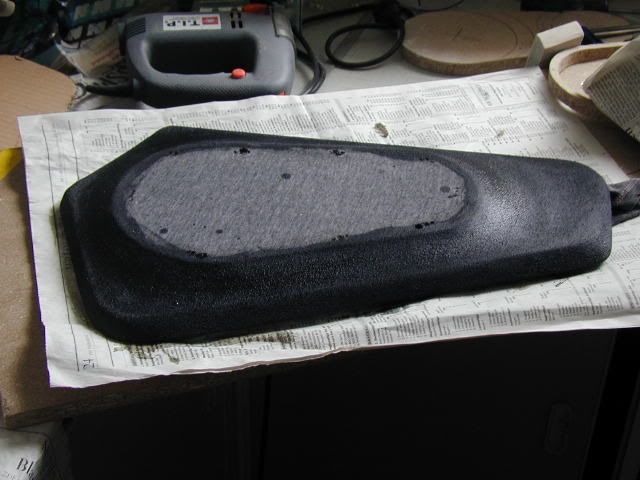
sand it a bit for a smother surface
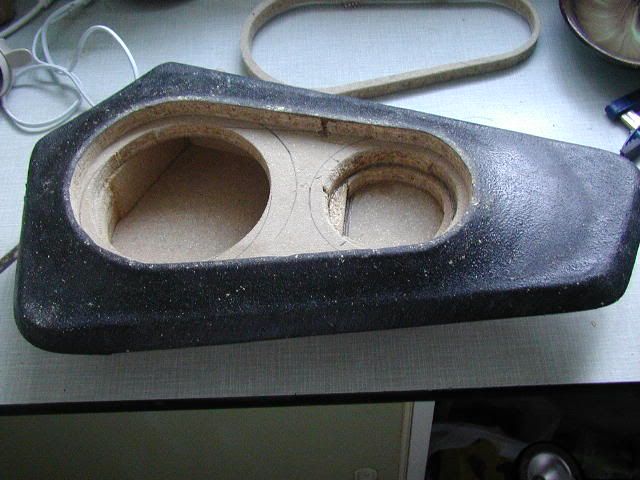
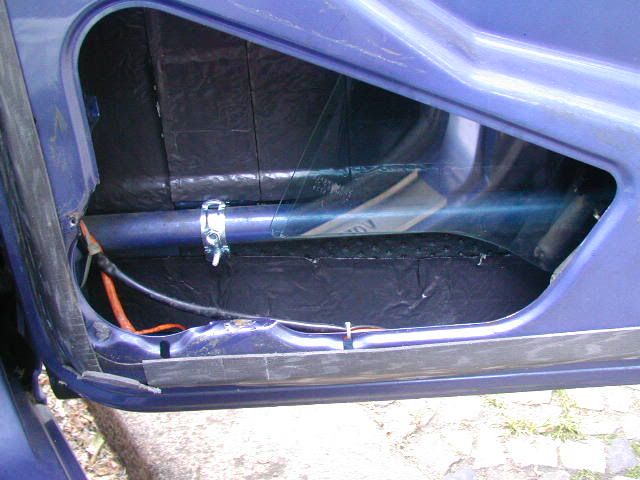
now create an enclosed volume for the speakers - this is very important if you want any good sound and no vibrations at higher volumes. the midrange and the high-midrange speakers should have their own voluminas (actually no volume is needed for the high-mid speaker because of the frequencies, i only covered it to make sure that no humidity will damage it)
carefully measure the available space in the door before creating the enclosed volume (each speaker has its optimal volume for best sound, in my case its 8 litre, but there where only around 5l possible
make sure that you open the window before measuring
in the next pic you also see the mounting for the doorborads, since the doocard is now a lot heavier, it has to be fixed to the door. i used this fixing things (
the doorboard is now fixed with this thingy (the screw is under the speaker on the bottom of the enclosed volume) and with it the whole doorcard is rigid - no creaky noise anymore.
done!
missing steps/pictures in this how-to is the covering with leather, the mounting of the crossover and the cable install.
also very important is to aplly a wood varnish to all wooden parts to protect it from water.