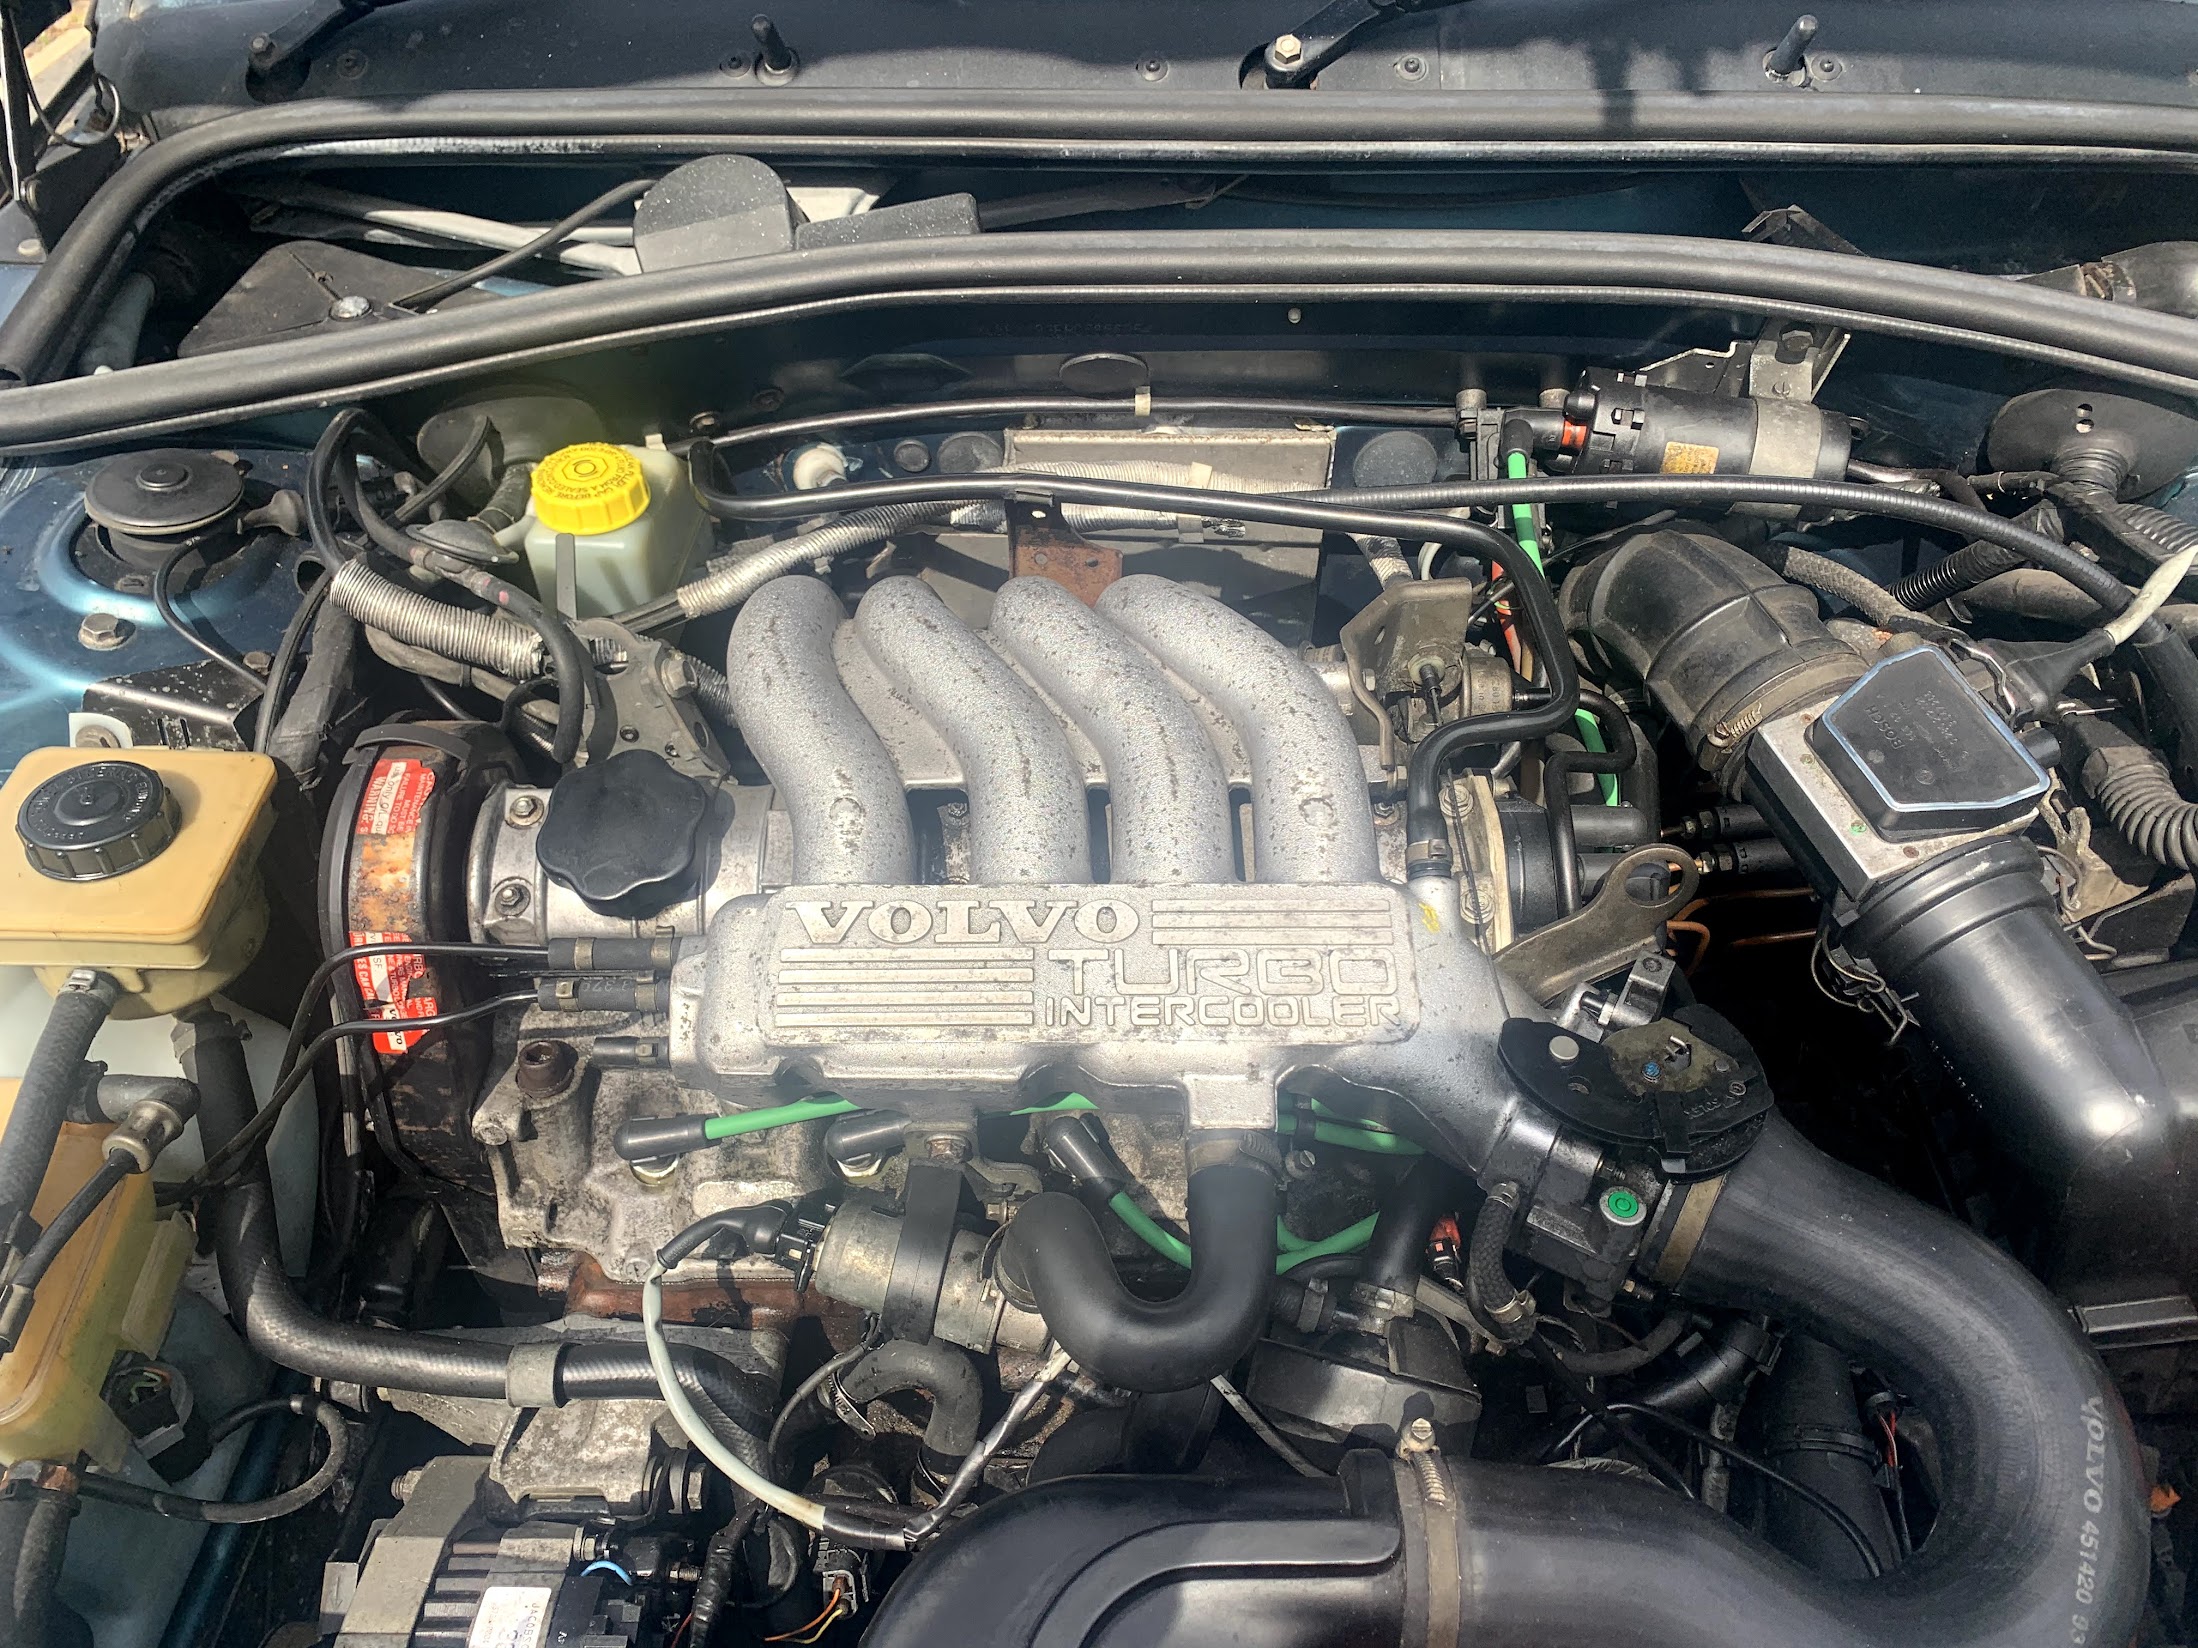
So, let's start with the ignition. Cap, rotor, Plug leads and plugs are often overlooked in the days of fuel injection. Now whilst none of the above were giving any issues, they're not hugely expensive and simple to change, thus leading to peace of mind.
If you didn't already know, number 1 cylinder is at the gearbox end, number 4 is the cambelt end. I used a Lucas cap and rotor arm (which, once opened, were actually Ducellier, the OEM equipment) and the cap has a cylinder guide on it so you don't have to worry about messing up the plug lead order. Of course, there's nothing wrong in being extra careful and marking your plug leads. Put them to one side for reference.
Cap is held on by three screws - Use a magnetic screwdriver or you'll be guaranteed to be playing "hunt the screw in the engine bay". There's also an earthing strap attached to one of the screws for radio suppression.

Looks like the cap was due a change

Rotor is a press fit - wiggle it and it'll come off.

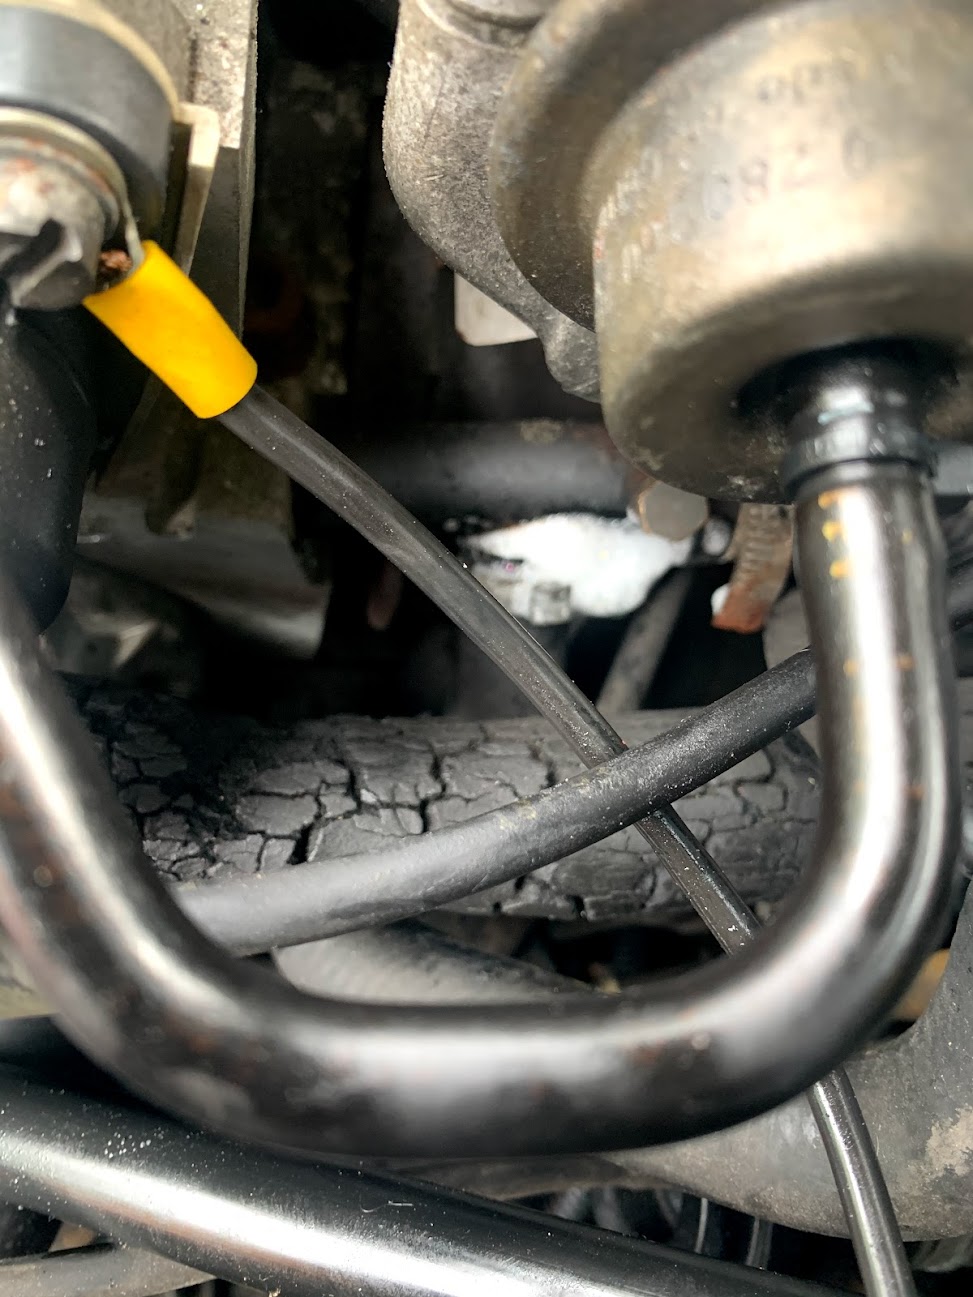
Renewing the leads is a bit fiddly, if like me you're ever so slightly OCD about fittings and also have a turbo where there's next to zero room!
Circled is the plug wire holder - on the turbo, this is right next to the breather, and is a knuckle scraping, back breaking pain to get the leads into!

On the cap end, follow the diagram (or look at your old cap & leads), but on the turbo, number 1 is roughly at the 10 o'clock position, and going anti-clockwise gives us our 1-3-4-2 firing order.
Leads on, and we're looking nice.


Notice I've not done the spark plugs yet? I like to make sure the car still starts after changing ignition components.

So now were firing, its onto the plugs. One by one, remove the leads. I like to spray a little cleaner around the base of the plug to blast any accumulated dirt away - don't want it falling down the plug hole! (and it's little things like this that you know a specialist
should do, but probably doesn't.
Always run new plugs in by hand first - and when you can't reach, a bit of rubber hose on the plug makes a handy tool! the absolute last thing you want to do is cross thread a spark plug! Once in, torque down to 25 to 30N·m (which is 18 - 22 lb/ft in old money)

Air filter?

4 clips on the box, 2 where it connects to the MAF and swap over. If it's particularly nasty in the air box, then give it a vac out. I also check that the cold air feed is actually connected too! New filter in, I fasten the clips on the airbox first, then the MAF.

Next is oil time! So lets fire the engine up and go for a little test drive to see how our new plugs and filters are working. If you can't go for a run because of a lack of MOT, I'd let it get hot enough that the radiator fan has cut in and out a few times.
Whilst I have a clever vacuum suction tool for oil changes, as I've never done Henry's, its old school method. Oil catch pan underneath, sump plug out. It's a renault sump plug which means its a wierd 8mm square drive plug. As I grew up with Renaults, I've always had one, but you can, at a pinch, use a 3/8 square drive extension - Usually better if the retaining ball isn't in it.

If your sump plug has been butchered, you can order new ones from the Bay - It's a standard renault thing, so you could even get a fancy magnet one for less than £8. Where you
absolutely do not scrimp on, is the copper squasher washer. As the name suggests, its copper and it squashes. So its a single use item. They're about £1 from a Renault dealer (and I've got loads in stock if you've no dealer nearby!) so why on earth would you try and reuse it? I also go belts and braces and wrap the threads with some PTFE tape.I blame the Years of having to scrub the parents driveway of oil drips
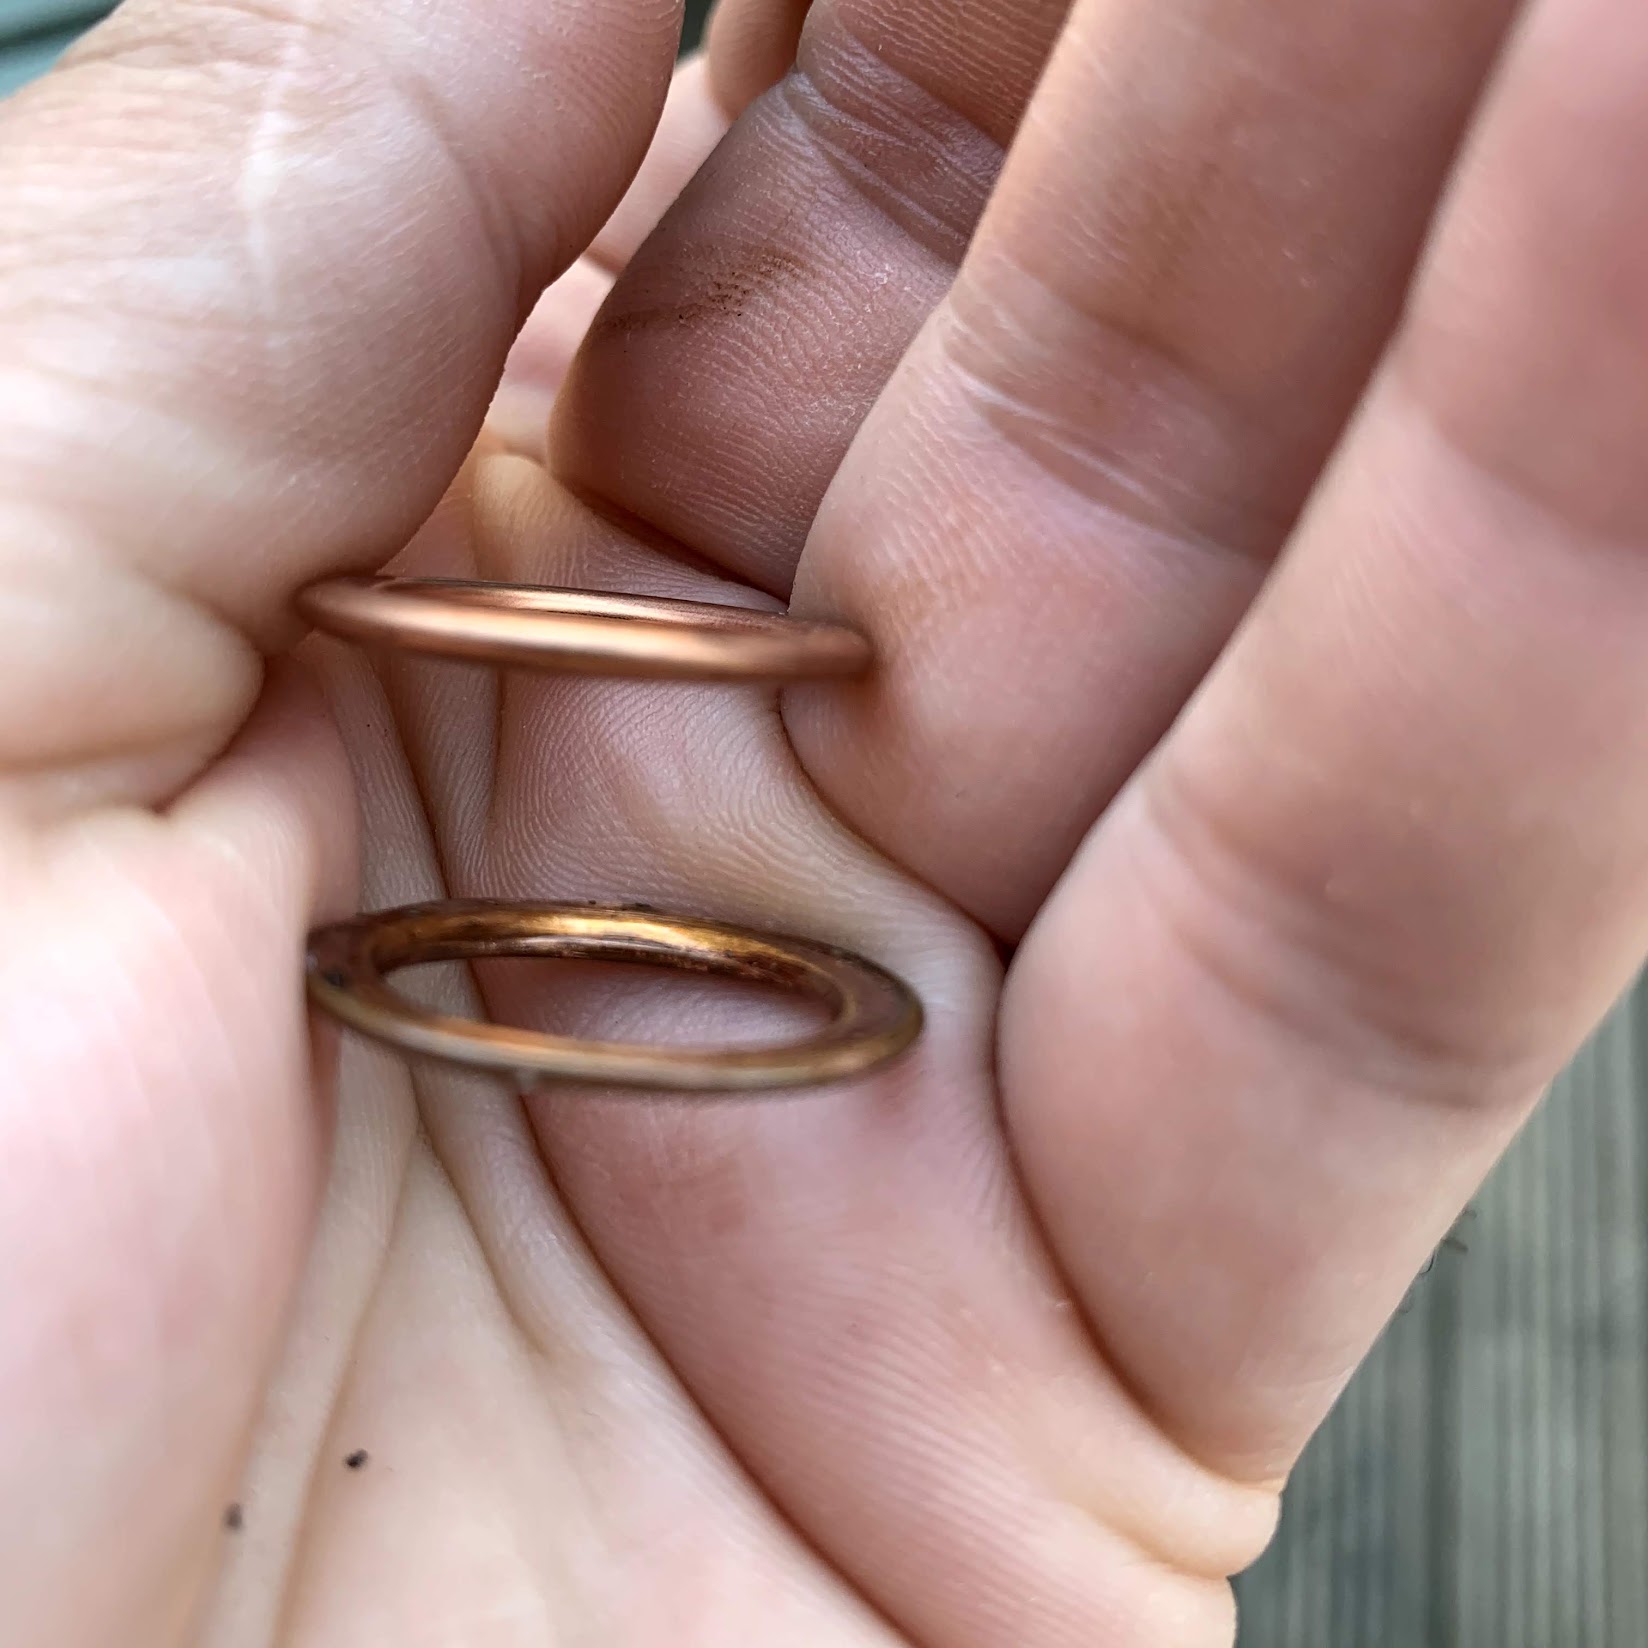

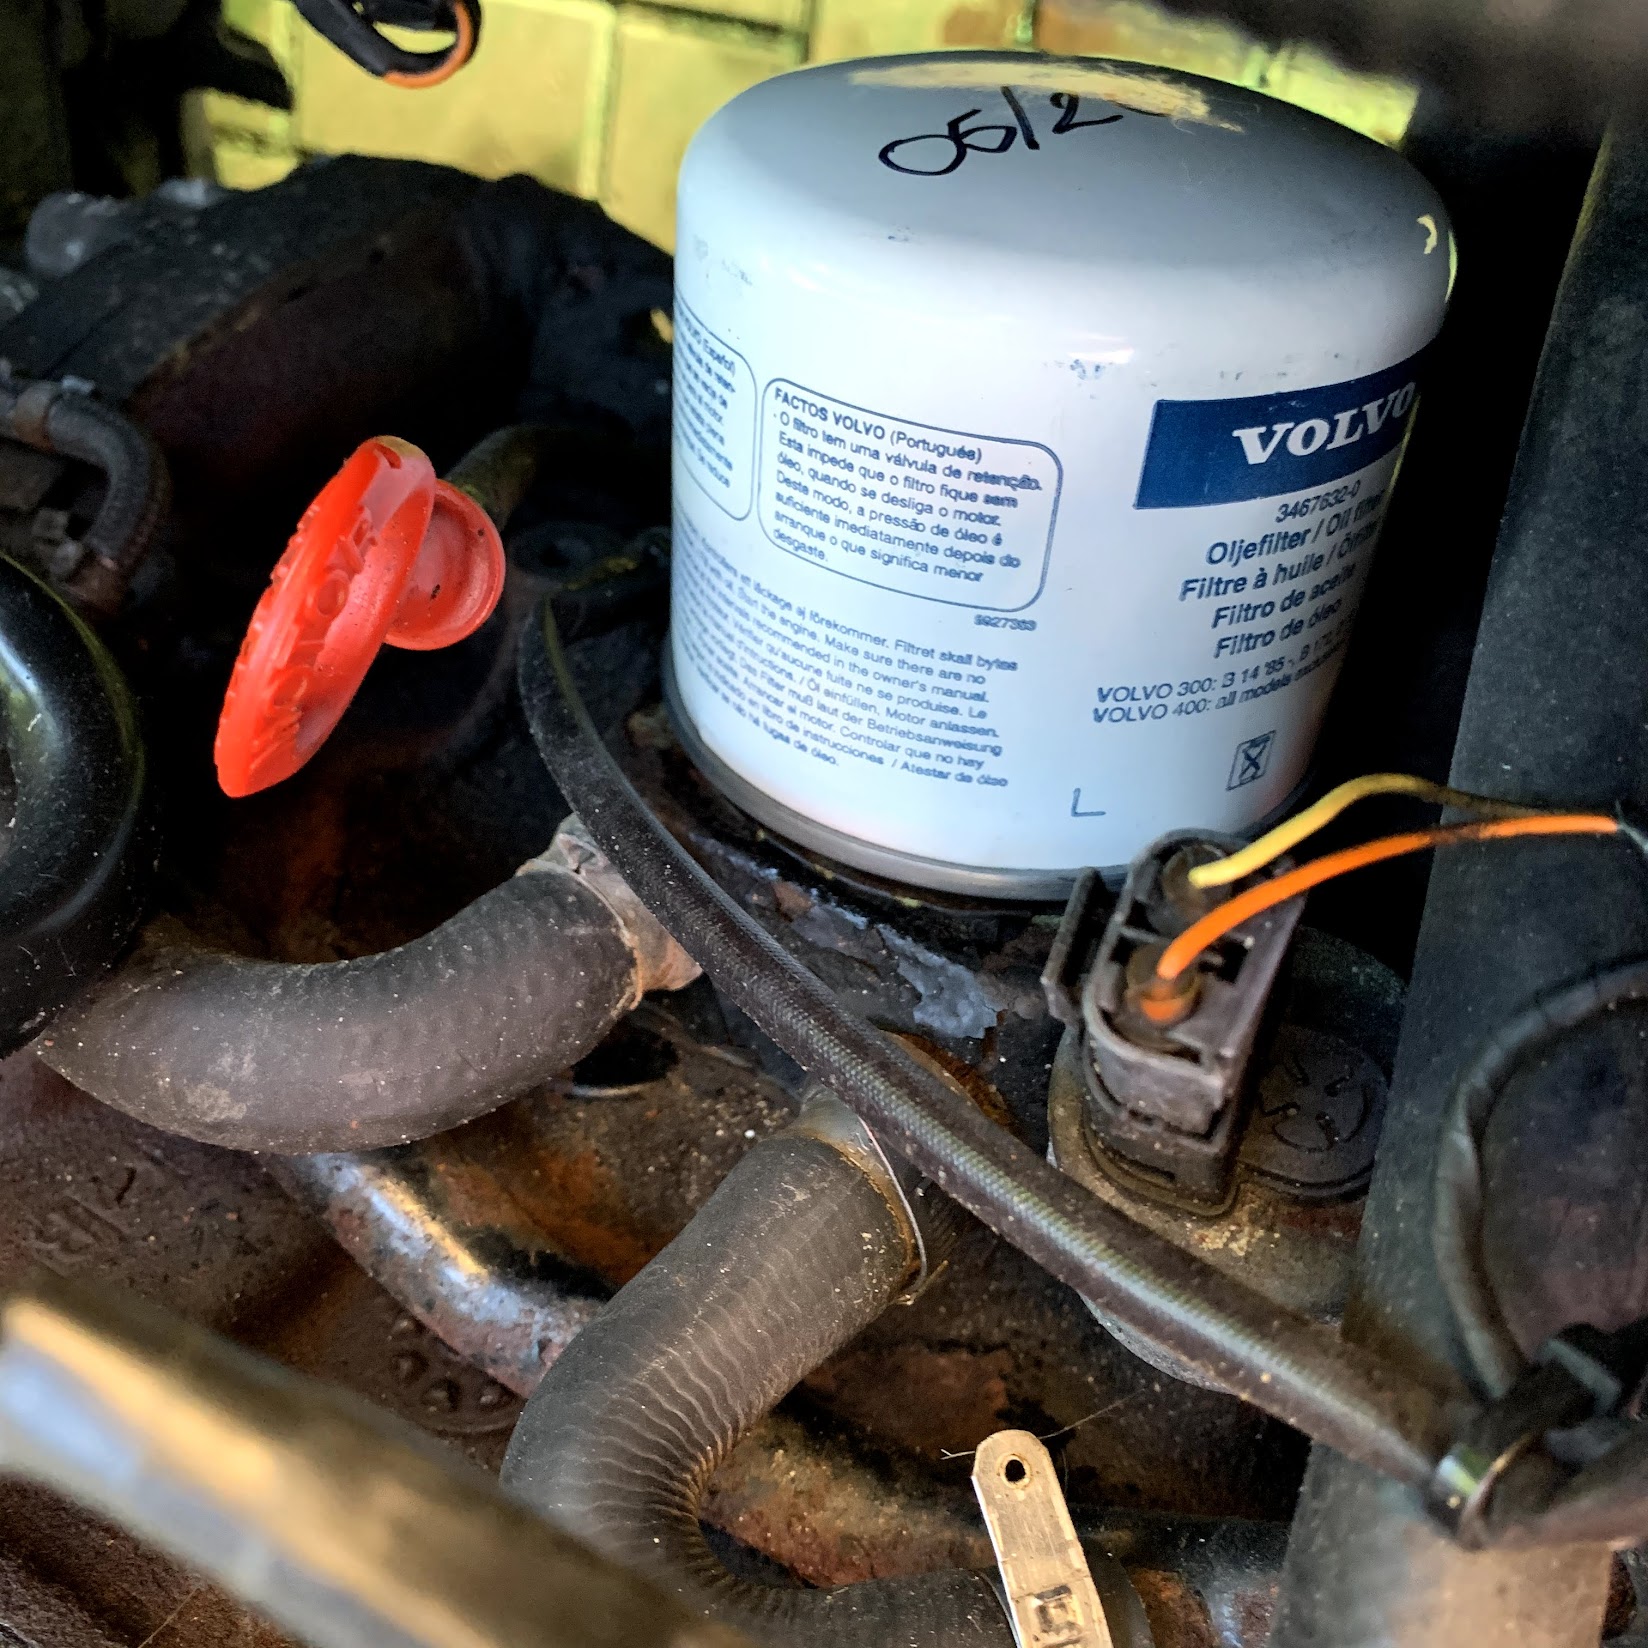
Oil filter is nice and accessible at the front of the engine - Genuine volvo filter for an extra 15bhp. I've mentioned before, but I like to add the date of change with a sharpie to the filter.

5 litres of 10/40w semi synthetic and were good to go. Interestingly, the manual does recommend 15w-40 or 20w-40 "for extreme driving conditions..frequent engine braking on the engine or long stretches of fast motorway driving"

Fuel Filter gets done too; Have covered this previous with a how to, so rather than repeat myself, have a look
here. Oh and have a picture of the old one, as a Bosch part number is a handy thing to have.

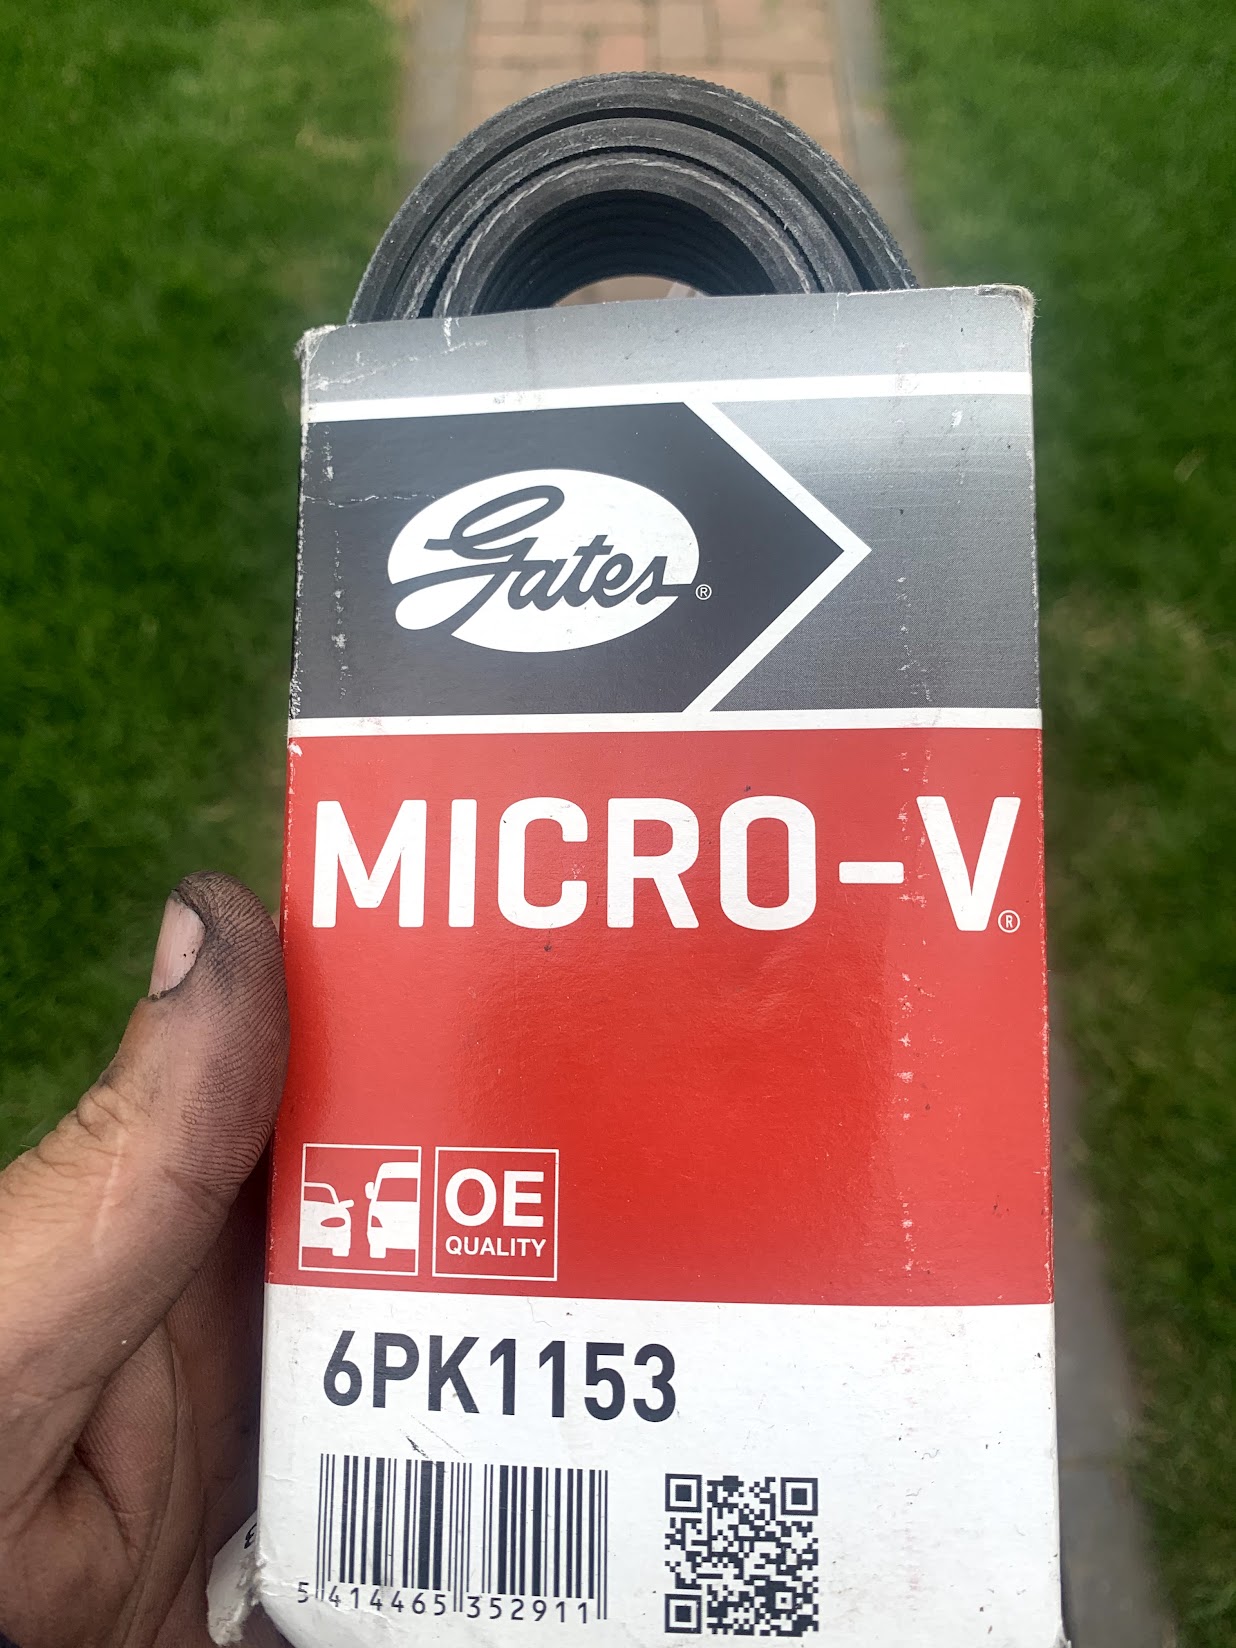
Auxiliary drive belt is often overlooked too.
Slacken the alternator off at the main mounts (I won't start ranting about the silly spanner sizes...), then crack off, but do NOT remove the pivot bolt. Then slacken the adjuster bolt.(optionally cursing the idiot designer that put it here). Be VERY cautious here not to let it pop out as it's a fiddly nightmare to get back in. Push the alternator down every so often and see if you can remove the old belt from the alternator.
To make your life easier, jack up the O/S and remove the 2 clips and 10mm bolts that hold the splash guard in place. You can now remove the belt quite easily.
I found it easiest to run the belt over the lower power steering pump, then alternator before looping water pump and crank pulley. Copper grease on the pivot bolt and adjuster thread on reassembly.
The old belt wasn't too bad, so thats been kept as an emergency spare (better than no spare!)
Windscreen wipers are another straightforward "one off, one on" replacement. Along with topping up the screen wash with something nice and smelly. Its also good to check that the washer jets put the fluid somewhere useful. Just remember though, that the jets are made of unobtainium! Also check your headlamp washers. This does of course mean you'll have the panic of thinking your pop-ups have failed, before remembering that they don't work with the bonnet up unless you jam a screwdriver into the catch hole! (we've all done it!). Washer pumps just pull out. Fluid
is going to go everywhere, but its an excuse to give the reservoir a good cleaning out, as some screenwashes can go gloopy over time.
Rear brakes
I've covered before too; However, in this instance, everything was actually perfectly servicable. The low effeciency was due to the previous "specialists" inability to spend £1 on a tube of copper grease, thus the pads had actually rusted themselves onto the carriers and could barely move! A BFH removed them, then with a new set of pads, lots of wire wheeling, judicious use of a some freeze spray to make sure the equally rusty bleed nipples didn't sheer off, the pads were replaced.
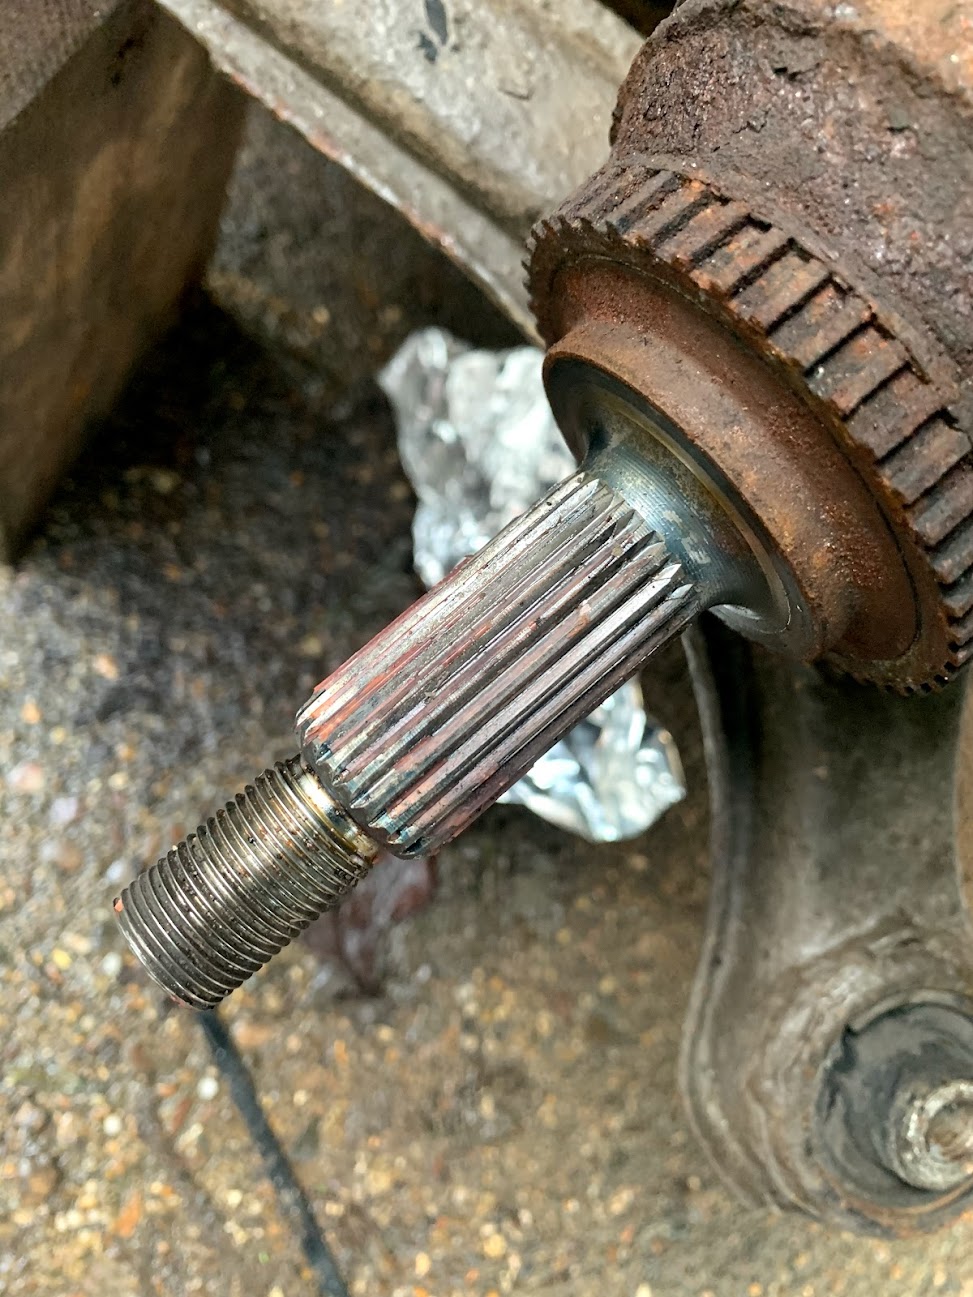
Even if you're not replacing the handbrake cables, slacken the central adjuster all the way off and remove the cable end from the arm.
Winding the rear caliper back requires popping the adjuster cap off (and we had one seized cap! Seriously, copper slip people!!) and winding the adjuster back 4 or 5 turns, then using a caliper tool to push the piston back, before doing it all again. I got about 3-4 complete turns before the piston needed pushing back. Once backed all the way, pop on the pads (with copious amounts of copper grease), insert the sliders (red rubber grease) and the anti-rattle spring (copper grease in the ends).
Then, go and jump up and down on the brake pedal at least 10 times. And I seriously mean jump on it! The pressure to the rear brakes gets limited, so you want super hard presses to make the brakes work.
Once we've got the brakes seated, follow the standard handbrake adjustment procedures and you've got a perfect working handbrake.
Just for good measure, I then bled the entire system, starting from the NSR and finishing at the OSF. From the syrup that came out, it was WELL overdue!

So there we are; Nicely serviced,Clean MOT and hopefully trouble free for next year.