Right, been making some progress the last couple of days despite a couple of setbacks thanks to a midnight stint after work on friday and a full day on it yesterday....
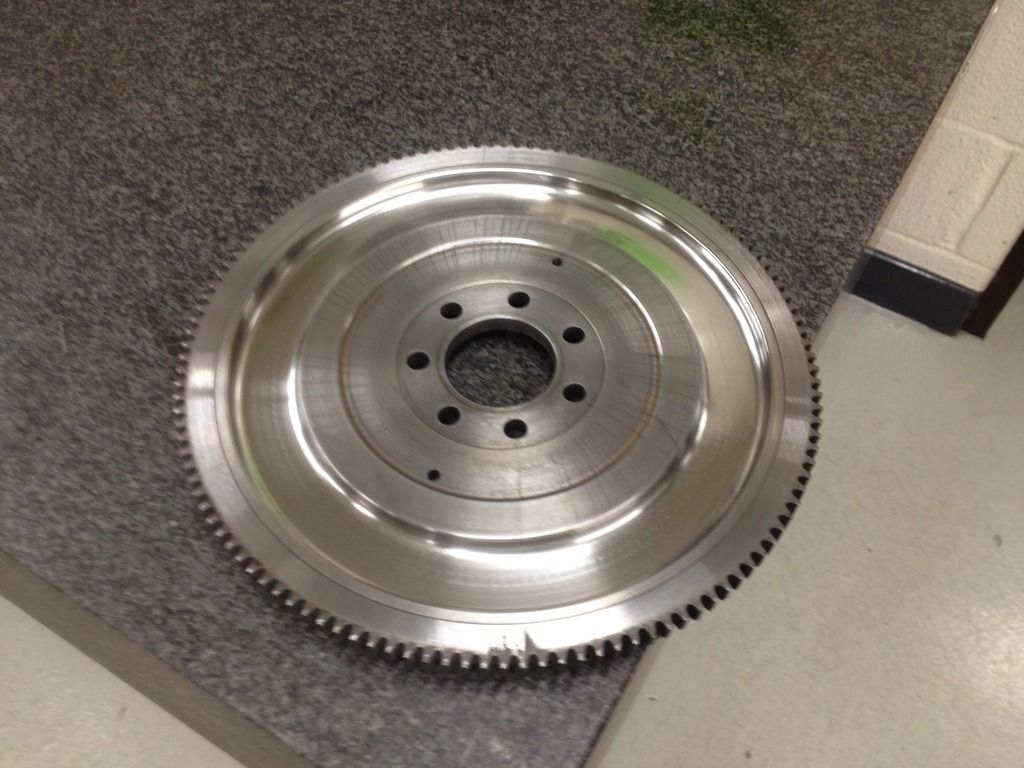
Got the engine off the stand and after fitting my new crank seal, fitted the flywheel
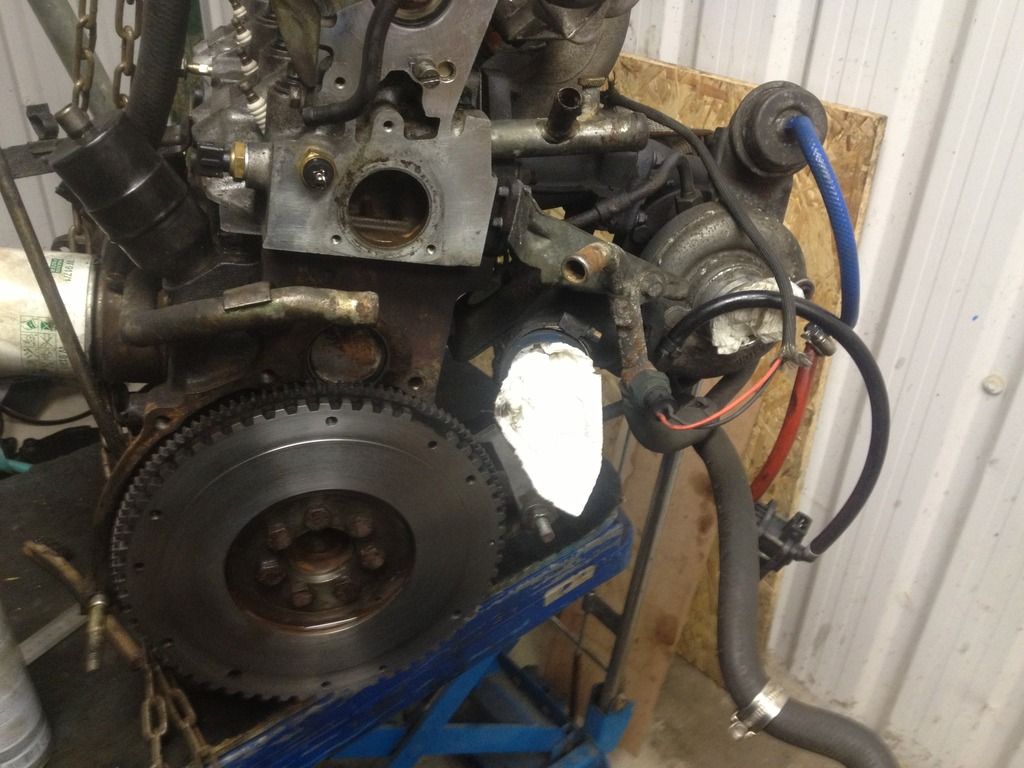
and the clutch...
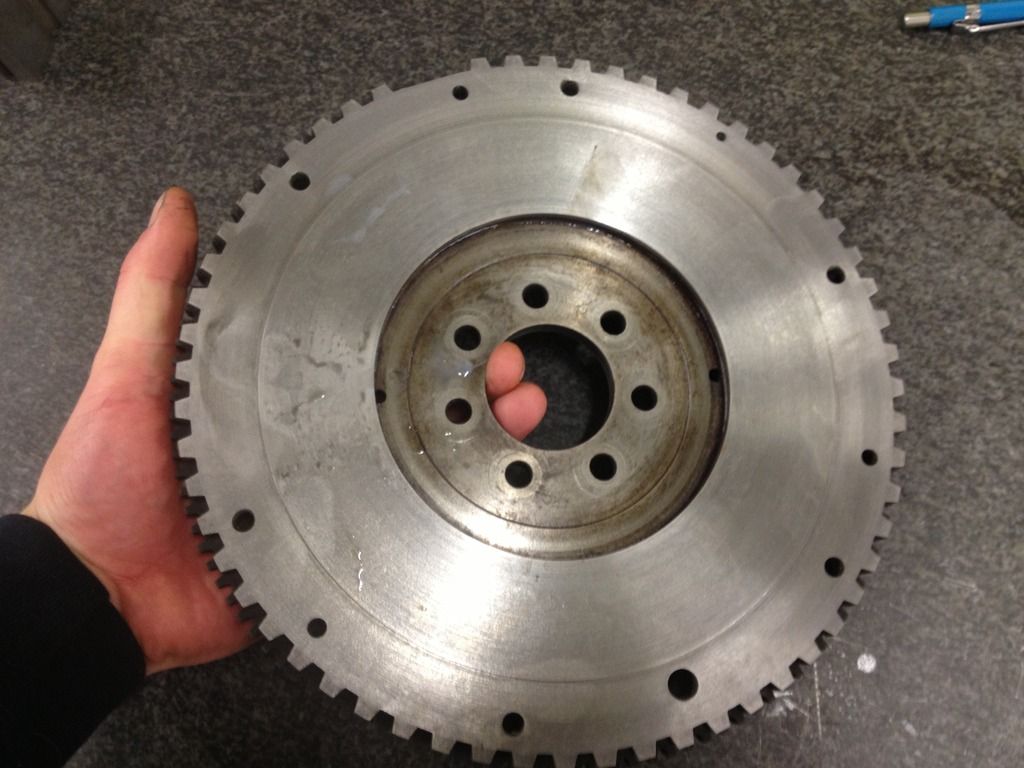
it was a this point I had my first setback. You know when you put something in a little bag and put it somewhere 'safe'

anyway, do you think I could find the dowels (well, not really dowels, more shitty, thin roll pins) for the clutch cover location on the flywheel? I looked everywhere and no joy, my best guess is that they're at work somewhere as this is where I removed them for the machining of the flywheel (bear in mind this is like 7.30pm on a friday and the place is locked up for the weekend, no night shift so no wandering in and out for stuff or to use the machines). So here I am, gutted but determined. As I said, the previous article was a little shoddy anyway so I thought I'd have a shot at finding something the right size to make three dowels from and I got lucky. The holes were a fairly good 6mm, not the worst size to work with and I quickly laid eyes upon a mounted point (you know, a little grinding wheel on a shank that people normally use in drills, die grinders etc) with, you guessed it, an accurate enough 6mm shank

After sawing it into 3 pieces and cleaning them up on the grinder I had myself some nice little dowels. They weren't a perfect fit in the flywheel, not quite interference but a more than good enough location, the saving grace being that the holes in the clutch cover, being a fraction smaller and perhaps not quite so thoroughly deburred, held them fast once bolted up. A little loctite retaining compound added peace of mind.
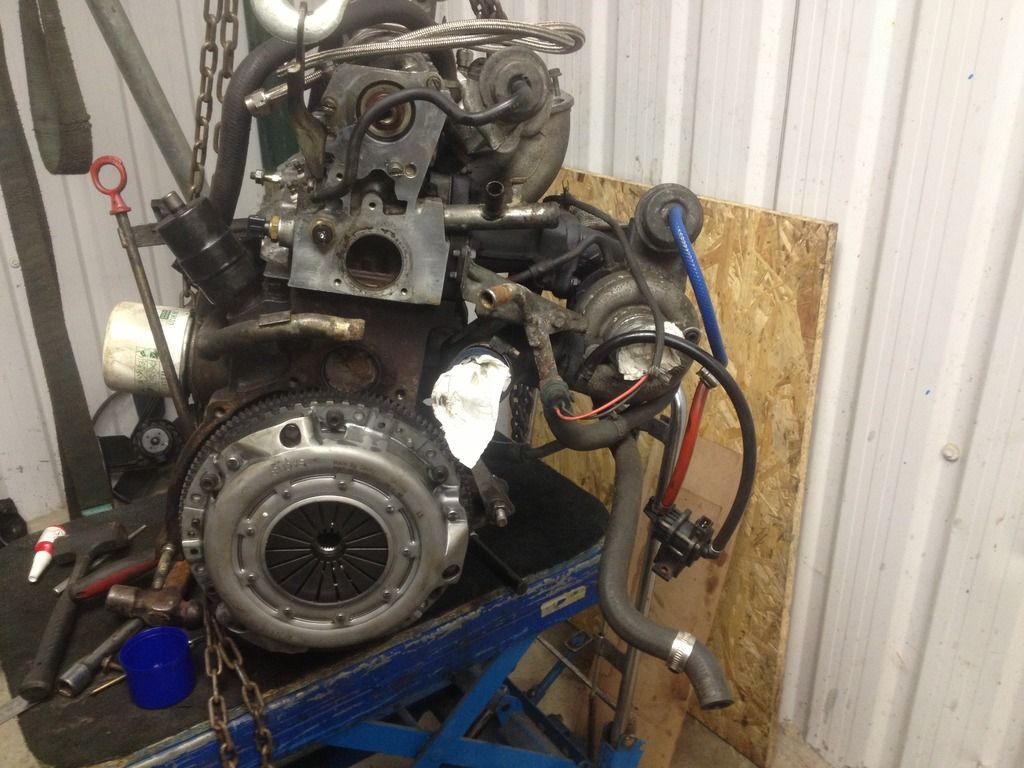
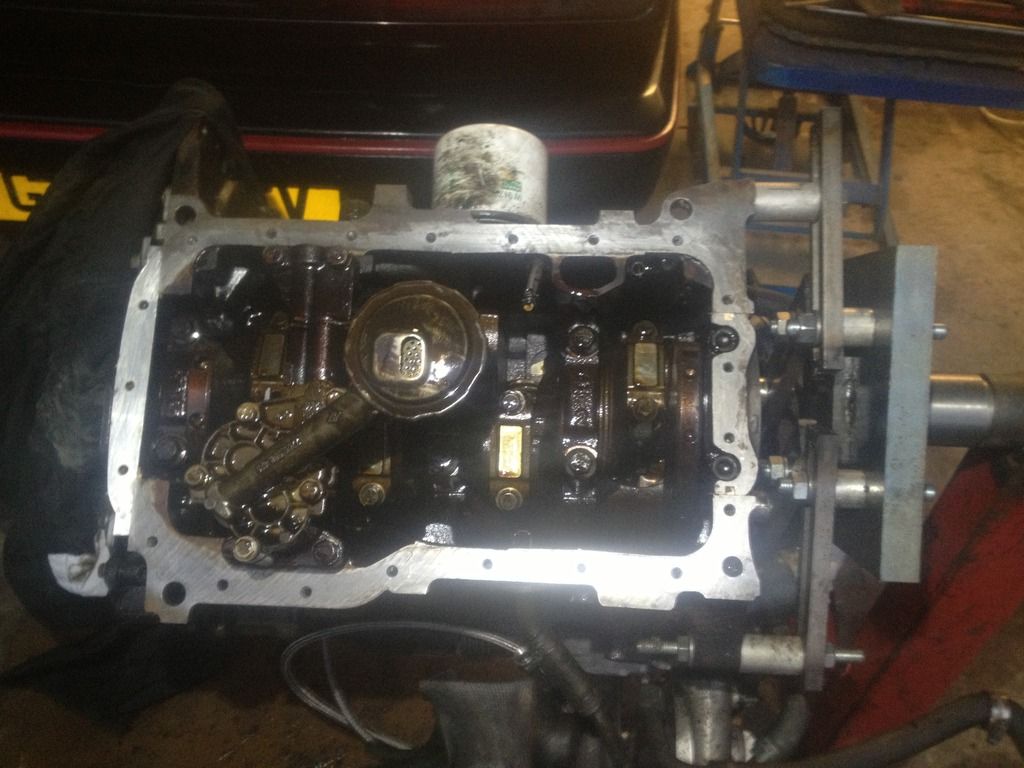
Happy with my progress I now bolted the gearbox on only to realise a major problem.... The clutch fork was running out of travel before the release bearing really began to disengage the clutch

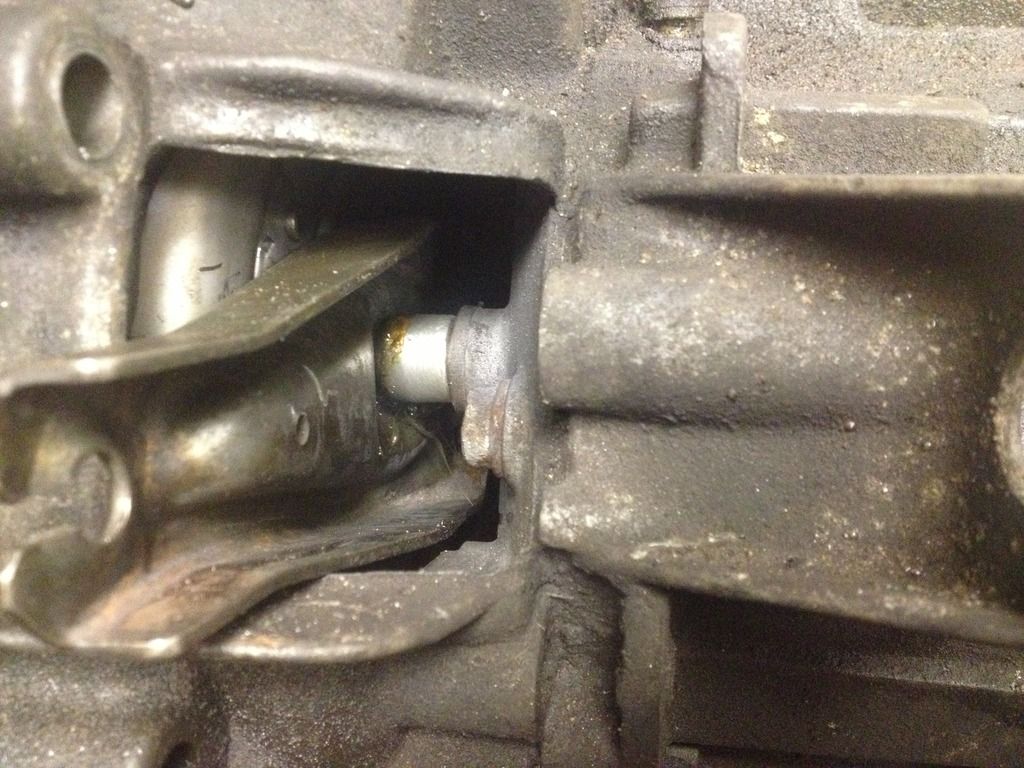
At first my thoughts wildly went towards the machining of the flywheel but then I thought, no, can't possibly attribute this to maybe 0.5mm off the drive surface of the flywheel and then I noticed this and removed the box again to get a better look
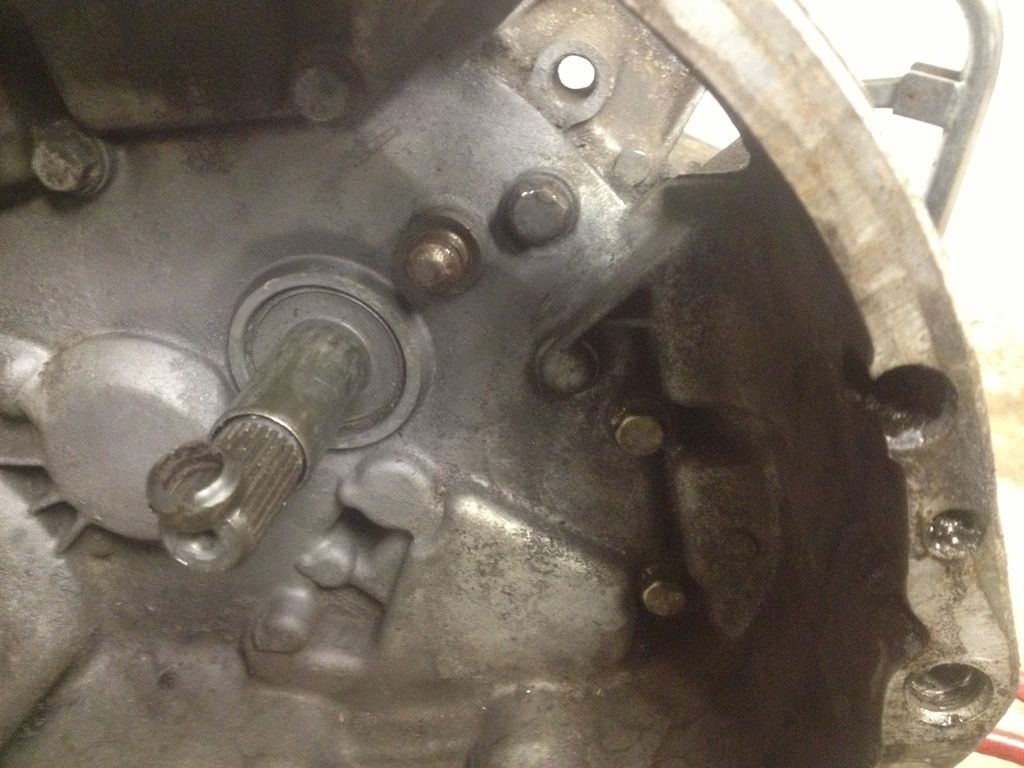
see what's left of the little plastic bush that's perched on the end of the input shaft? Well, that normally lives on the boss which acts as the pivot point for the fork and as you can see, is totally knackered, thus changing the pivot point to a point too far away from the clutch to be effective. It didn't take long for it to dawn on me that this was the hidden demon that had always made my clutch feel generally shit and heavy and possibly the reason why I have gotten through three clutch cables and had to make a stronger replacement clevis to attach it to the pedal during the time I have owned this car. When I last fitted a clutch to the car around 40k ago I didn't notice any problem like this but the feel, although loads better than the original, still wasn't what you'd call perfect. About 10k into the new clutch the old cable failed and I got one off glasgowjim. When I fitted this cable, the clutch was transformed and I was well happy but it has deteriorated again with the subsequent 30k, jims cable failing because of a heavier action about 20k in. It was at this point I actually embarked upon finding out how to make proper control cables and ended up manufacturing one strong enough to cope with the mysterious heavier clutch action. This involved custom made dies squeezing 50t onto EN24T cable ends (with chemical retainer on the cable too) to stop them being able to part company. Incidentally, my original pedal clevis failed ages ago not long after I had the car and I knocked up a nice replacement part intended never to break, I daresay if I had replaced it like for like, I'd have got through an eye watering quantity of them by now! Given that I seem to have succeeded in making an indestructible clutch actuation system for the 480 (my work still sits in the blue one, both clevis and cable, having never given up despite this appalling flaw in the system) and these parts are difficult/impossible to get, if anyone is in need of such items, something could possibly be arranged. The materials are readily available and cost around £20 for a RHD length cable. I would consider making a batch if there was enough interest. I can make a clevis if needed too for a nominal fee. I have some pictures somewhere, I'll get them up when I get a chance, they are nice looking parts and vastly superior in quality to the OE, albeit apparently unnecessary in a car with a good pivot bush thingy! It appears that my fork, after a certain point, ceased to pivot on the bushing and began to pivot on the bolt above it, thus changing the leverage ratio part way through the stroke, getting gradually worse as it wore further back from the clutch cover, hence the gradual return of a shitty, heavy clutch as time went by, this time attributable to this thing rather than the cable being in a bad way. Maybe the extra 0.5 or so added to the previous skim of about 1mm to take away the distortion on the first clutch change, added to the last 40k of wear on the bush just tipped the balance to the point of being a real noticeable problem with the assembly.
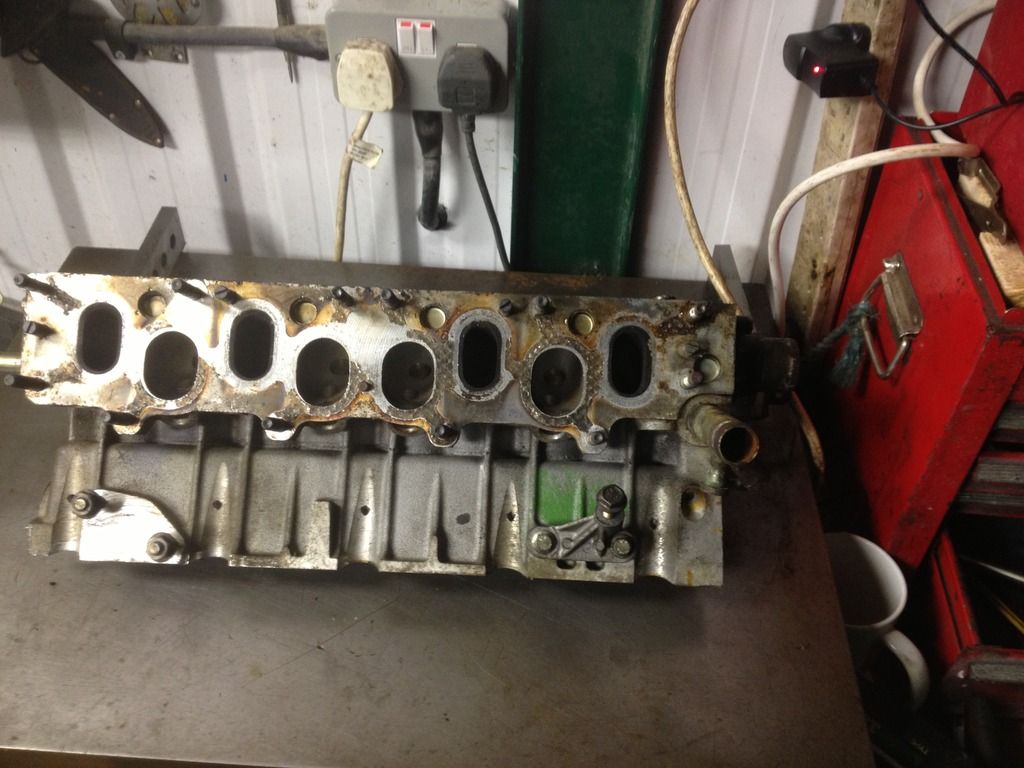
Again, I had to set out to devise a credible solution to this problem without access to machine tools, or else suffer a week setback. I do own a small lathe but it's currently in bits at work awaiting something of a refurb (like that's ever gonna happen while I own 480's

)
I found a bit of 20mm ally bar, squared the end up on the grinder and marked out the centre with my trusty old starrett combination set
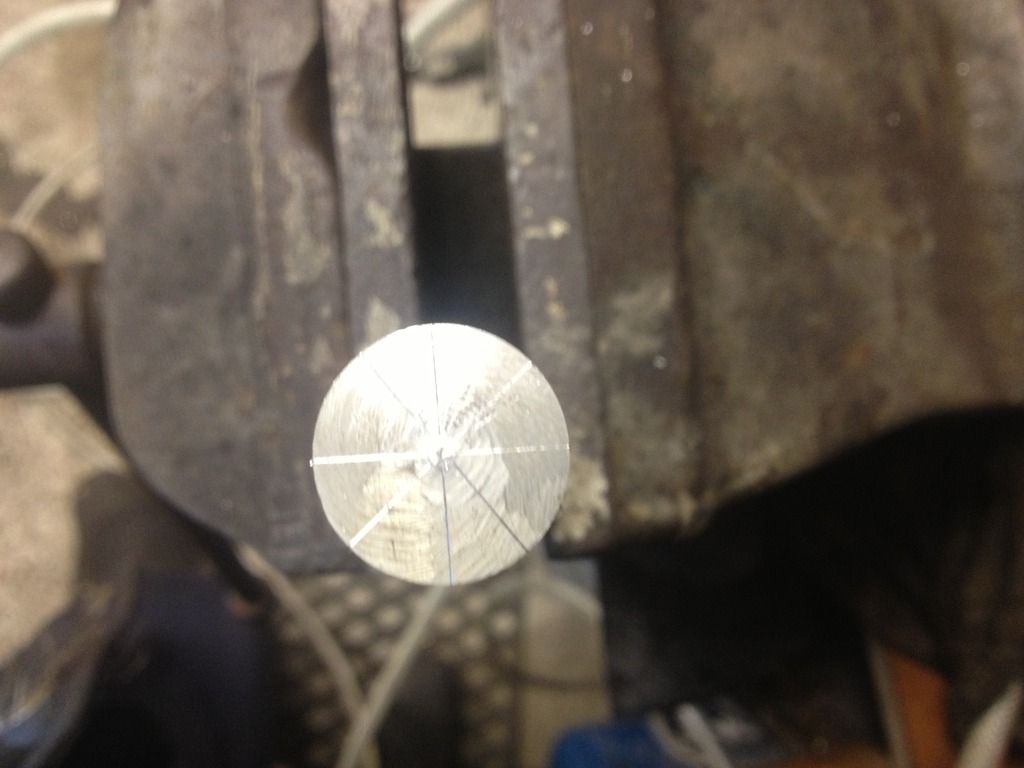
Managed to drill a hole reasonably central up it by hand, gradually opening it up to my first stop, 9mm. At this point I ran an M10x1 tap down it as a means of 'workholding' true to my hole, stuck the shank of the tap in a drill and worked it on the grinding wheel until it looked something like this
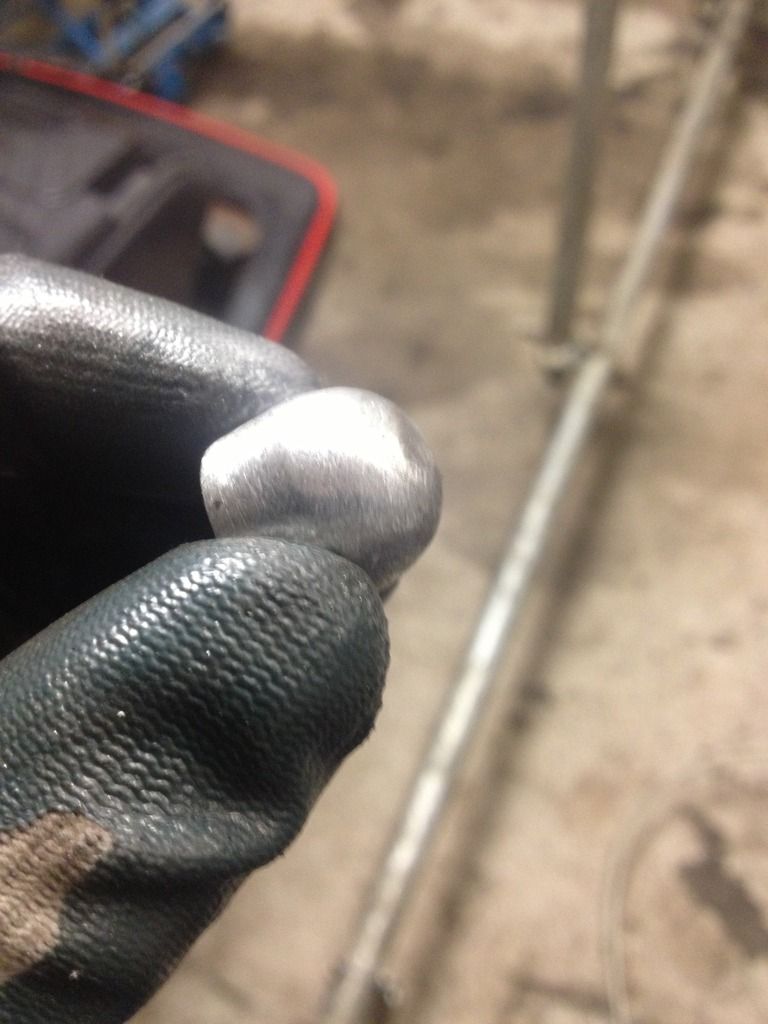
This was not a quick process. What would have taken minutes on a lathe took some 2-3hrs by this method but I was reasonably happy with the result. I enlarged the hole out to the required 13, pinched it slightly oval in the vice, hammered it home and refitted the box
She was a dream

That concluded friday evening.
Saturday morning started well
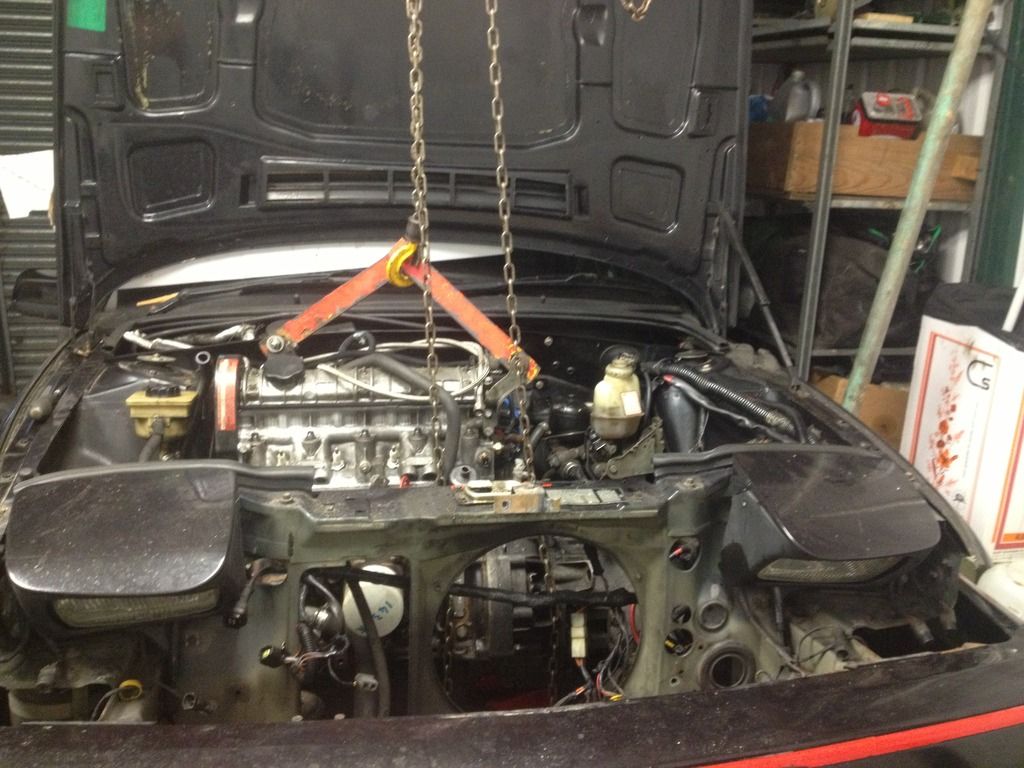
Got it bolted in
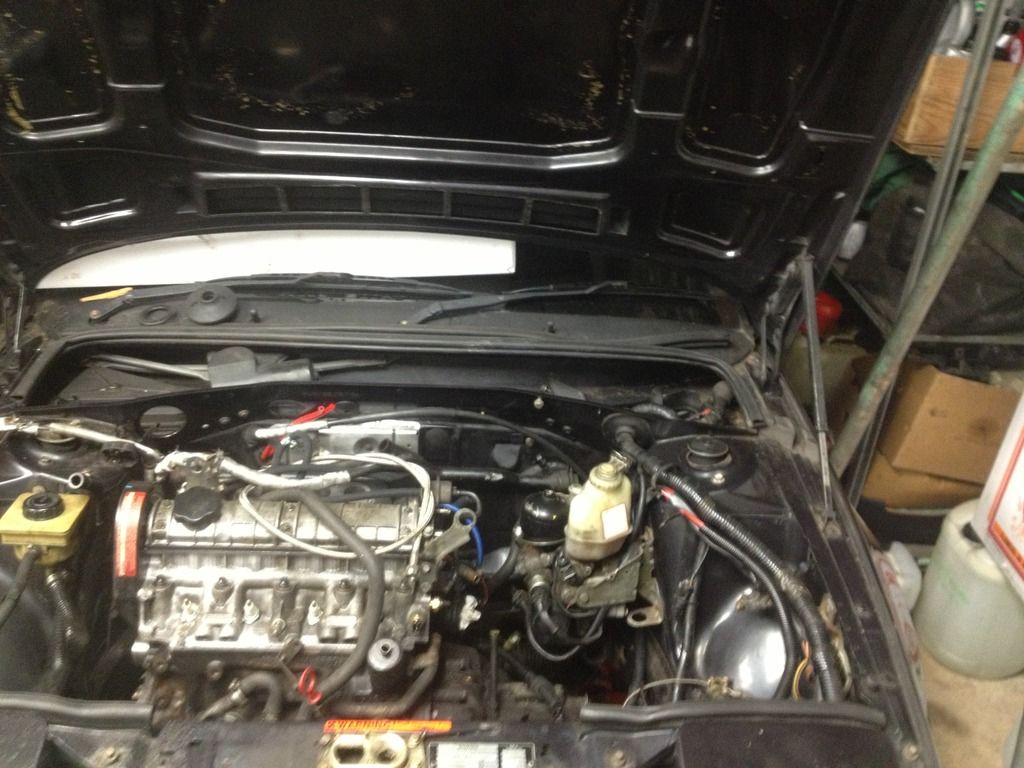
Added some wiring
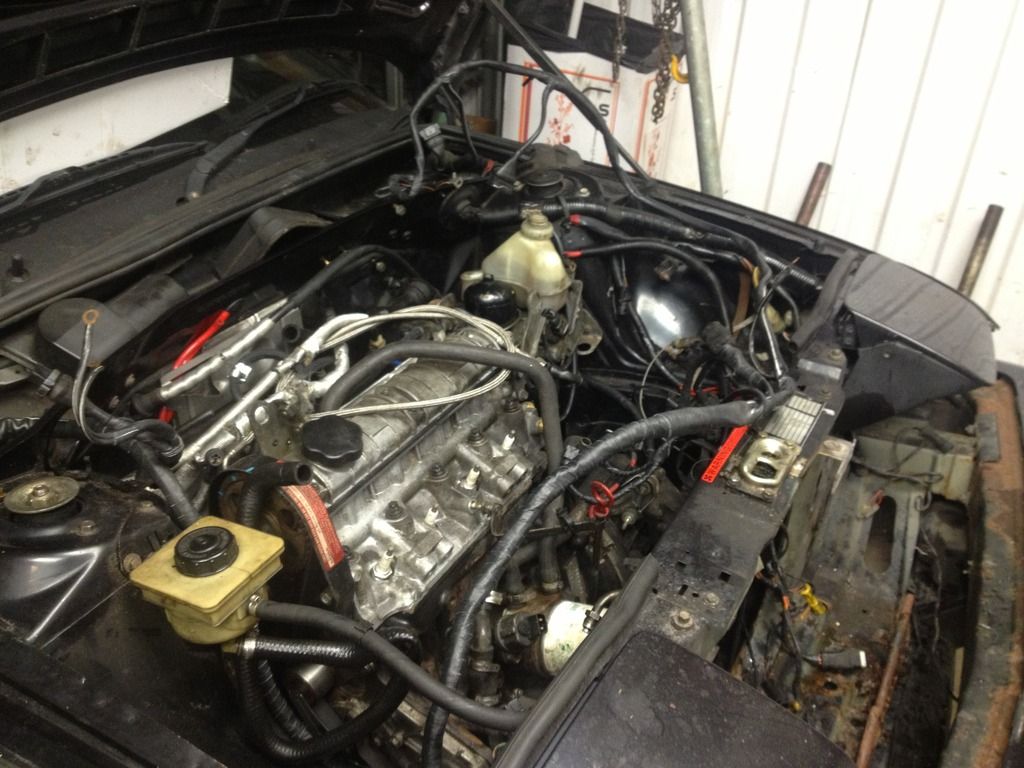
putting the loom through the bulkhead wasn't fun
Shoved a few more bits into place and importantly got at least the return fuel line sorted and plumbed in (still need to make a fitting for the supply and connect it under the car)
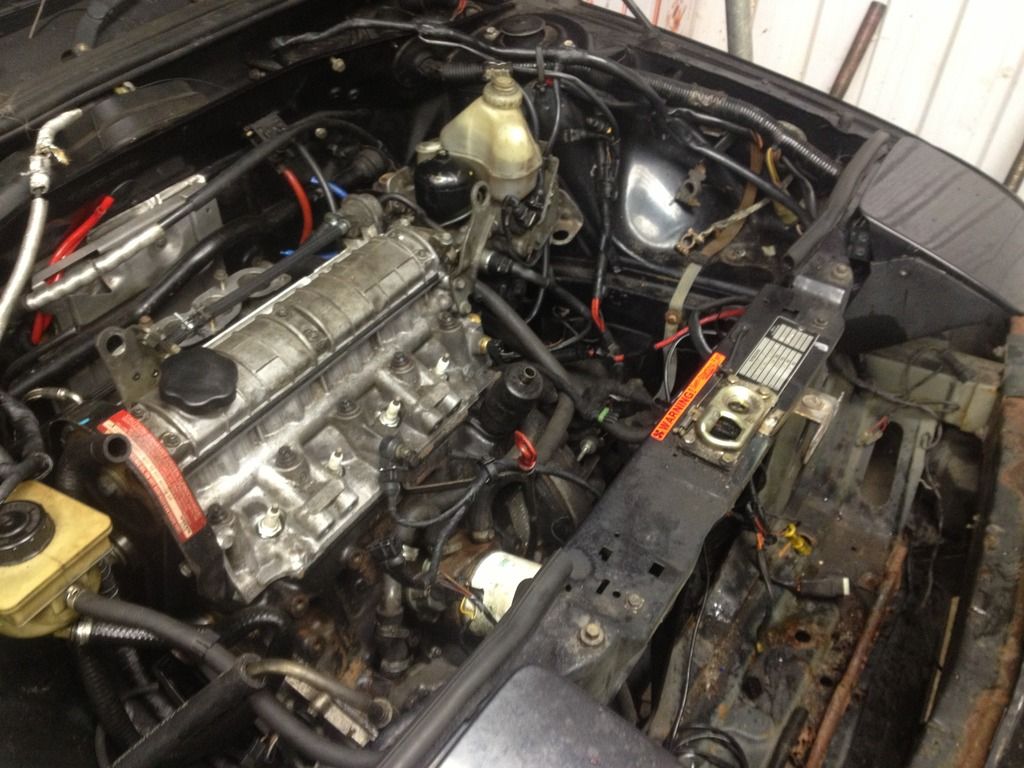
that was the last photo of the day, I did a bit more poking around but nothing much really, got tidied up and squared away ready for the next session! It's getting closer now, the first turn of the key
Can't wait to fire this thing up and drive it, just hope that it is
on the first turn of the key and not
 Keep us updated and good luck!
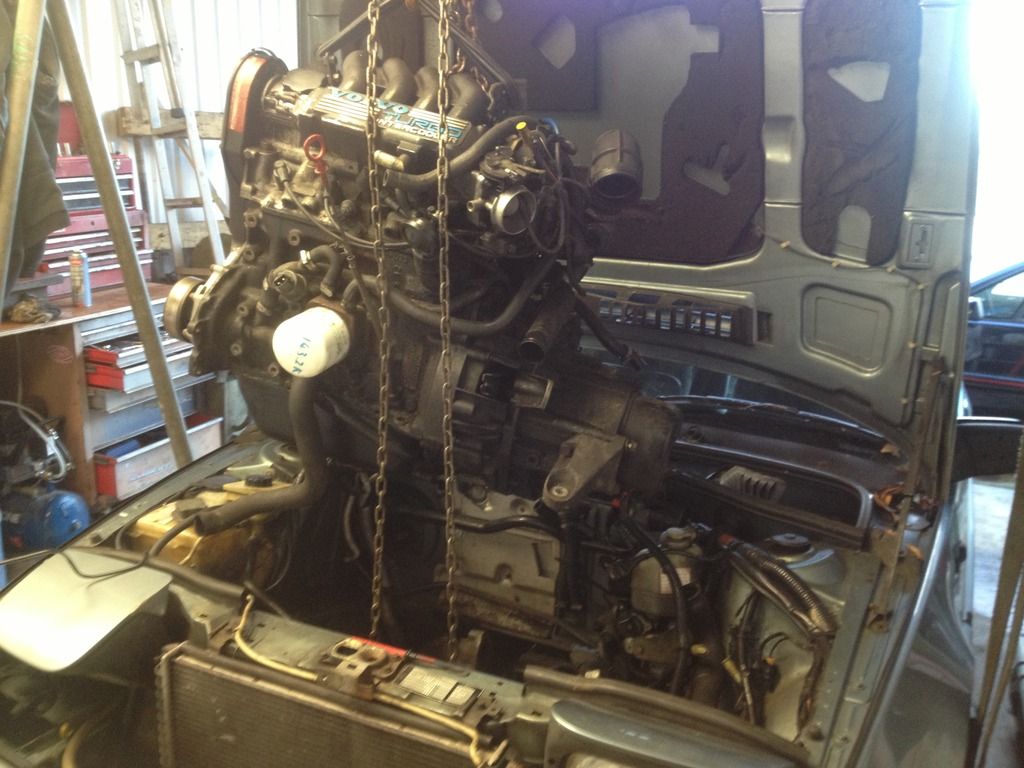


![[IMG]http://i1043.photobucket.com/albums/b43 ... w19zgt.jpg[/img]](http://s1043.photobucket.com/user/asummerfield222/media/JETRONIC%20LOOM%20LABELLED%201_zpspww19zgt.jpg.html)
![[IMG]http://i1043.photobucket.com/albums/b43 ... bhh4xp.jpg[/img]](http://s1043.photobucket.com/user/asummerfield222/media/JETRONIC%20LOOM%20LABELLED%202_zpsk0bhh4xp.jpg.html)
![[IMG]http://i1043.photobucket.com/albums/b43 ... 5z3uub.jpg[/img]](http://s1043.photobucket.com/user/asummerfield222/media/JETRONIC%20LOOM%20LABELLED%203_zps0f5z3uub.jpg.html)