January 2021 - Exhaust System Update
Like most things on this car... this has snowballed out of control!
A good few years ago I purchased a brand new, pattern (by Klarius) system in preparation for this day. That was back when Euro Car Parts actually stocked these items!
Simple... just fit right?
Turbo rear silencer...
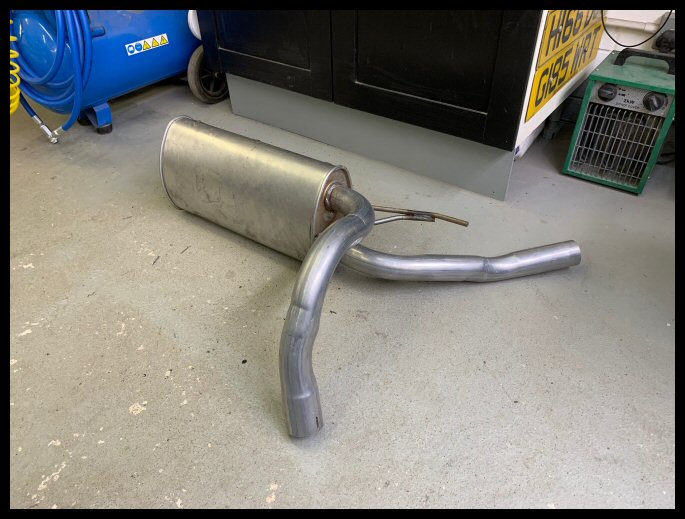
Turbo centre section...

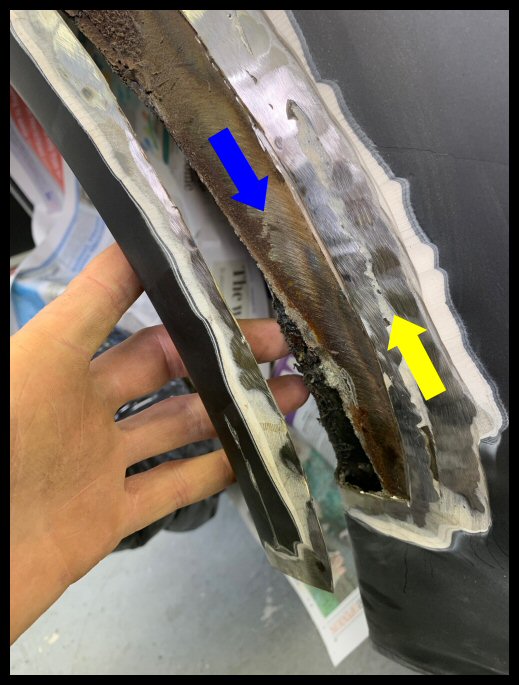
There now follows a total change of plan; these items will go into storage as 'OE' parts because, in short, the quality is terrible.
The corners are squash bent, hugely restricting flow. The cross sectional diameter mid-bend is terrible...

The flange neck seems to be a generic flange, the size of which is
considerably smaller than the pipe itself, thus creating a terrible bottleneck...
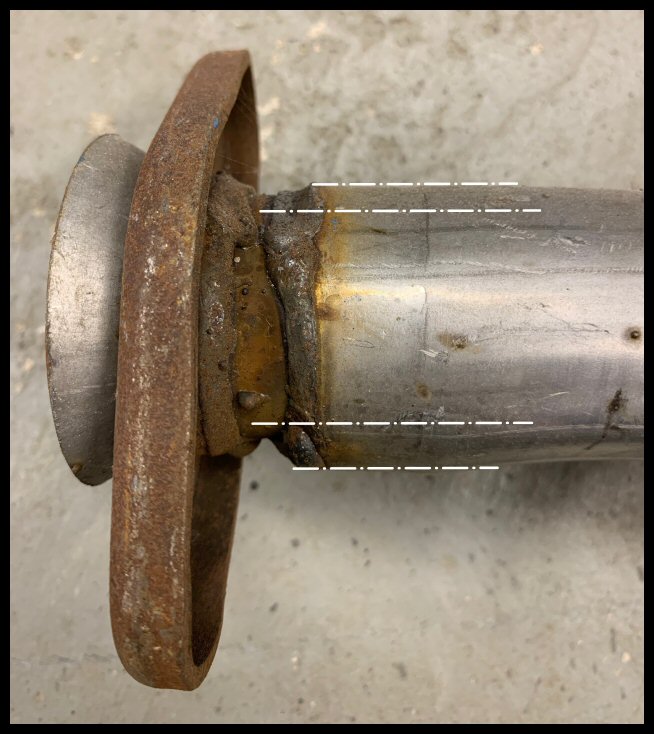
Whilst I am no modification-junkie... it goes against the grain to see these blatant restrictions.
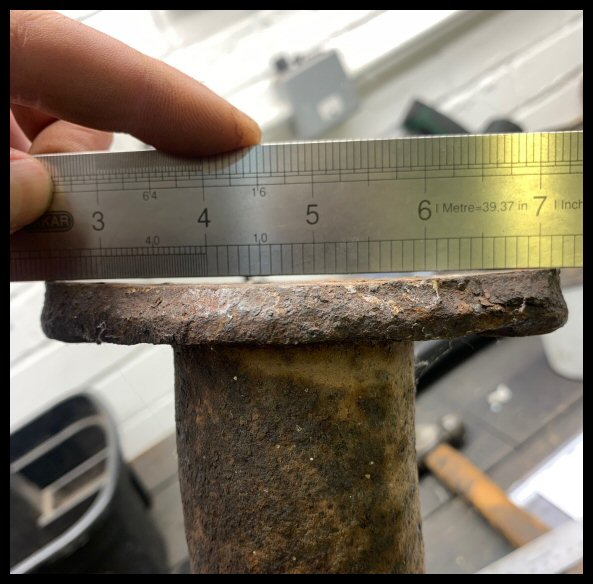
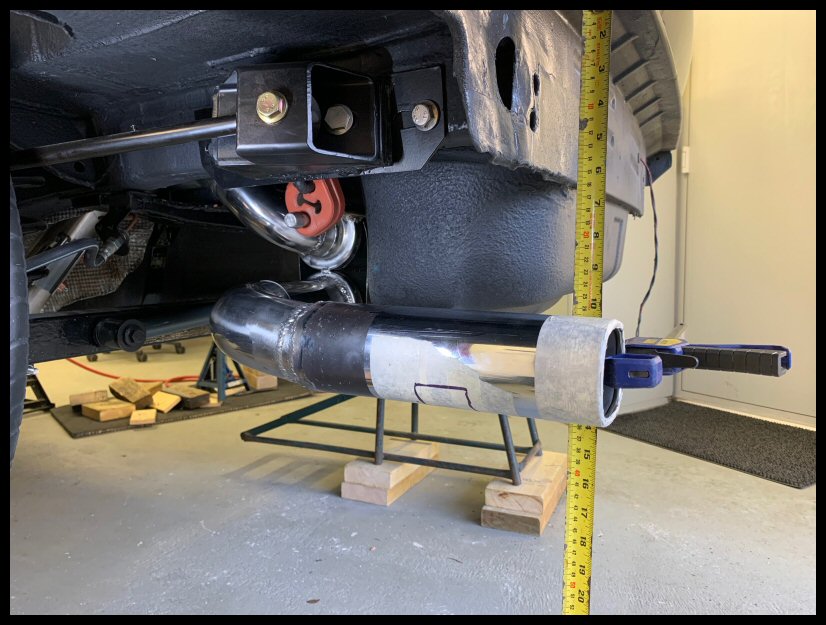
Measuring the pipe...
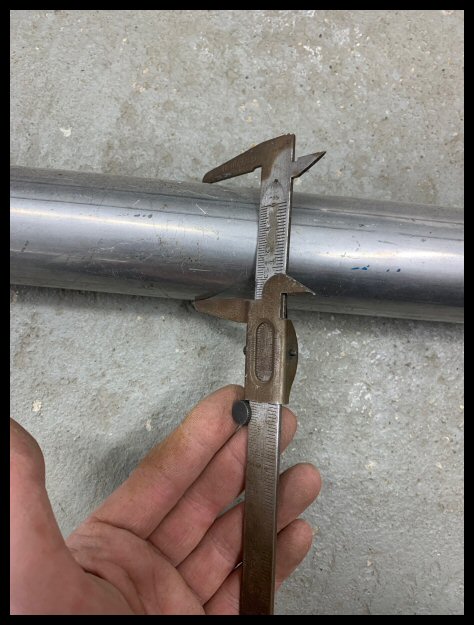

That's 54mm OD standard... so that, in my opinion, is what the pattern part should be
throughout... for bends and flanges!
I have been here before with my Mk2 Golf. I was endlessly fitting pattern centre boxes - Timax, Walker, Bosal... and they were all made of metal not fit for baked bean tins. Add condensation and infrequent use to the mix and longevity is nonsensical. It's a false economy for a car you plan to keep long term. I fitted a stainless Jetex system to the Golf some 9 years ago now, and haven't touched it since. Still looks as good as new to this day...

There is only one solution to all this then; stainless and to my specification. Fit & forget. So here goes!
Tailpipe Preface
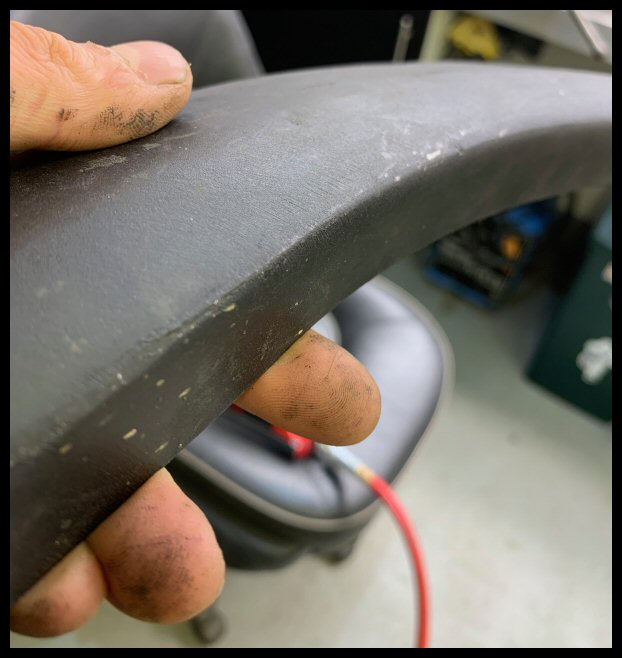
There are some 480 design features to this day that are awesome. However, in my own opinion, the exhaust tailpipe isn't one of them. All this effort just to have a bent bit of metal tube by Klarius sticking out the back!
Compared to other cars in as early as '88, the 480 was feeling a bit inadequate in this department compared to stock tailpipes of the Calibra, Corrado, CR-X....
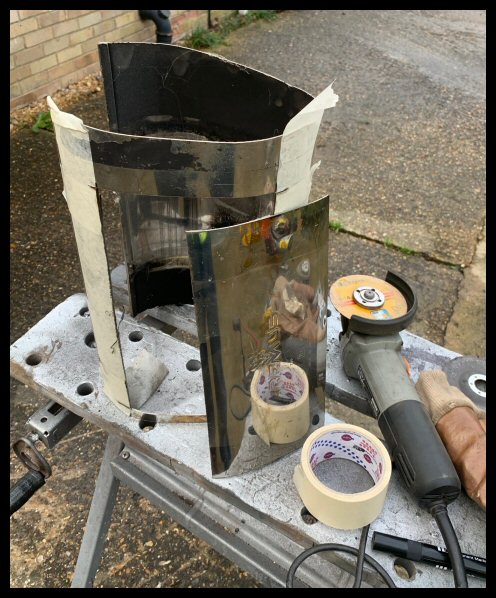
With this in mind, I knew roughly what I wanted. Whilst I am not a modifications fan, I make a slight exception here. Not one for the purists, but I visioned an exhaust tailpipe that came out straight, and possibly through the redundant nearside fog lamp aperture. Redundant fog lamp for the UK (RHD) at least. I'm not the first here, it has been done before, and a few google images return this. As the fog aperture is rectangular, the tailpipe needs to be shaped accordingly.
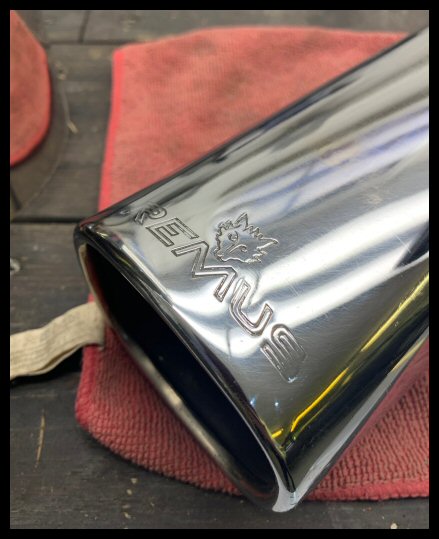
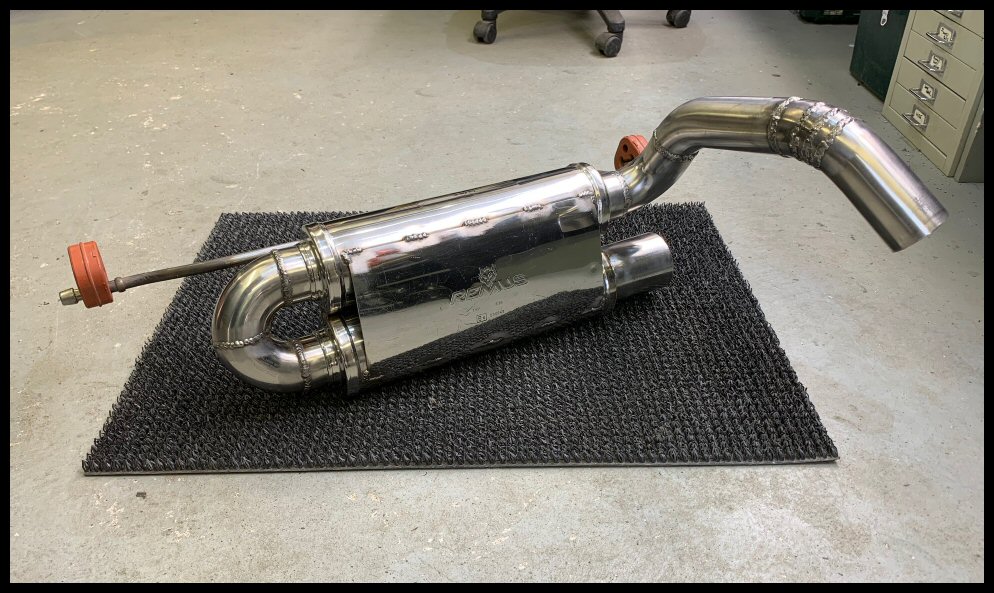
Rewind 3 years ago and I actually purchased a donor rear silencer for this very task, by one of my favourite exhaust brands; Remus. I don't know what it was originally for, and neither did the eBay seller to my advantage. The first thing I did was cut it up...
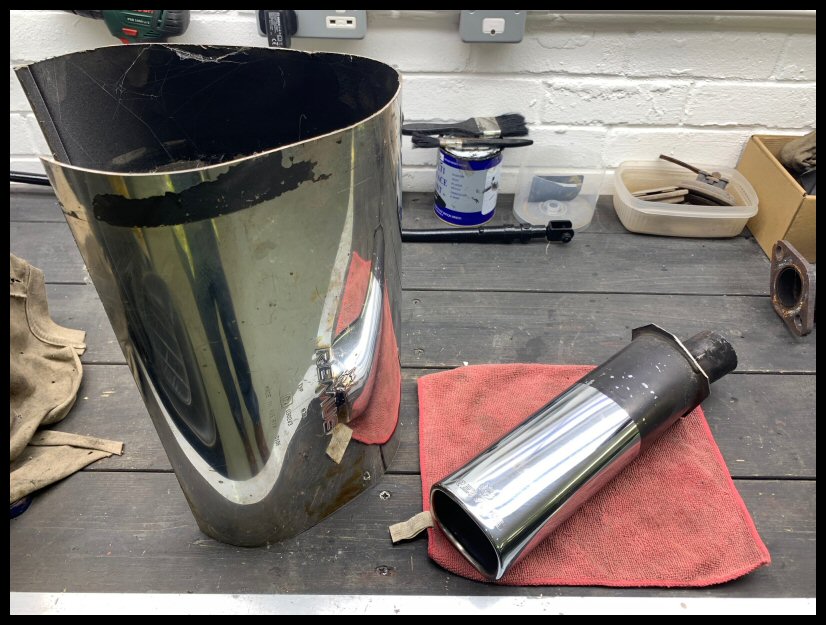
I'd like to salvage the embossed case and type approval numbers...

And, of course, that all important embossed tailpipe...
If I could buy a genuine Remus system off the shelf - I would. But that option doesn't exist - so i'm
forced to go through this!
 Shopping List
Step 1; plan, plan and plan!

Make a shopping list considering the following objectives :
• Stainless T304 (1.5mm walls) for longevity.
• A reputable parts manufacturer with warranty.
• Noise levels controlled to maintain that 'turbo burble' that I love. I don't want loud!
• Diameter consistent throughout (mandrel bends to maintain bore)
• A de-cat option, with a time-limit to re-fit the cat in ten minutes as part of MoT prep. This can be achieved with drop-out flanges, rather than sliding joints or ball-and-cups.
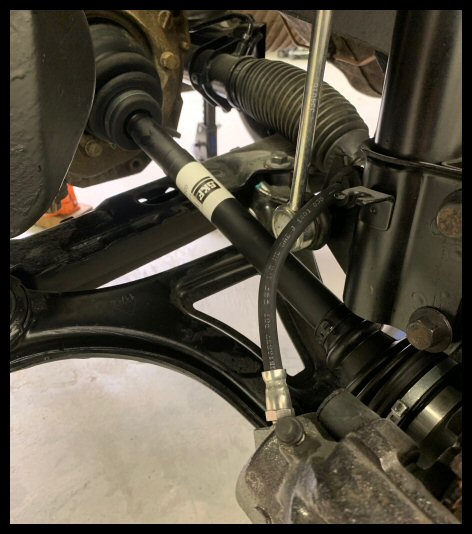
Diameter wise, there is no point going bigger than the front pipe. You are also restricted for space where it passes over the rear Panhard beam. The front pipe (turbo down-pipe) is a surprisingly big bore item; it's near 2.25" (57mm) in places, so that will be the bore of my system throughout.
With that list, I went shopping...

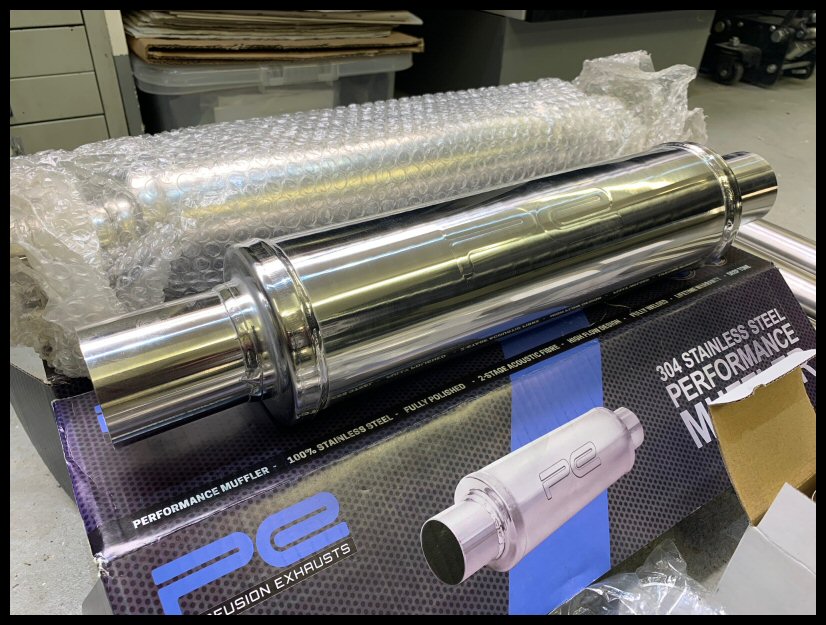

I used Profusion Exhausts near Heathrow. They are the primary suppliers for most custom-exhaust shops around the U.K.
It all appears very good quality and has a guarantee. Some items are so beautifully polished its a shame to start cutting them up
 Preparation
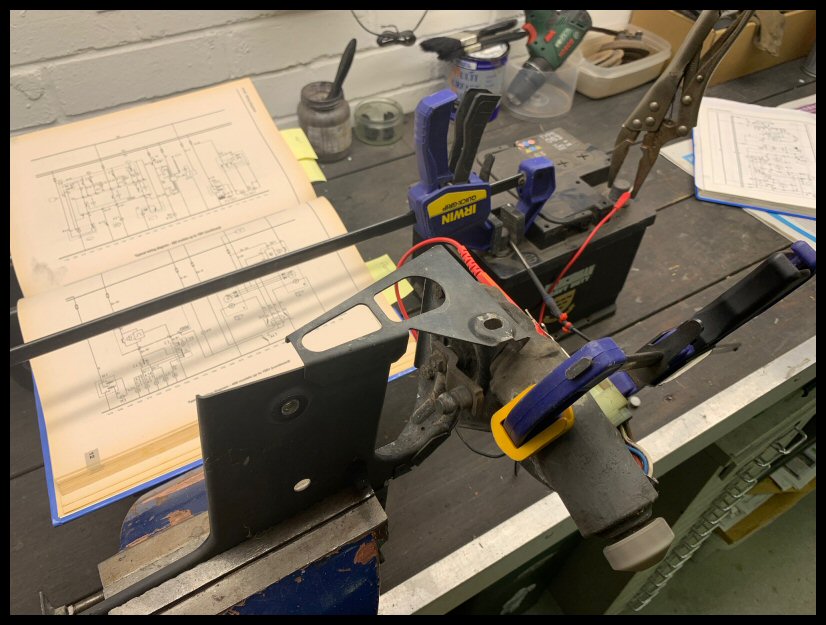
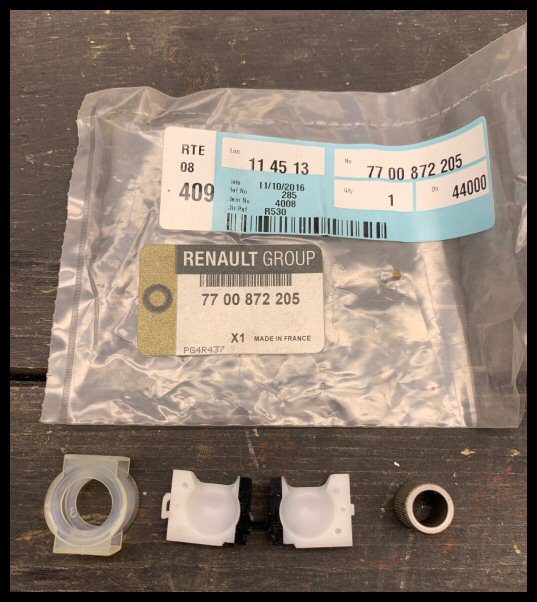
First of all I need to re-fit the gear lever and shift rod. This ensures clearance is all ok.
This uses the re-bush kit purchased from Renault 7700872205...
Shifter all reinstalled...
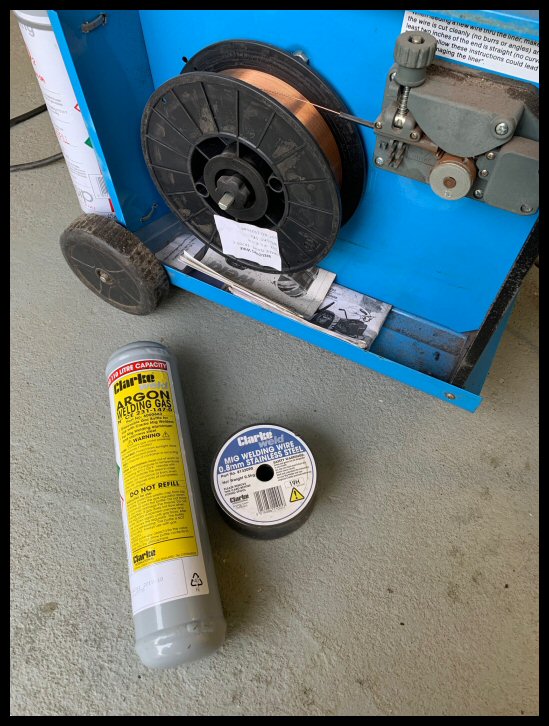
Then, I need to convert my MIG to stainless. I swapped to stainless wire and Argon (from cheaper CO2)...
I made a 'tack clamp'. Essentially just a band clamp with two elongated holes cut in it. This enables you to butt two pipes together, position, clamp and tack weld on the vehicle. The position is then fixed with tack welds for future bench weld completion...
Not overly pretty but doesn't have to be...

Out comes the new purchase. The cost of which is completely justified for this task with my man-maths

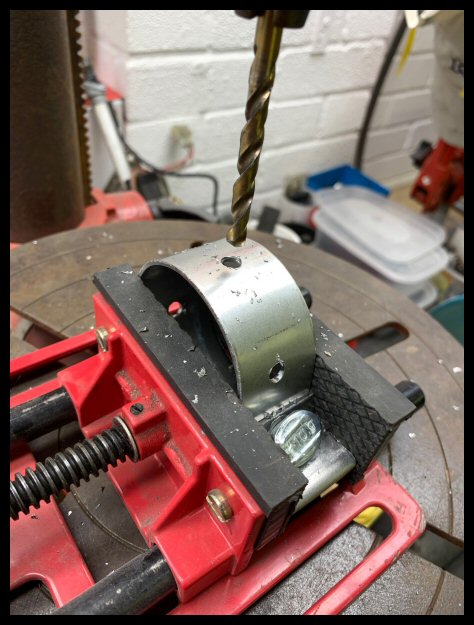
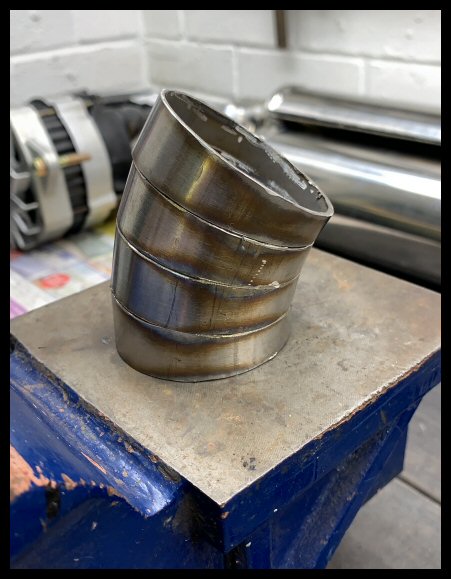
Also in preparation... 'pie-cuts'...

Make a batch of these at 4.5° (on both sides) and keep them as reserve.
Tedious to cut and make, tedious to weld, but they can make any unique bend you need...
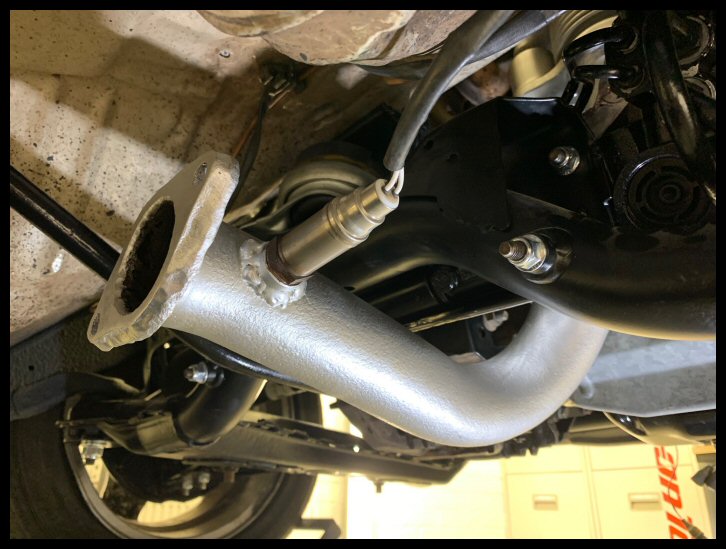
 Down Pipe & Catalytic Convertor
So, start with the front pipe that I plan to keep. First of all, some flange adjustment for something that used to be flat...

Then a clean and coat of VHT silver...

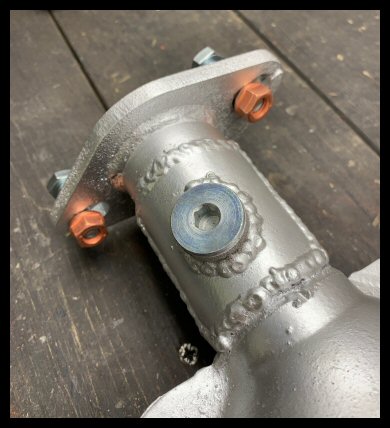
I want to make a de-cat pipe - but the cat is a nuisance to swap out quickly, as it has an integral O2 sensor.
Solution... move the O2 sensor slightly upstream to the turbo downpipe.
Boss welded to the downpipe upstream...

All installed...
The cat has a ball and cup connection which is no good for my 57mm pipe - it is also more awkward to swap out come MoT time. I need to convert it to a flat flange so it drops straight out.
Cutting off the ball-and-cup...

Flat flange installed...
O2 blanking plug installed...
That's the cat done. I can now swap it in and out for the MoT with ease.
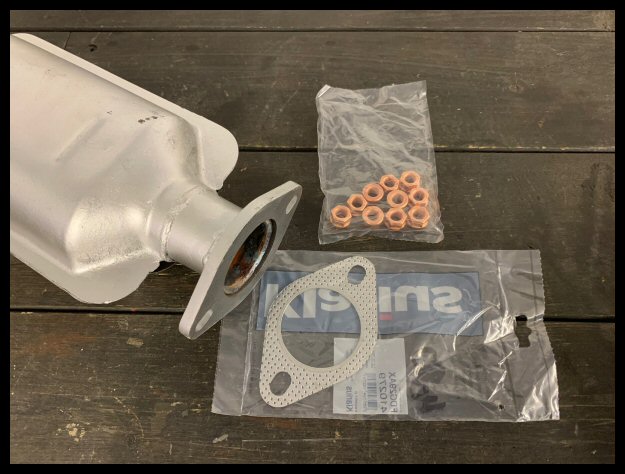
De-Cat Pipe
Now I know my modified cat length (flat flange to flat flange) I can make a stainless de-cat pipe to suit...

Gasket set obtained and new crimp-copper nuts...

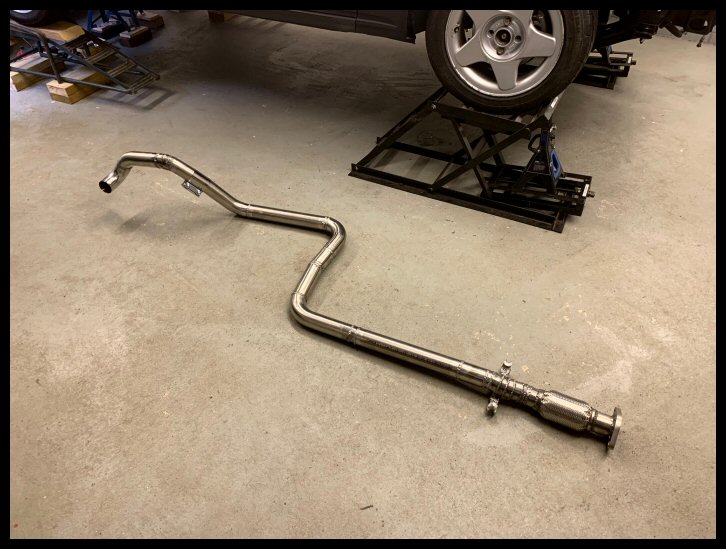
Front pipe and de-cat all installed, plus gearshift rod clearances all checked. Ready for system measurements...
 Rear Silencer Construction
I need the rear silencer in place
first, so the system can be built to meet it.
I spent quite a bit of time researching an 'off-the-shelf' solution, for a '
same-side-in-and-out' silencer. Basically, I couldn't find one suitable. All were too big and cumbersome. To the drawing board...
Time to cut up the Remus again... salvaging the flat panels...
My rear silencer master plan... an inbound silencer, a pair of 90°s to make the tightest 180° possible, an outbound silencer. Then, capped off with Remus embossed fascades...

Looking something like...

Welding...

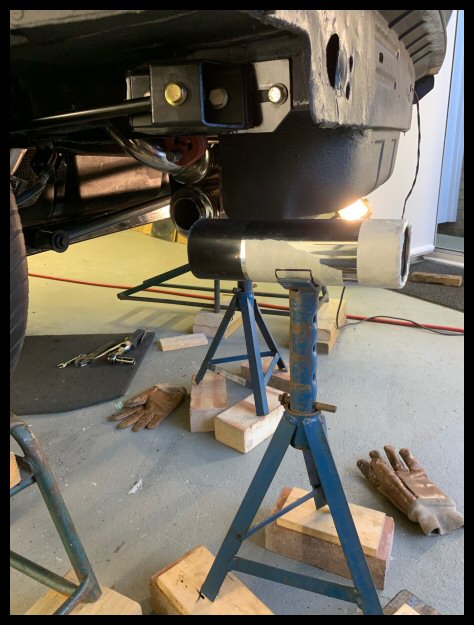
Supported on axle stands and ratchet-strapped into a semi-permanent, representative position...

Making the rear box joining section that goes over the rear beam. This part is critical as they are so famous for knocking. The clearances over the Panhard beam need to be just right...

Bending the 0.5" stainless exhaust hanger rods...

Working out where to attach the hangers (circled) before welding them...

View from below, looking directly up, sculpting the hanger rod around the spare wheel well...

View from the offside wheel house...

The exhaust hangers are from an Iveco Daily. They are red as they are for the DPF (high temp). Should be well durable enough.
All finished, albeit minus a tailpipe at this stage...
 Centre Section Construction
Making the centre section, with a stainless flexi up front. A good example of pie-cuts...

Working backwards, using large zip-ties to position...

Example of the tack-clamp being used...

Boxing Day 2020 and I should be with Family. Rules is rules. Instead, i'm welding with a Californian white as it's Christmas. Goes well with those metallic aromas...

When all tacked in position, completing the welding process outside for ventilation...

Centre section all done...
 Rear Bumper
Rear bumper modifications are integral to the exhaust plans.
This part isn't for the purists out there - I apologise - don't flame me too bad

January 2021 has been a bit of a non-original confessions box on here of late, so this is my guilty pleasure oh father.
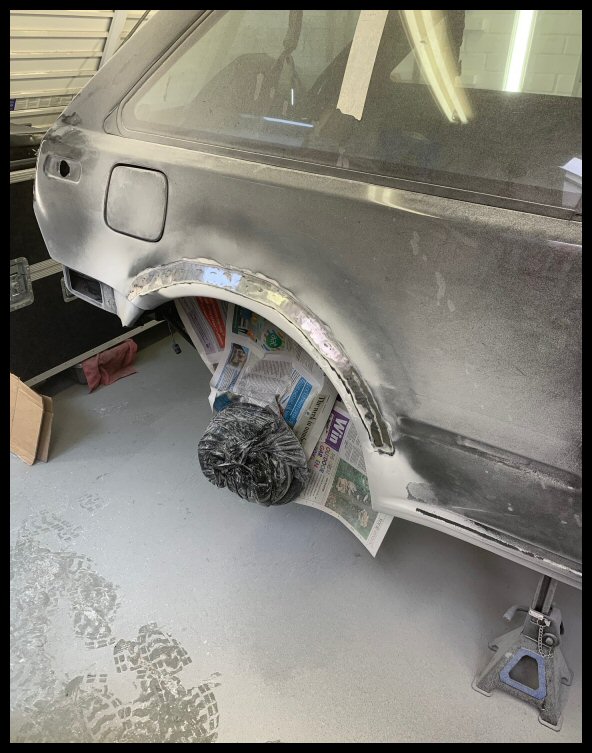
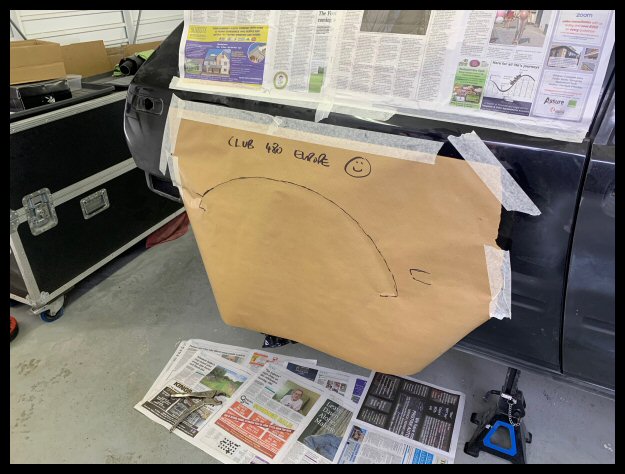
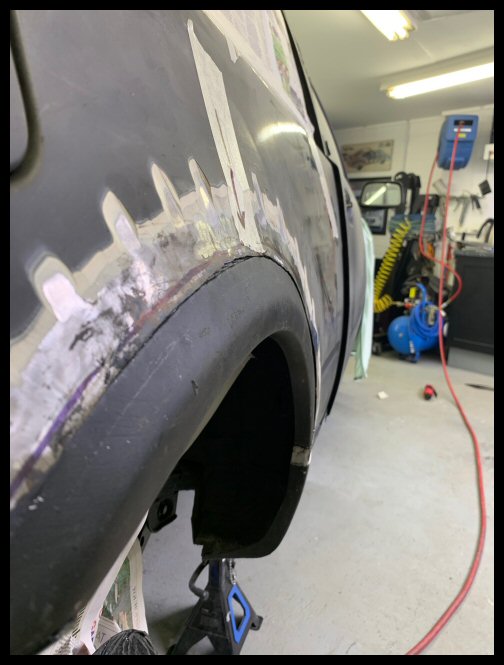
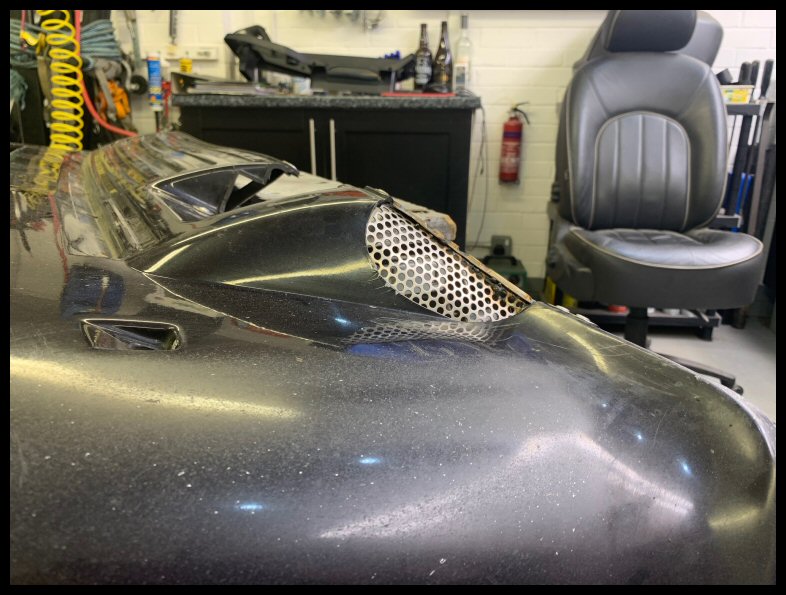
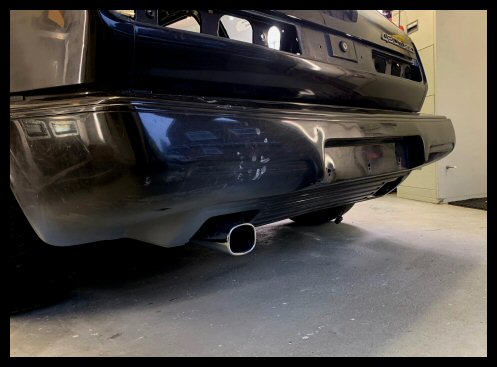
First step, trim out the fog aperture... no turning back...

I did some trials way back in the summer gone, and was happy with the look, but I didn't like that the exhaust was visible through the old aperture...

Flip the bumper over to crack on with the next task; to block this up...

I made a stainless steel brace bar...

Not only does it brace things up to stop flex, it is a good weld base for stainless mesh. The mesh is a great bond for the filler to grab to.
I used ISOPON flexible bumper filler... looks like Nutella but I wouldn't eat it...

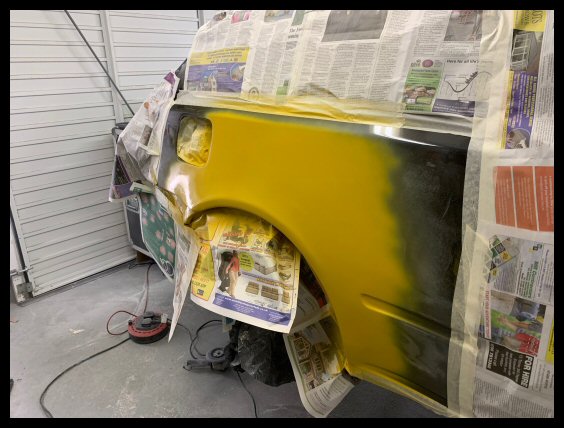
Major sculpting finished, first coat of primer...

I know its modified, but I sincerely hope I have something that looks as OE as possible.
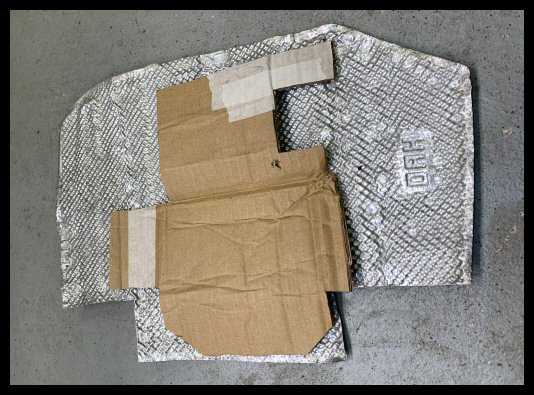
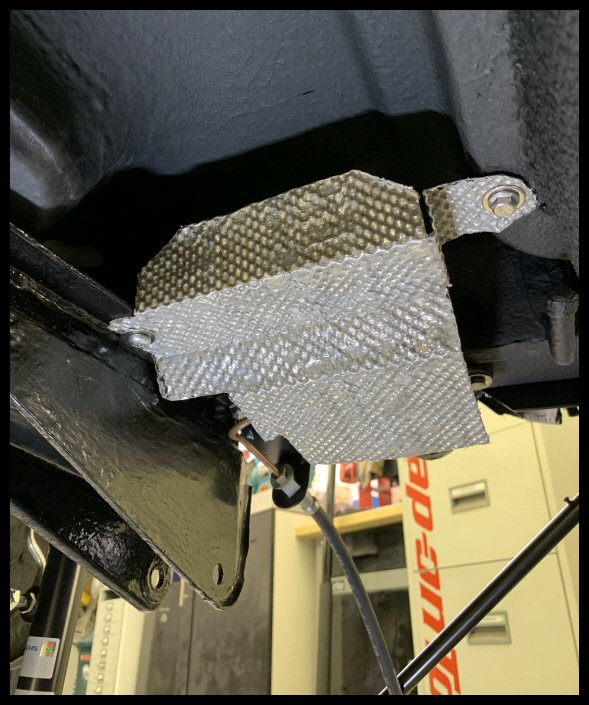
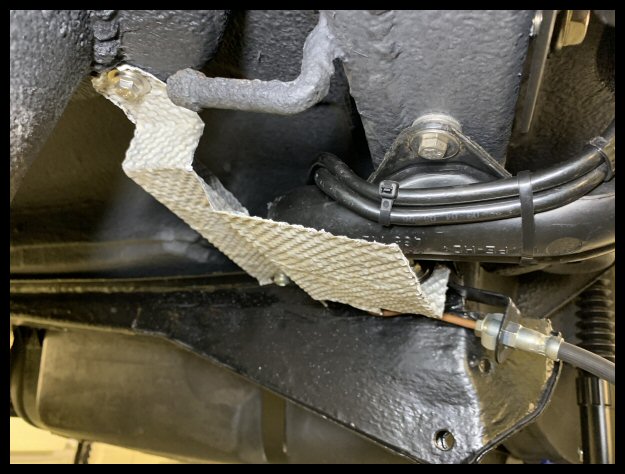
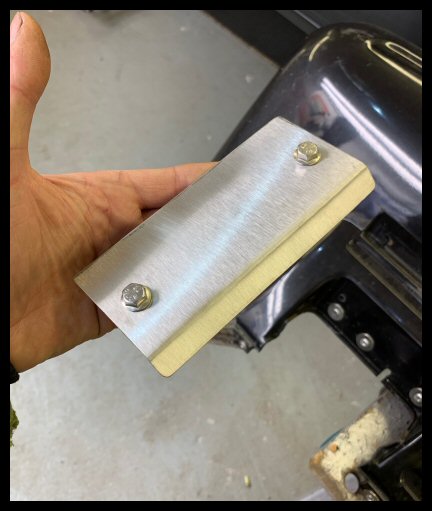
Due to the proximity of the tailpipe to surrounding plastic, I decided to make a small heatshield...

Looking quite smart in brushed stainless...
 Tailpipe Construction
Now that I have an aperture, I can now complete my tailpipe section.
I temporarily fitted the bumper skin and positioned/marked the tailpipe.
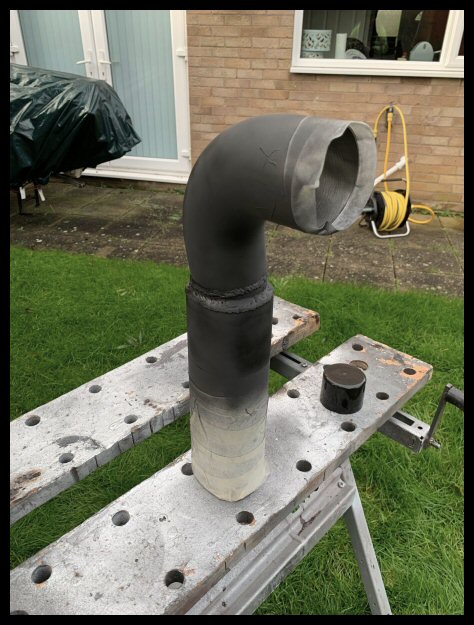
Time to join this up...
Converting the tailpipe into round pipe...

The last weld of a project is always your best weld... when you have worked out your amps, line feed and gas pressures on the hoof.

Mounted to the silencer with the following sleeve clamp...

... allowing for adjustment...
Mounting the tailpipe with this sleeve clamp has the following benefits;
• Fine tuning of position within your bumper aperture.
• The internals of the rear silencer can still be accessed. This means I can add baffles, as required, to acheive a suitable volume to my preference.
• I can easily change tailpipe design.
I am keeping half an eye out for a stock rear bumper.... just in case I have second thoughts and want to go back to OE. My swappable tailpipe design would also allow this. I could, if I wanted, put a 100% stock tailpipe on my stainless system. When values are the same as the P1800ES, perhaps
Painting VHT black so it isn't visible through the wheel arch...
Oven bake...

All done....

Fitted...
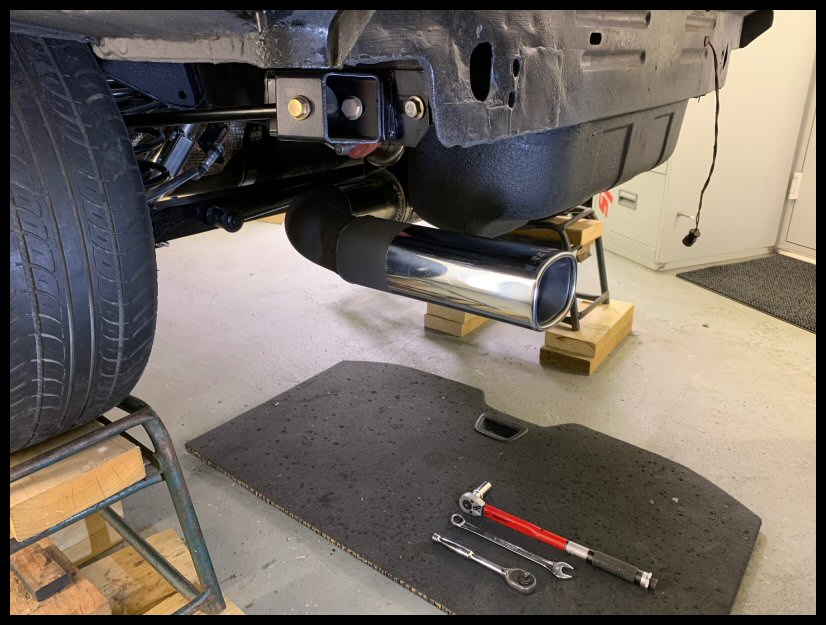
Finite tailpipe adjustements to be made with a painted and fixed bumper...
 Conclusions
Is it worth making an exhaust yourself? Ermmm, 100% NO!
Like most things with this car, it took twice as long as I thought and cost twice as much. I used three hobby bottles of Argon, two spools of stainless wire, a chop saw disc, plus other consumables... that's £100 already and you haven't even started! These exhaust shops have the economy of scale - especially with the bigger 5ft gas bottles.
The numbers; £385 in stainless components. £100 in consumables. 23 hours exhaust construction. 8 hours bumper modifications. The only way I can get any comfort from those stupid numbers is if I can get ten years out of it.
Plus all that crawling under the car, then getting up out again, repeat.... my knees !
AND, after all that, I have absolutely no idea what it sounds like. If it's too loud, I can add baffles as discussed and can even convert my de-cat pipe to another silencer. Who knows, there may be more exhaust work to come...

That all said, glad its all done and I am genuinely pleased with the result. I just hope it lasts to justify those costs!
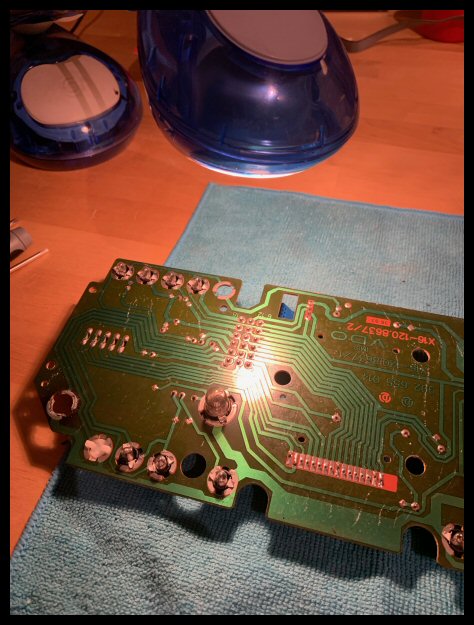
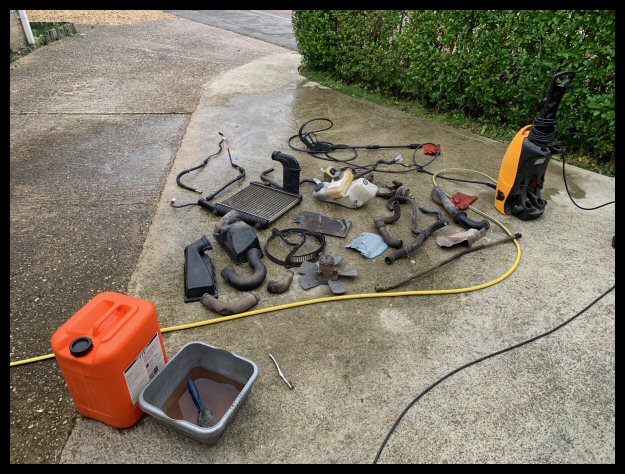
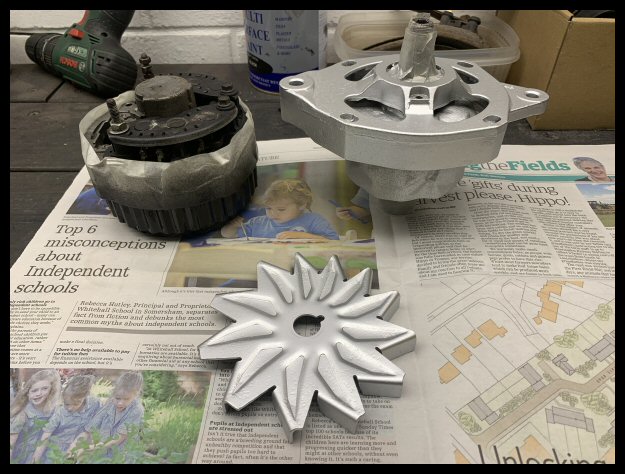
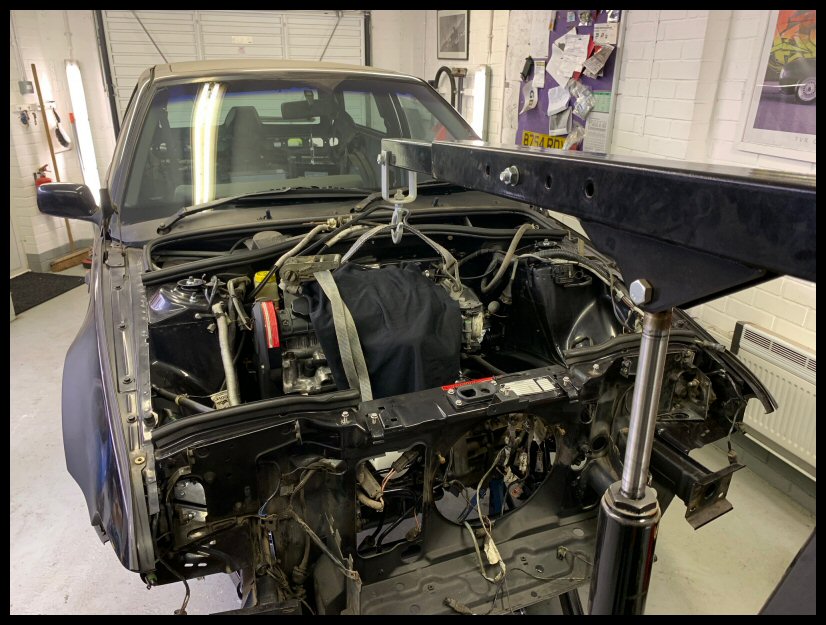
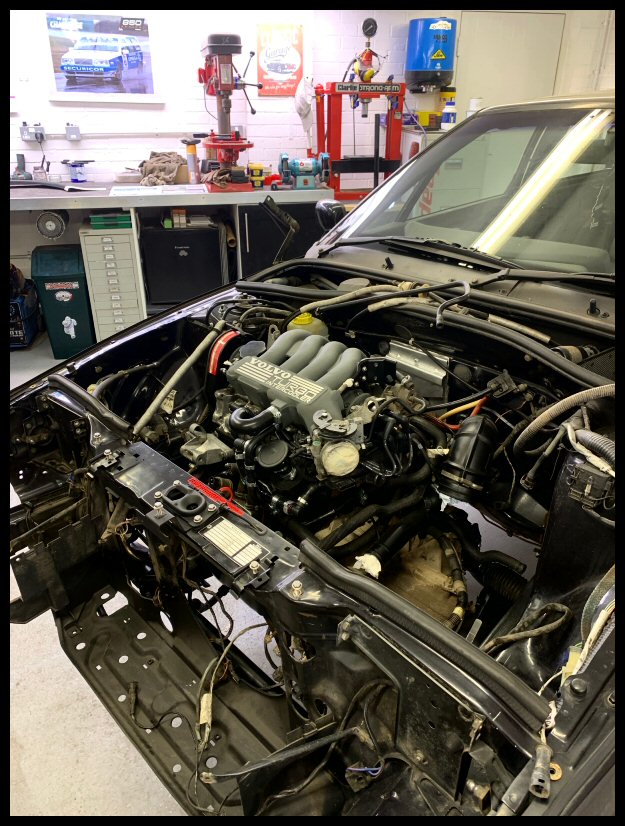
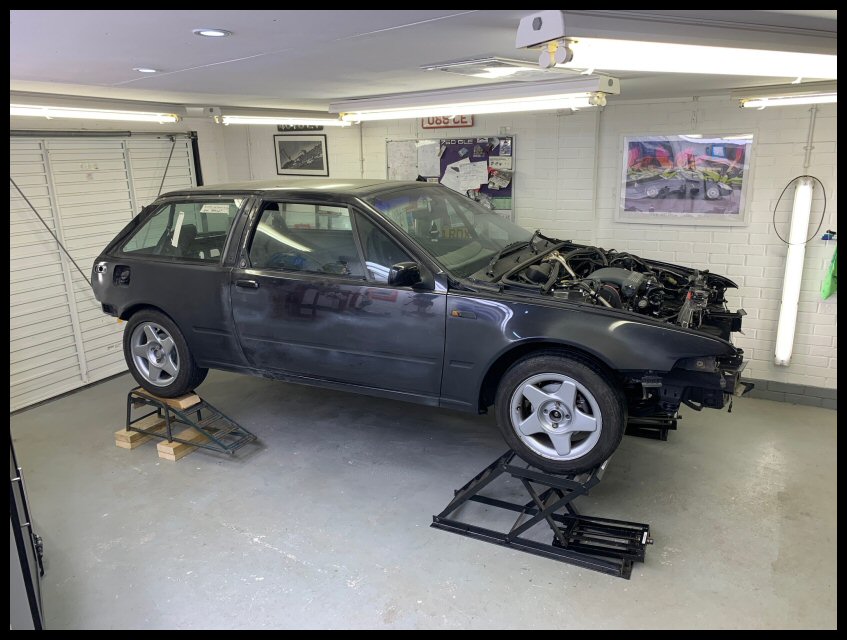
It's easy stuff now, radiator... fill with coolant, fuel it up and get it to the paintshop, right?
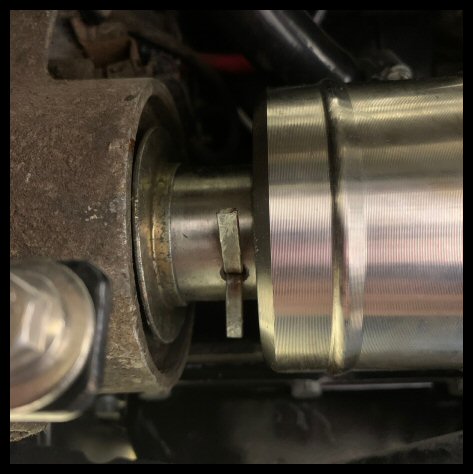
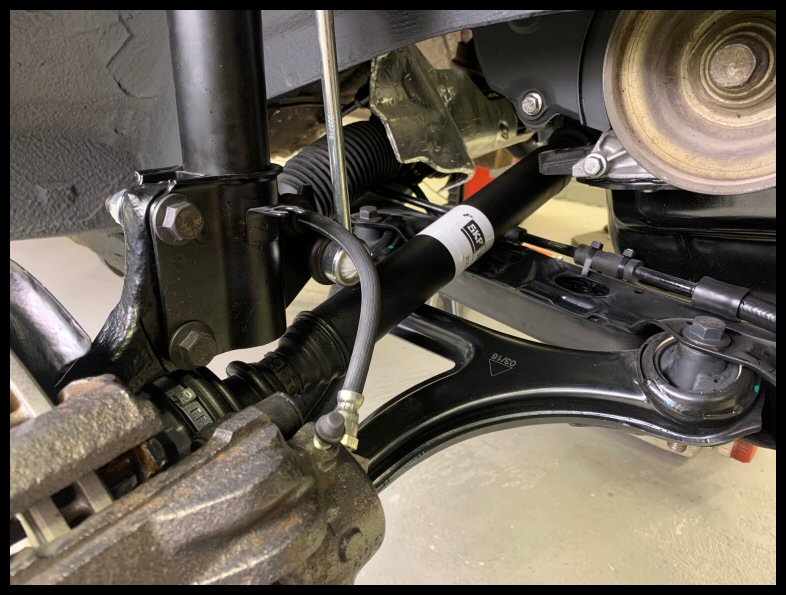
I'll just leave this picture here...

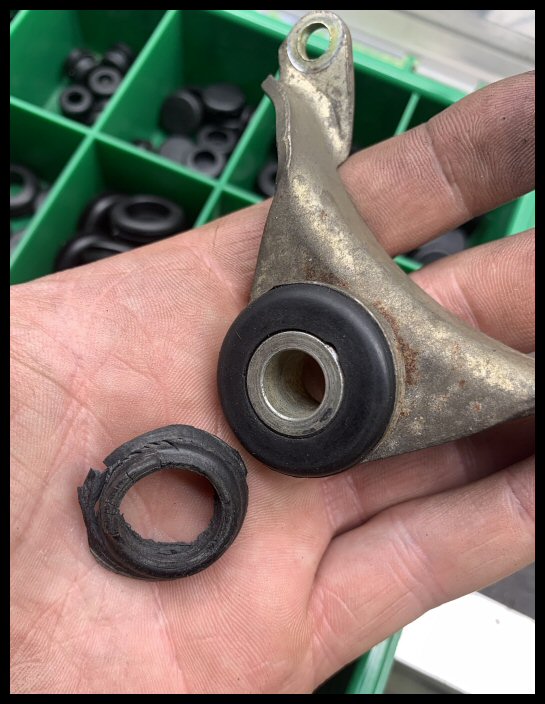
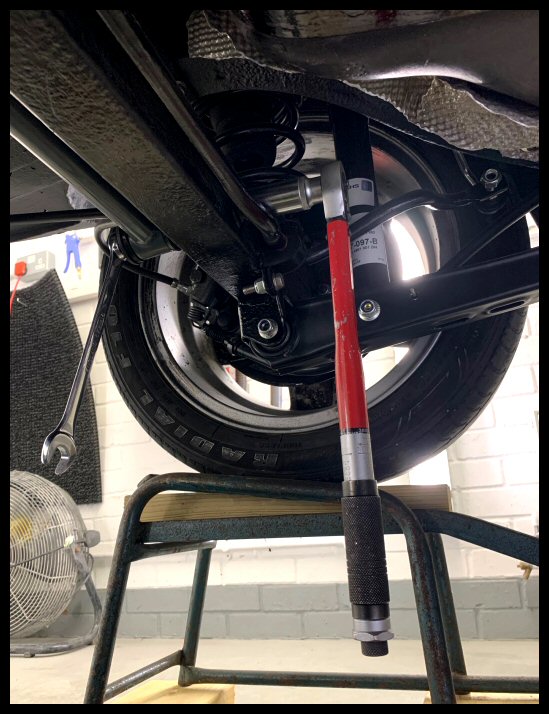
Probably best not to put that welder away just yet...