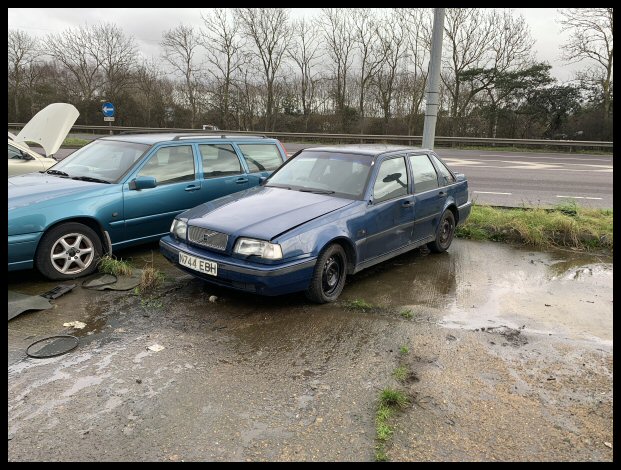
Hi all!
An update of misery really.. January really has been one step forward, two back.
At times, I have felt like the opposite of King Midas... whatever I touched, turned to a kind of brown powdery dust.
Rear Suspension Tear Down
Backing plates in a terrible state (fairly standard)... as were the stub axle bolts...
Chances of that wheel speed sensor coming out? Erm, absolute zero... they didn't survive on either side.

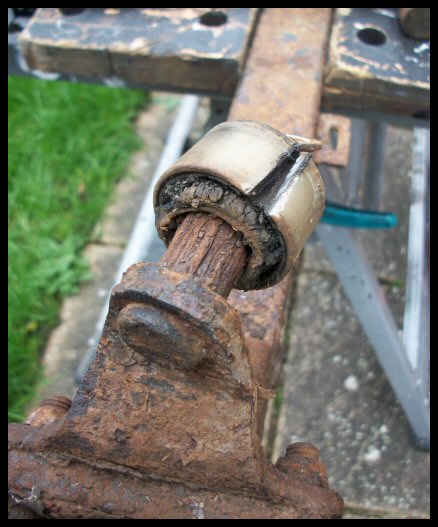
Had to cut the torque rods - the bolts were seized in the bushes. I think Cranna recently reported the same...

Cutting off the outer core...
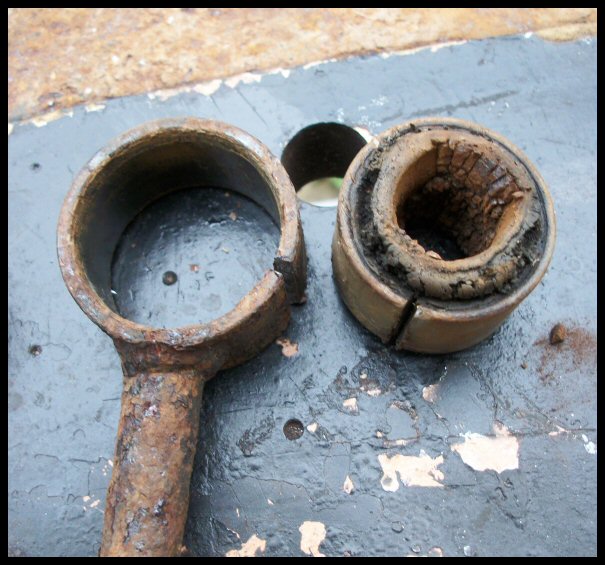
Then finally cutting the bush off the axle mounted stud...

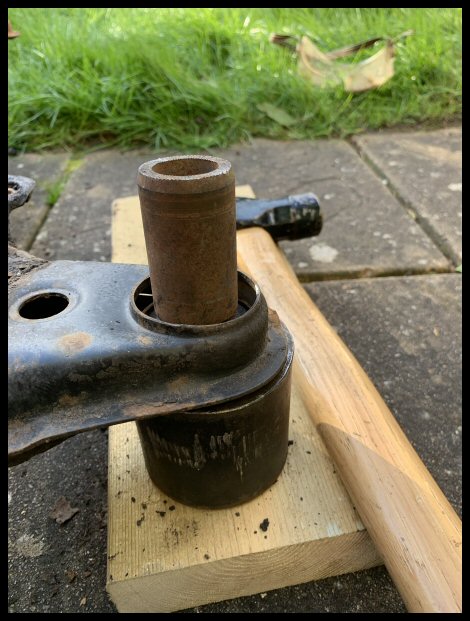
One removed Panhard rod...

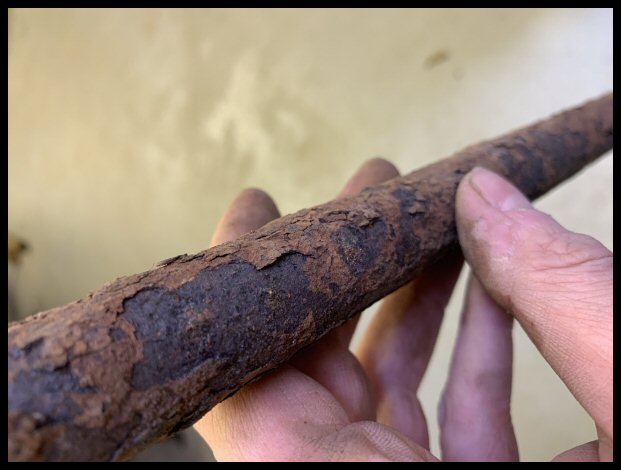
Would you trust it? I wouldn't... suspiciously light as a feather... wall thickness seriously compromised. Original sent off to GizFAB for a pattern, and to manufacture a new, adjustable Panhard for the future Lesjöfors spring set.
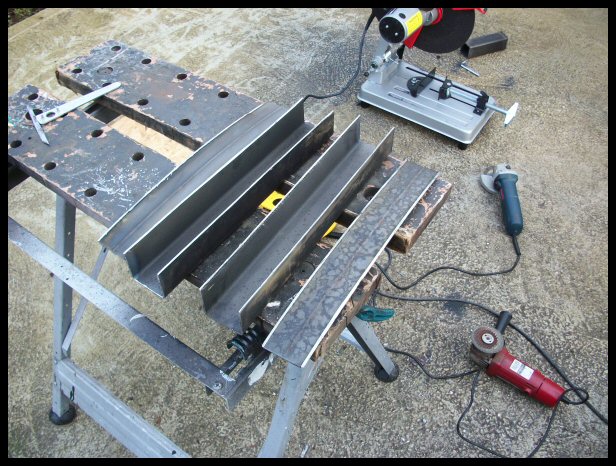
Rear anti-roll bar bush clamps... corroded very bad and bendable like crêpe paper. For scrap...
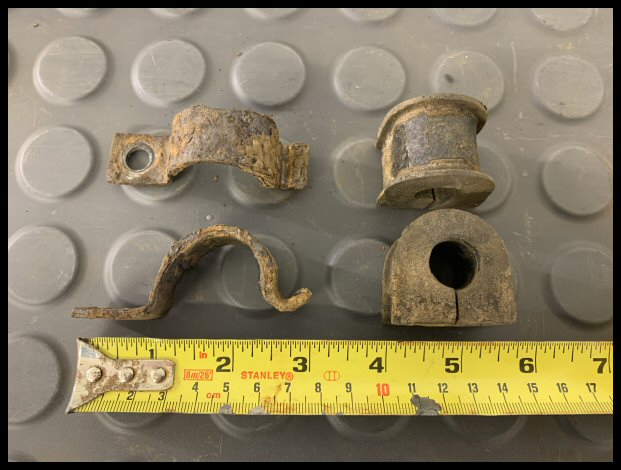
Here i'm measuring them because they are very similar to Renault items (i'm sure). I'm currently trawling Renault's part catalogue 'Dialogys' - swear I have seen them before. Will update when I have found a solution.
Rear spring seats in a shocking state...

Plenty to do there. Spring seats to repair, parts to obtain and a long powder coat list.
Front Suspension Tear Down
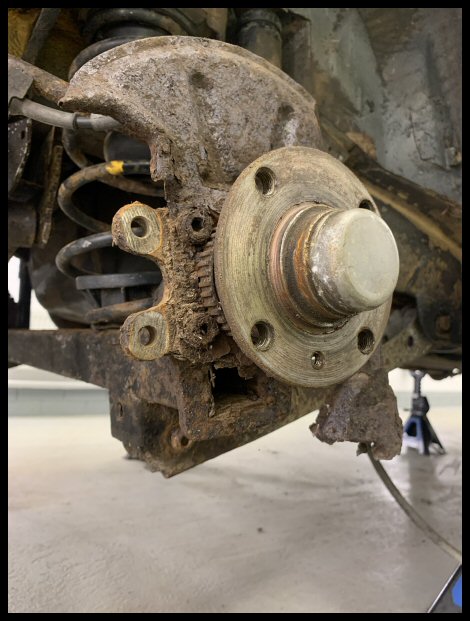
Lower control arms with knuckles removed and struts removed...
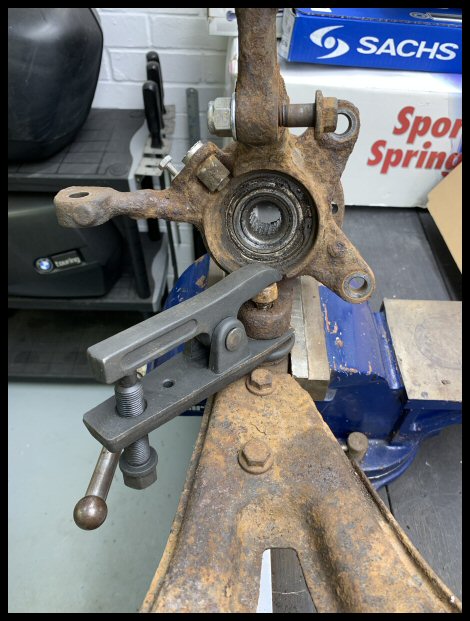
Separating the knuckles on the bench...
Another wheel speed sensor, top snapped off already...
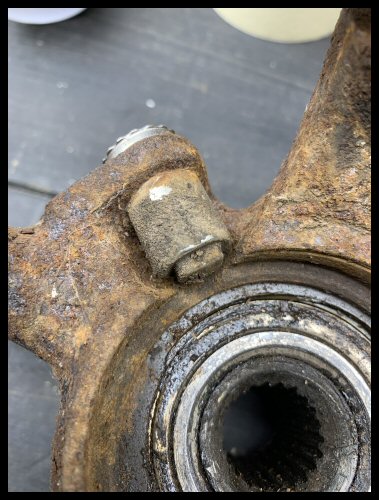
... and further destroyed upon removal...

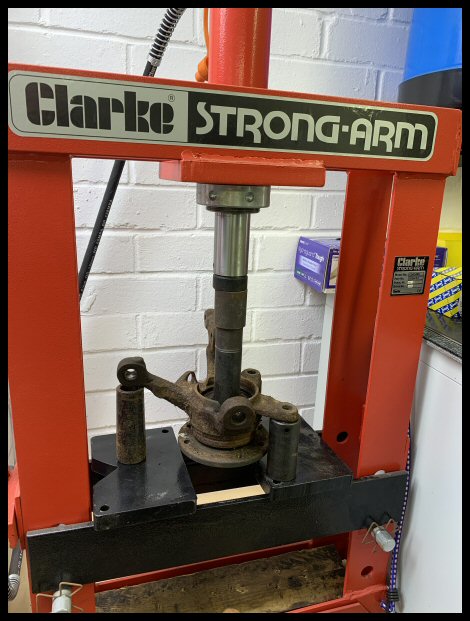
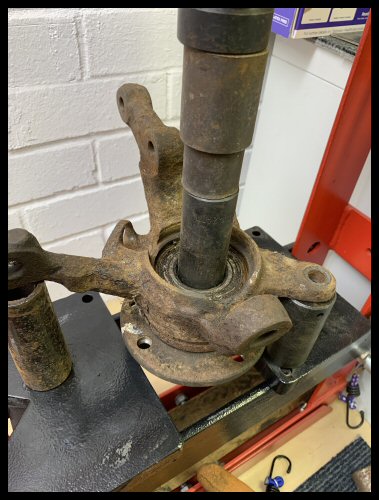
Bearing removal next, so:
a) the knuckles can be blasted / painted and...
b) you can't fit new splash shields with the drive flanges in the way...
McPherson strut teardown...

Spring seat bearing rough, notchy and grease a horrible rusty brown...

Spring seats for the
'powder coating required' box...

Strut tops in a bad way, ballooned with corrosion...

I have seen artefacts raised from the Titanic that look in better condition than these brake calipers...
 Subframe Removal
Following corrosion discoveries at Christmas, it was clear the engine was coming out. Perfect chance to get the subframe blasted / powder coated too. Removal first...

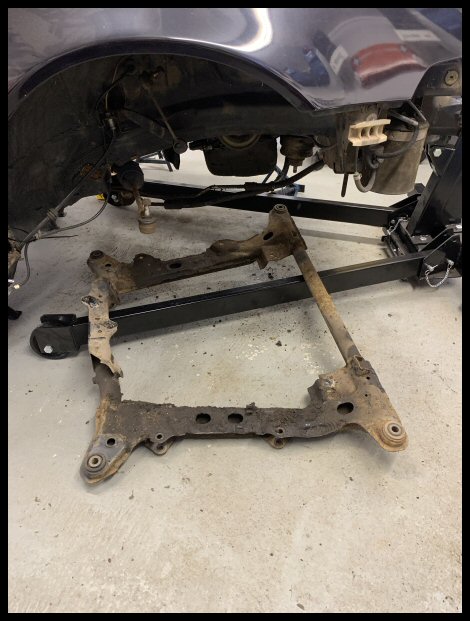
Bushes have to be extracted if this is going in a blast cabinet / powder coat oven. Three came out just fine...

The fourth not so much... so I turned to the power of fire

 Powertrain Removal
From above or below, that is the question. Subframe was out the way so I had free choice. I read many, many threads on here and the opinion is definitely split 50/50. I think the deciding factor depends if you can raise the body high enough. If I had a ramp, it would come out from below just like the factory. Sadly I don't have a ramp, and man, access looked tight left/right from above...
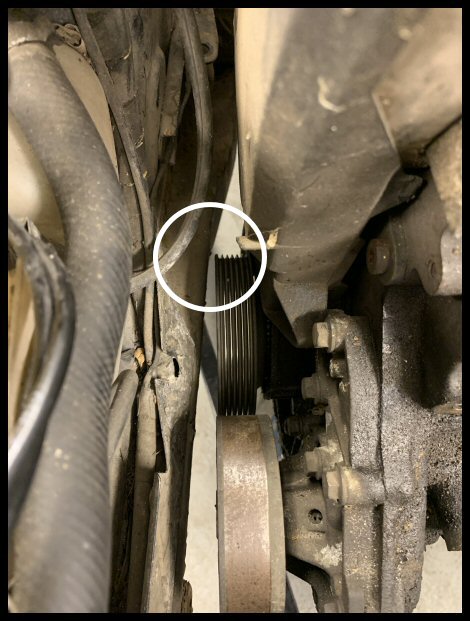

5mm left and right, not joking!


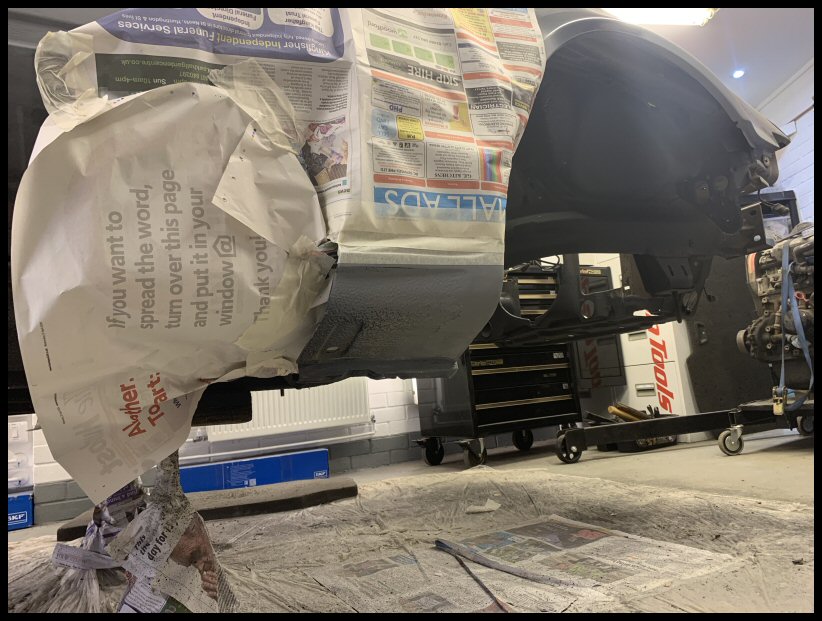
All on a trolley, ready for cleaning & degreasing, water pump, cambelt, selection of gaskets, inlet manifold painting, turbo oil & feed pipes... All for another day...

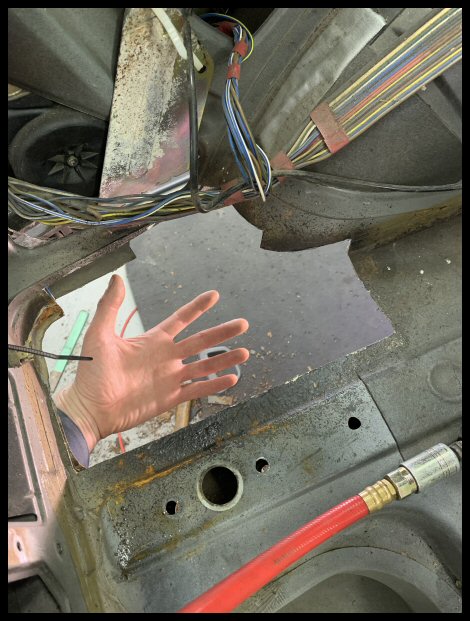
All the room I wanted now... except the ABS modulator is right in the way...

Much conjecture here. Bearing in mind I have already destroyed all four wheel speed sensors, and that all four sensors are unique part numbers (why Volvo WHY!). One of the four sensors I just couldn't find new.
So the question was, should I keep and maintain this heavy, complicated block of alloy courtesy of ATE, together with the unobtainable parts. I checked the wiring diagrams as I know these later cars have TRACS. However, I couldn't find any relationship between the ABS and Engine ECU's and it appears TRACS doesn't reduce engine power - it merely brakes the spinning wheel. This suggests no harm in removal and that they are two unique systems. Whilst I am a stickler for originality I made the executive decision to cut the pipes, remove the modulator, put it in a box up in the loft just in case.
All my other cars are non-ABS so its no drama.
I therefore declare it will be a non-ABS car and I apologise to the purists out there. I will keep all parts just-in-case but will plumb all the new lines in a diagonal split. The car already has brake line pressure reducers by ATE which I shall retain to give that important front brake bias.
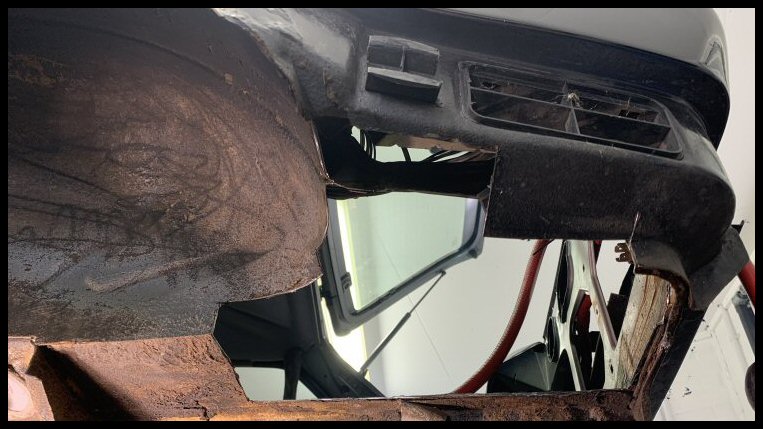
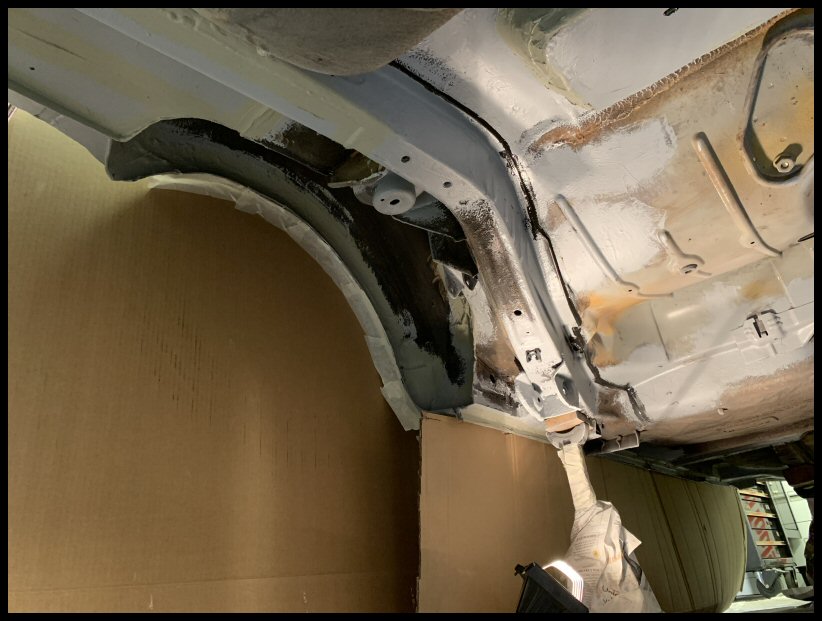
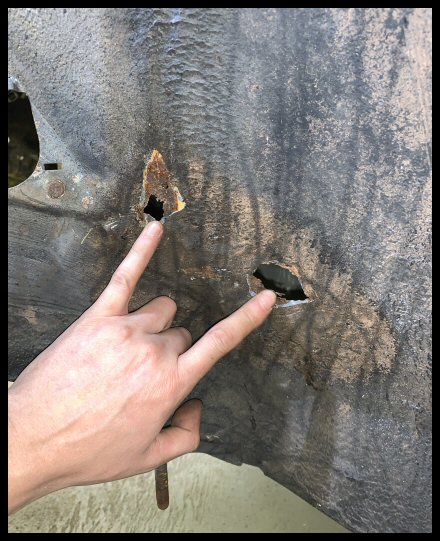
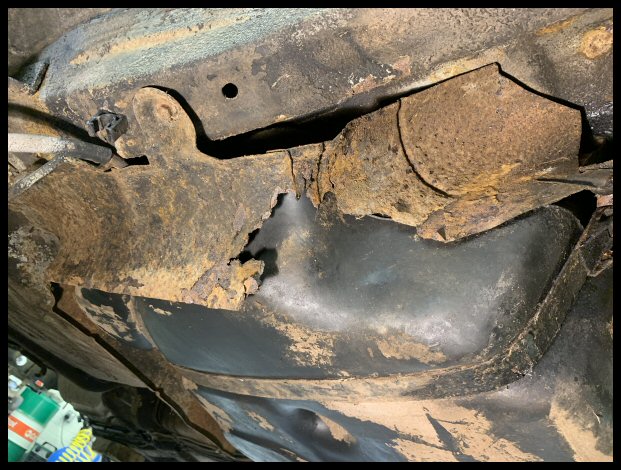
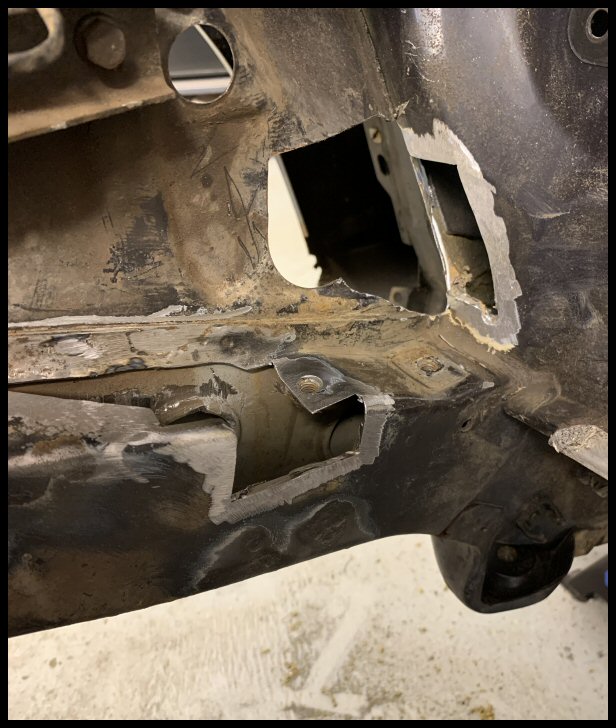
With the modulator out of the way, the corrosion problem was clear to see nearside...
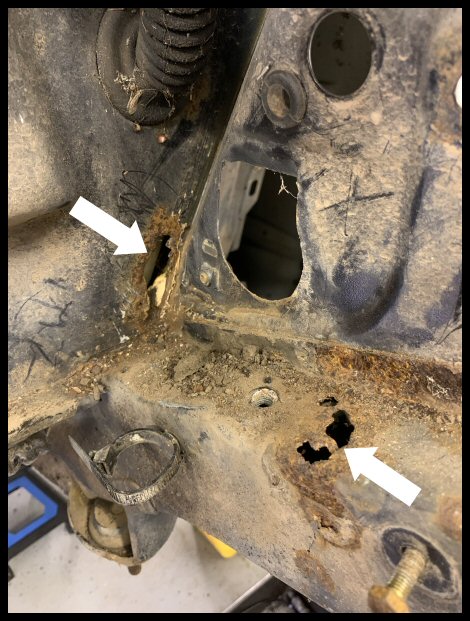
...and offside...

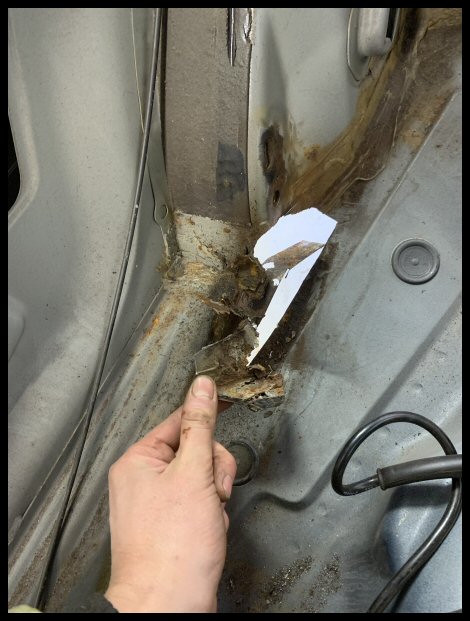
I remember reading threads on here about wet nearside footwell carpets. Pages and pages of people chasing water leaks, sealing doors, sealing windows etc. Well check your footwells i'd say...!

Is that daylight I see? Oh yes, with historic water staining...
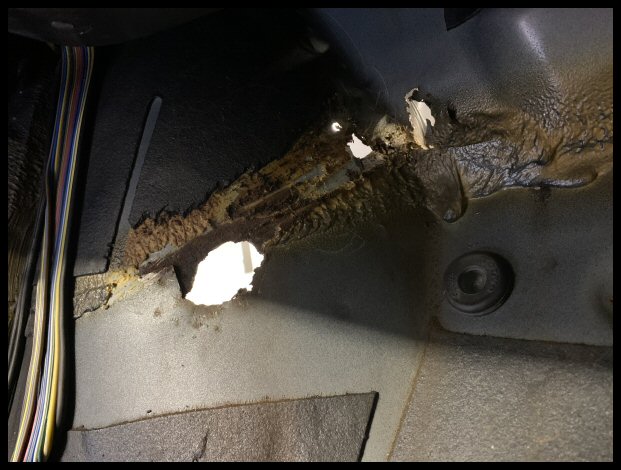
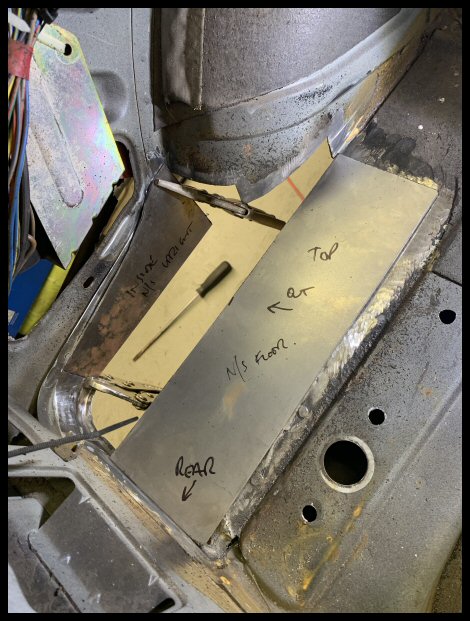
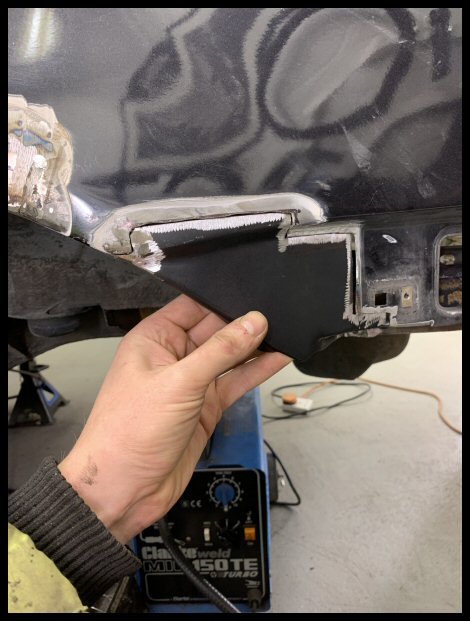
There is one seam - floor pan to wheel arch - that was particularly bad...
 Engine Removal Discoveries; Evaporative Emission Carbon Canister
Whilst poking around the wheel arches, my attention turned on the evaporative emission carbon canister.... the source of countless vacuum air leak it would appear...

Bin for you, I have no desire to maintain this system....
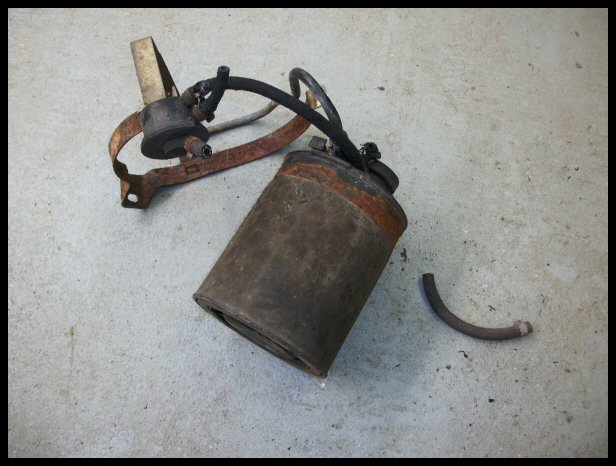
It will require some breather device at the tank to be decided. My TVR has a boot mounted tank that I have removed far too many times to mention. That has a breather and a 'roll-over protection valve' so I will just copy and paste the system over.
Engine Removal Discoveries; Turbo Coolant Pump
This clearly hadn't worked in many, many years. Windings open circuit and impeller seized...
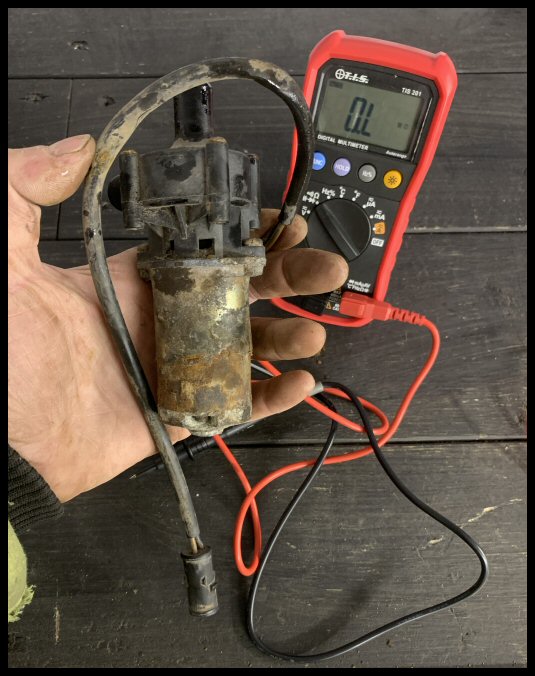
I hope the turbo hasn't suffered as a result.
Research ongoing for a replacement - many modern VAG cars have these now and plenty used on aBay. I'll see what I can find / adapt.
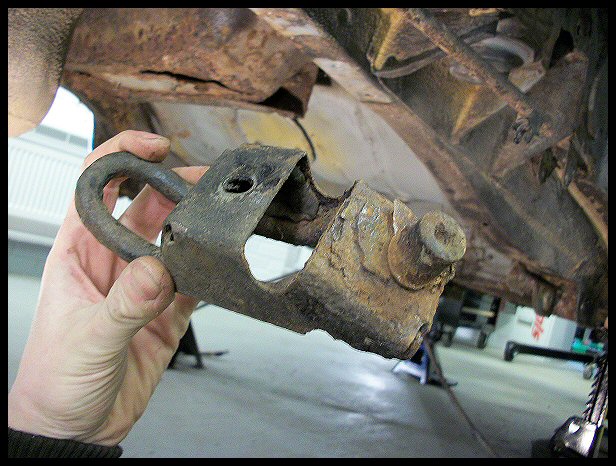
Engine Removal Discoveries; Rear Engine Mount
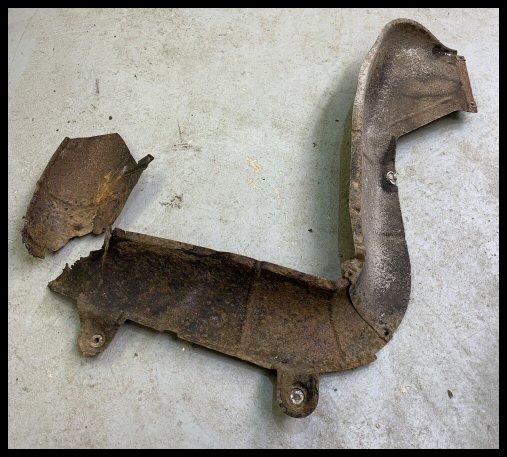
The rear engine mount had split from its base plate...

Can't find an original/aftermarket mount anywhere. Measuring it up...
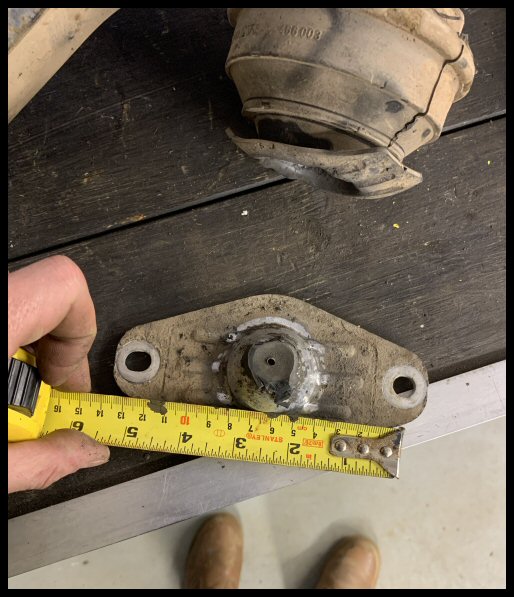
I have downloaded a Corteco engine mount catalogue that has a picture of every engine mount they make. When i'm very bored one evening, I will look at 1000 engine mounts and see whats close enough to modify / adapt.
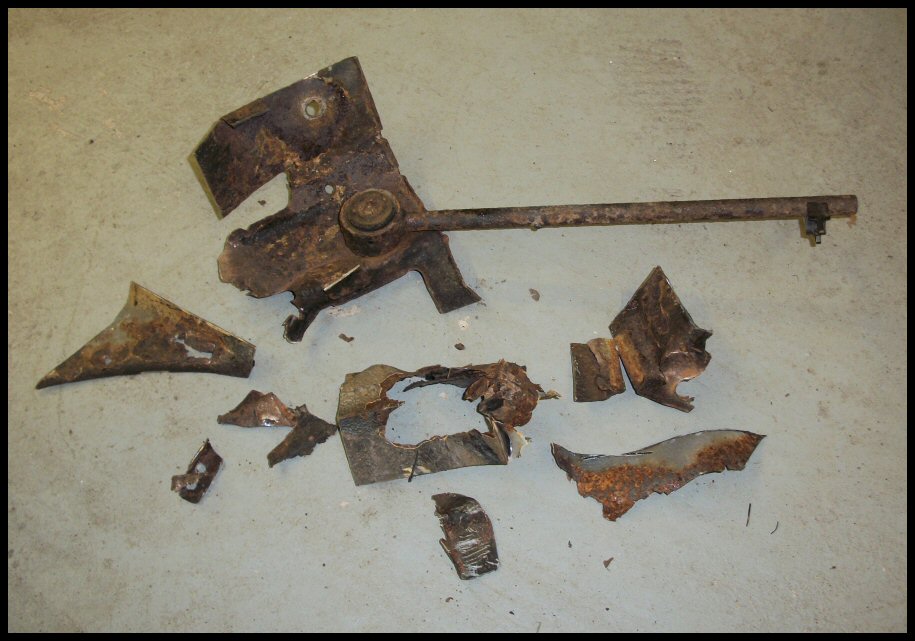
The engine mount bracket isn't too clever either...
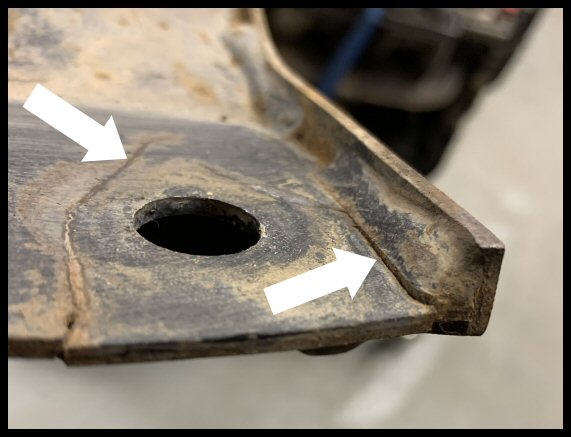
The section around the hole for said engine mount is cracked/bent. This is a standard power output car so not sure why its cracked so bad other than it might be a bit french. This needs v-grooving, welding and dressing, no drama.
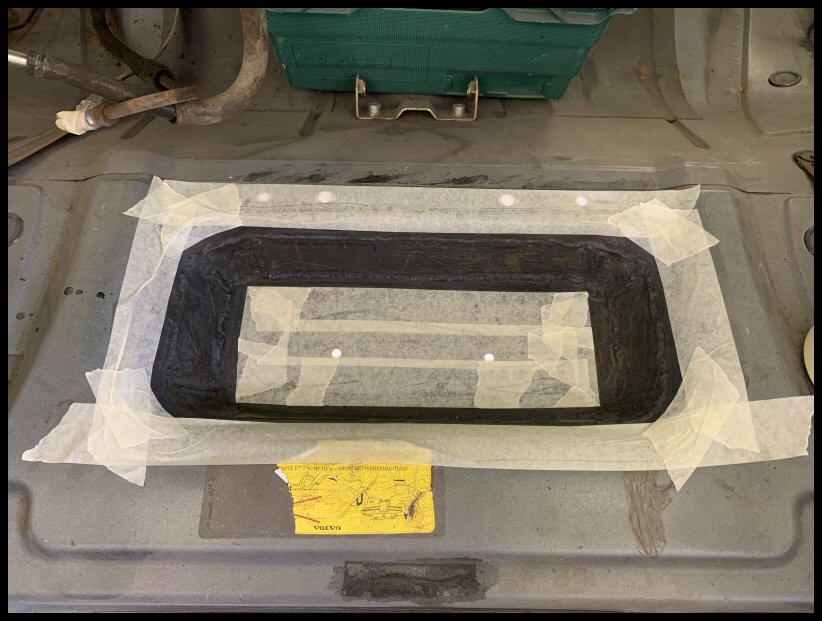
Fuel tank removal next...
Fuel tank heat shield seen better days - again one for the head scratch department - make my own when the time comes I guess...
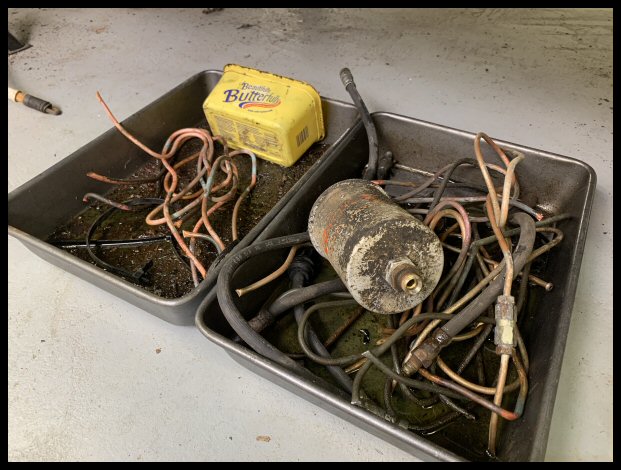
Fuel filter, brake pipes... all for scrap...
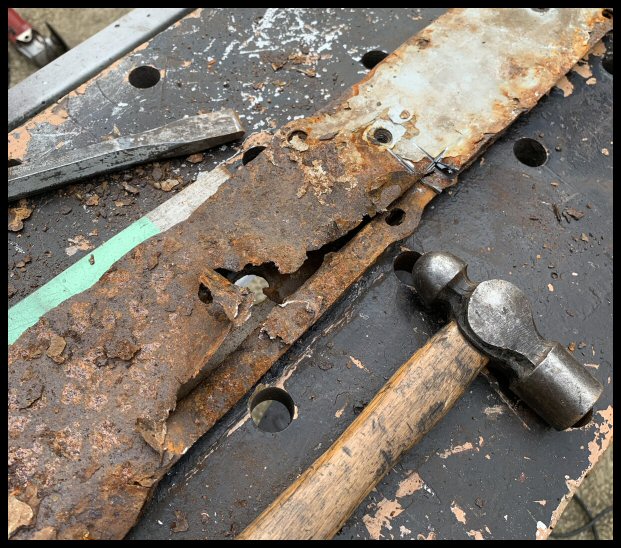
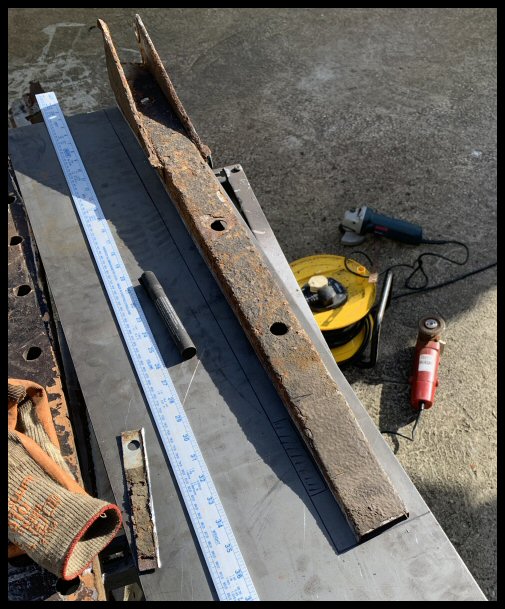
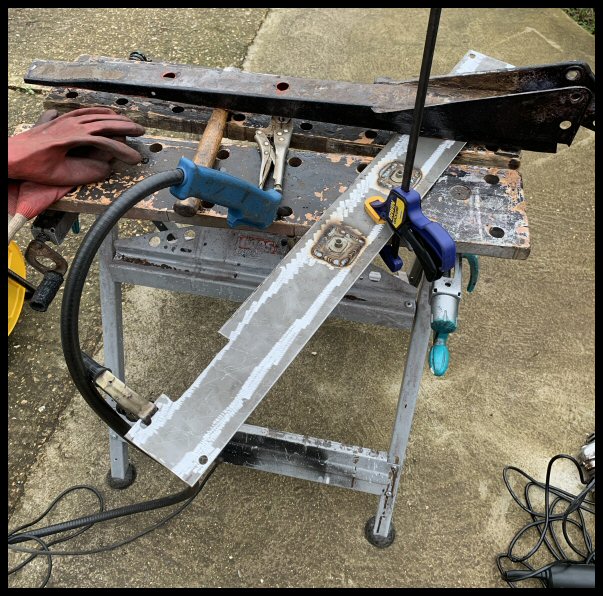
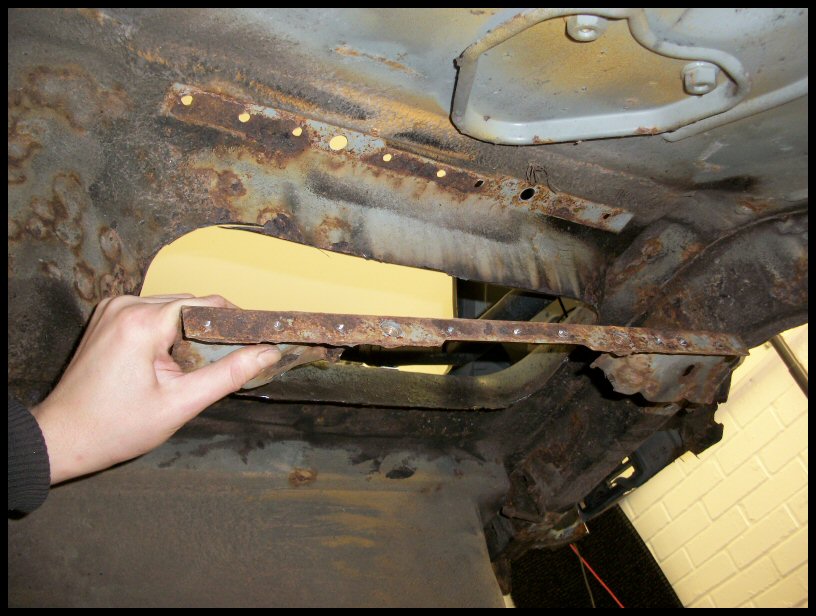
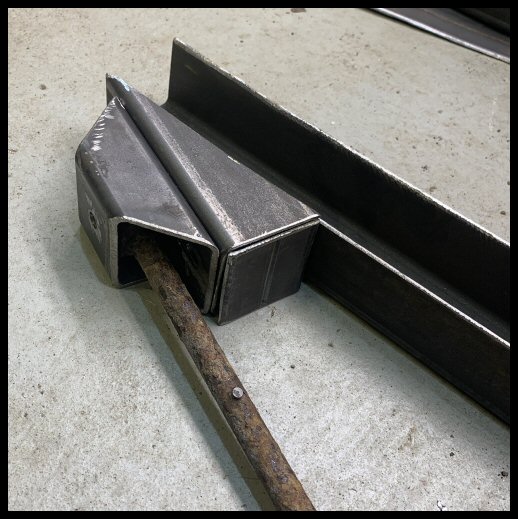
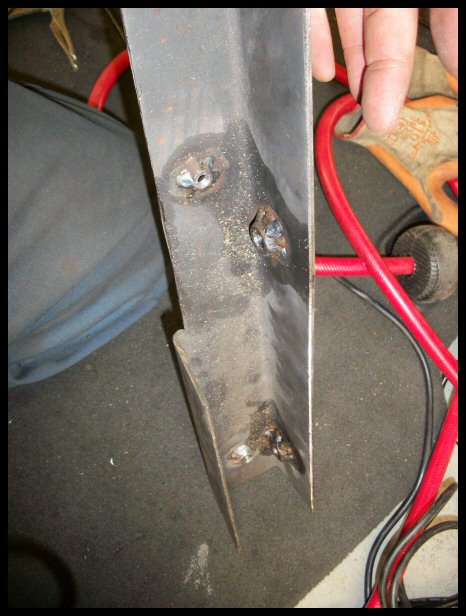
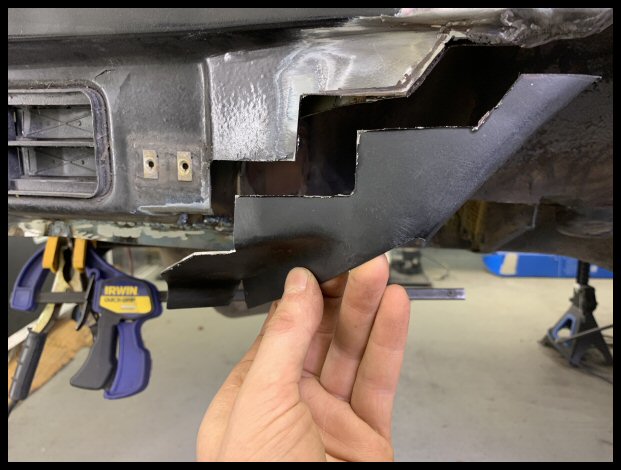
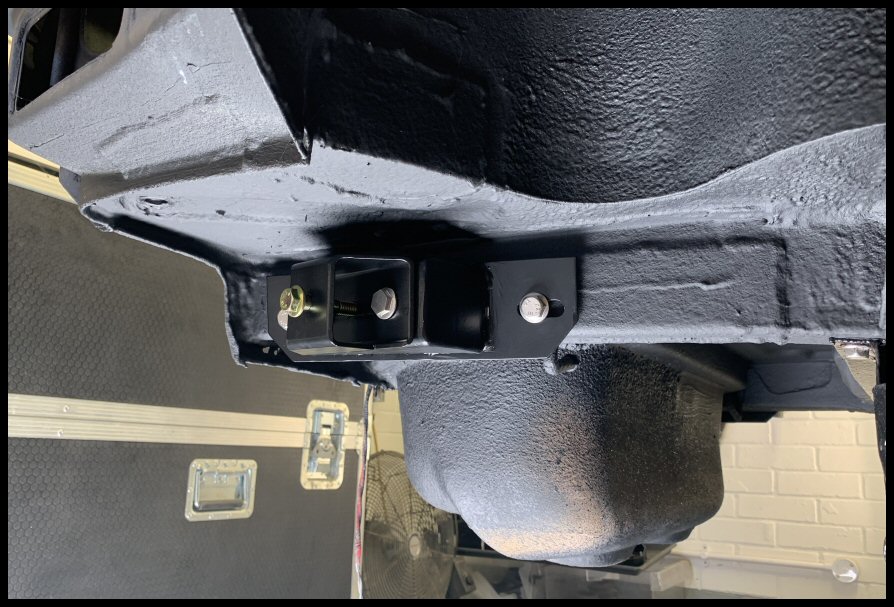
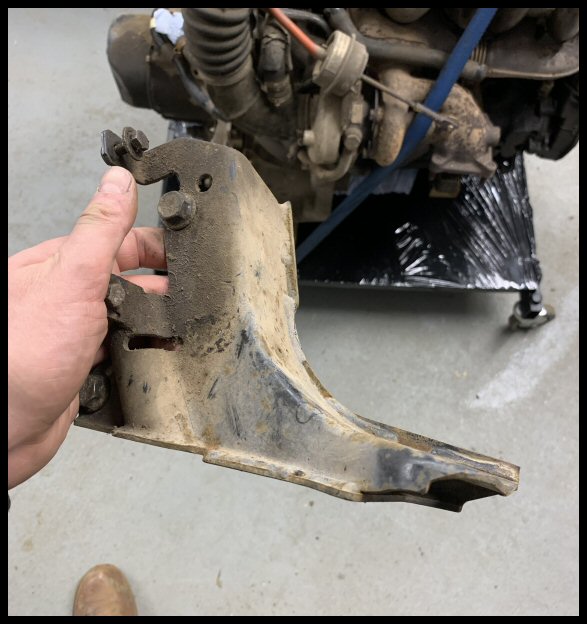
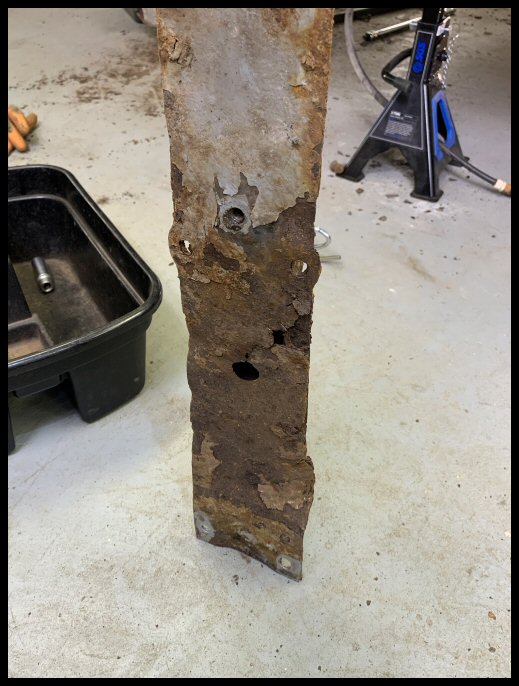
Removing the Panhard rod bracket...
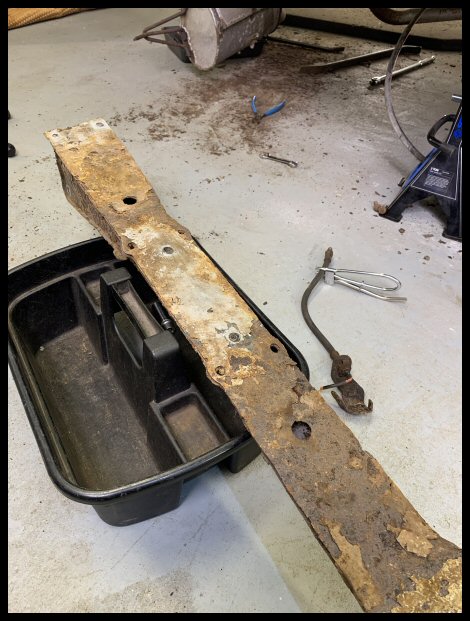
This needs some welding after shot blasting... if I get anything back after a shot blast that is!
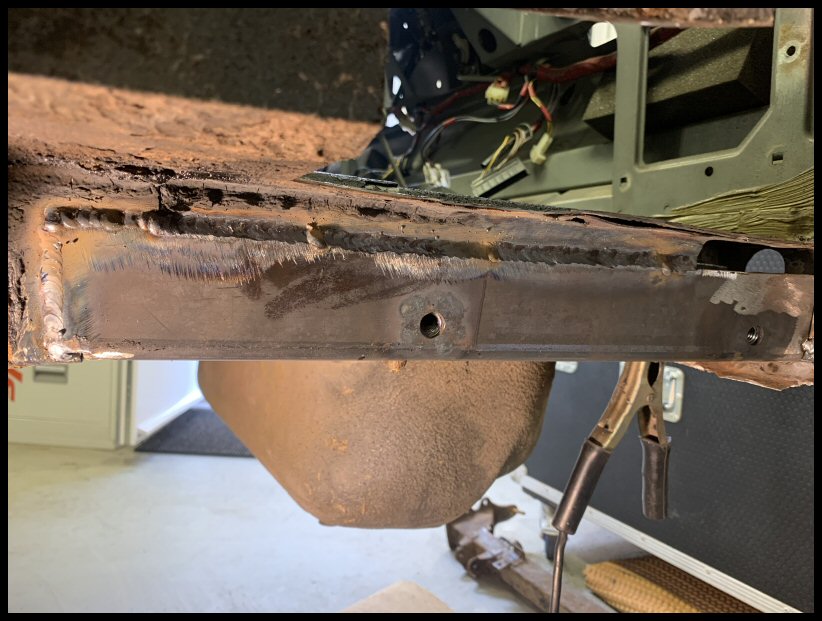
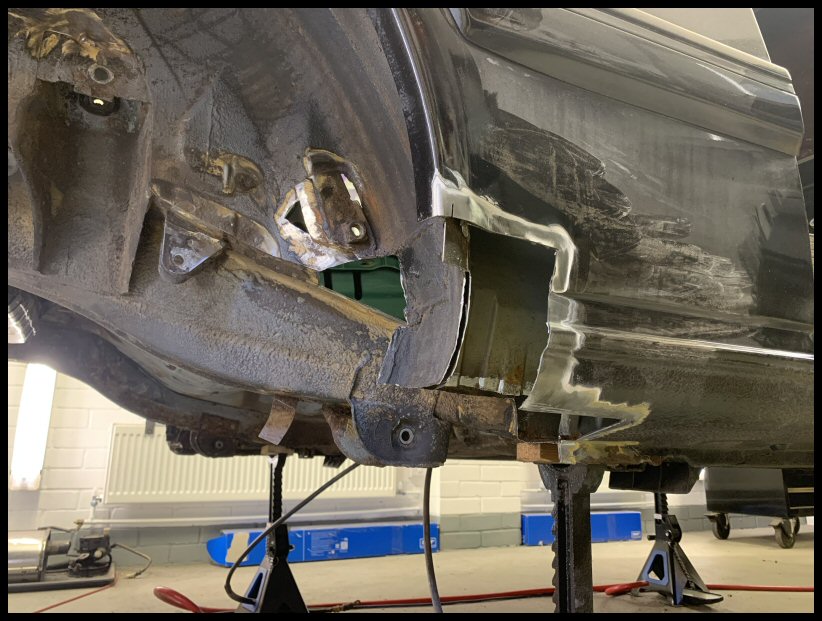
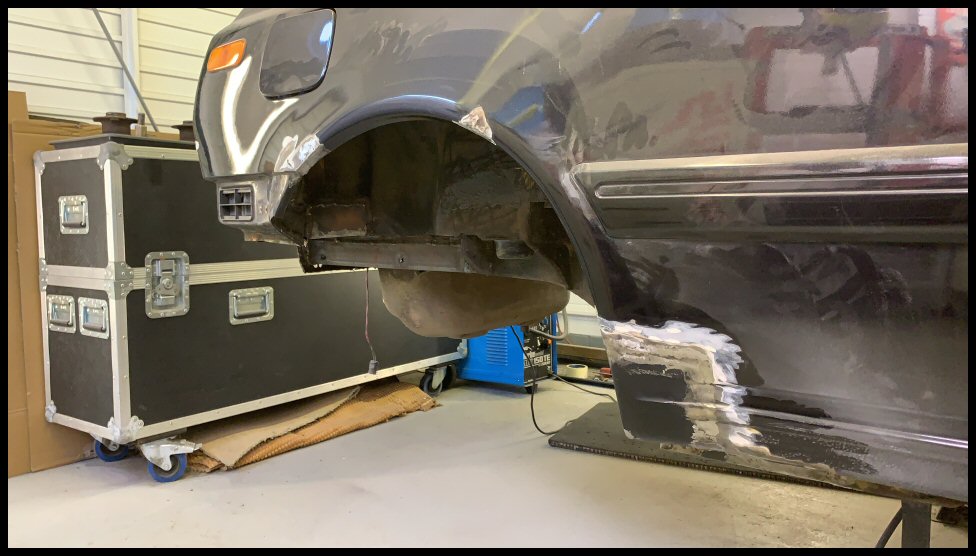
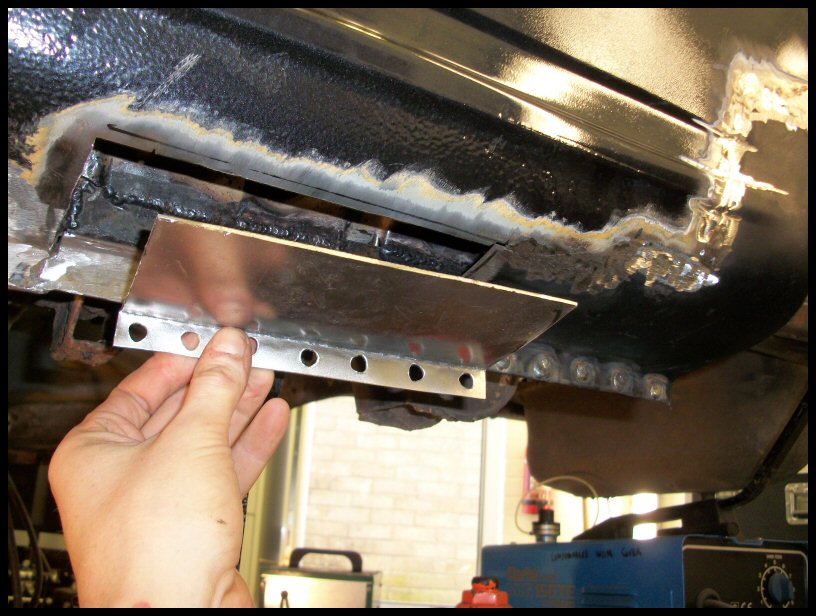
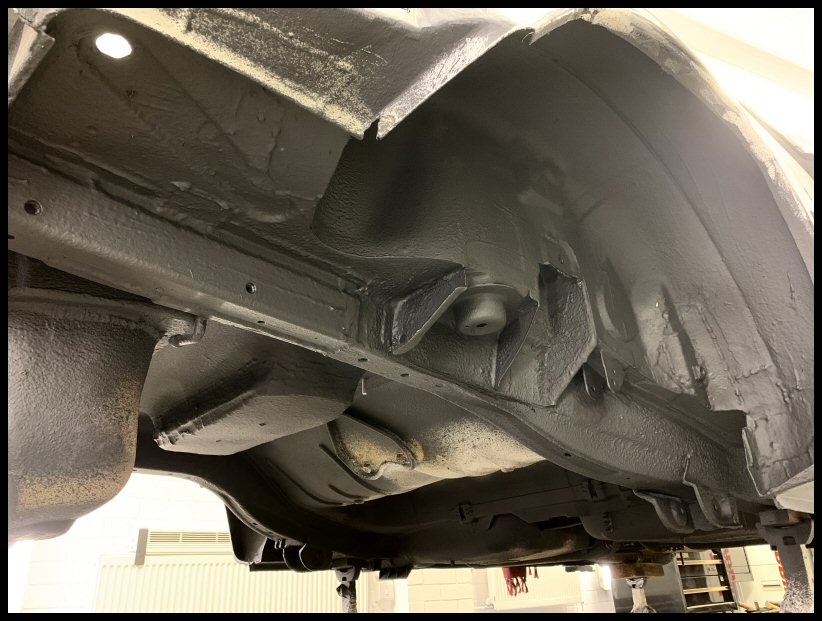
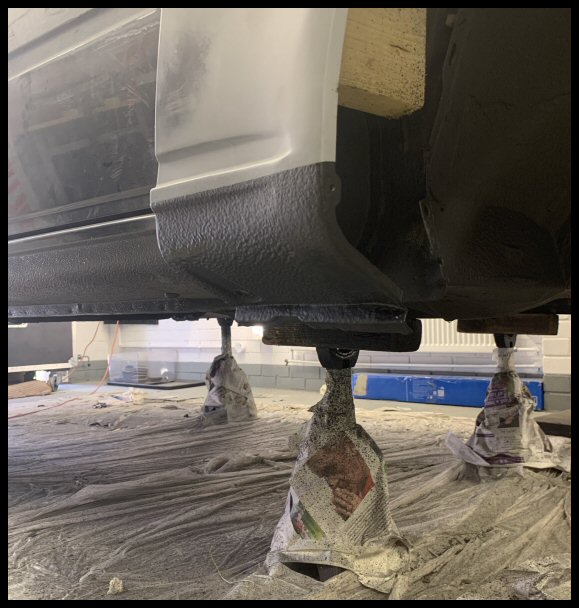
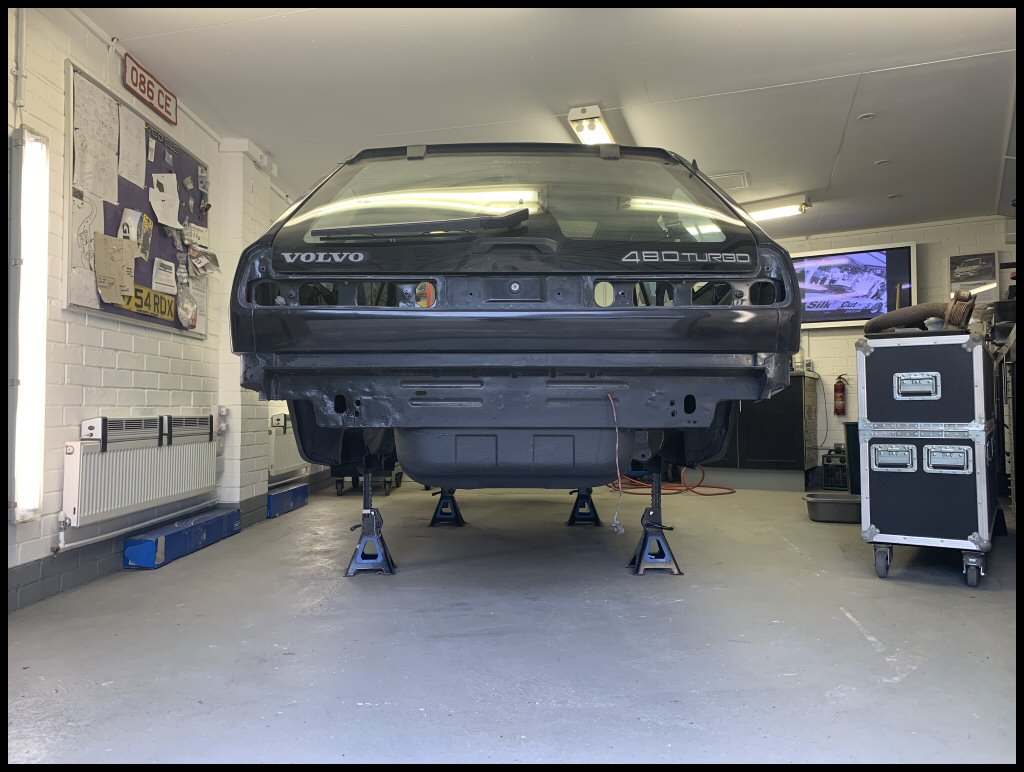
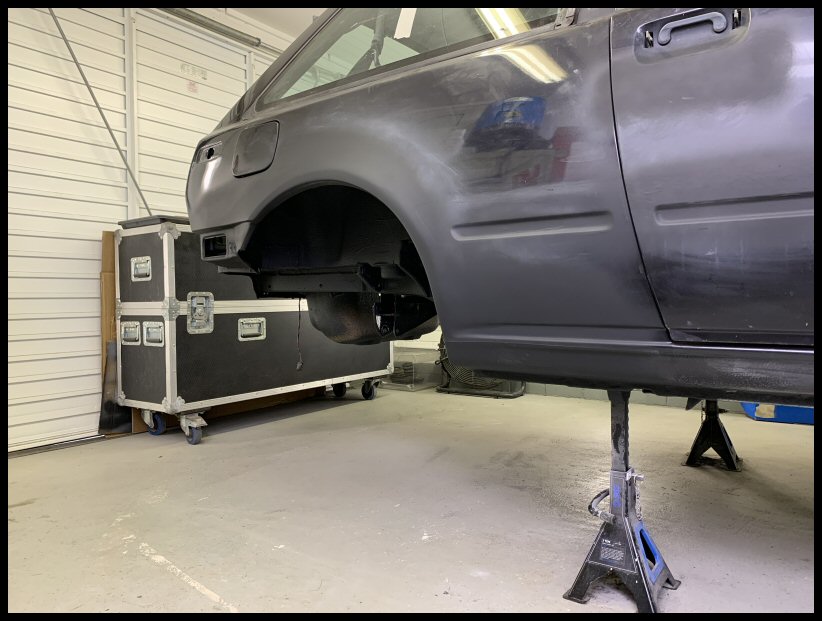
We now have essentially a bare shell underneath front to back. We can have a good prod and poke, plus weld without fire risk.
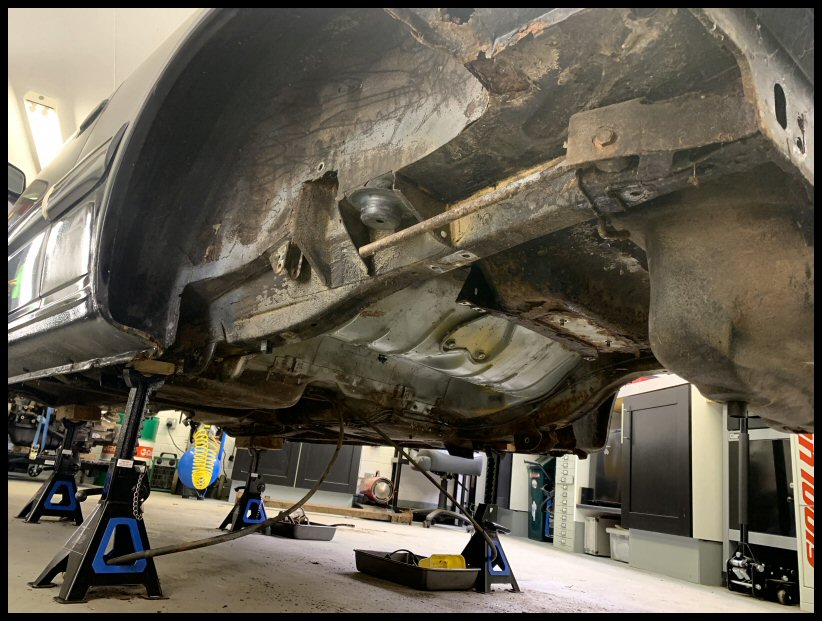
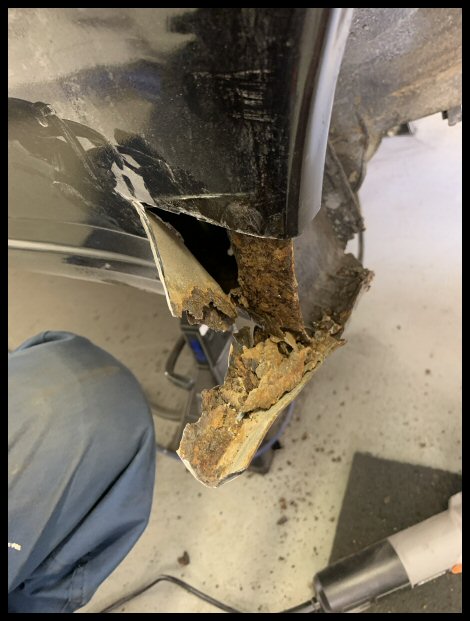
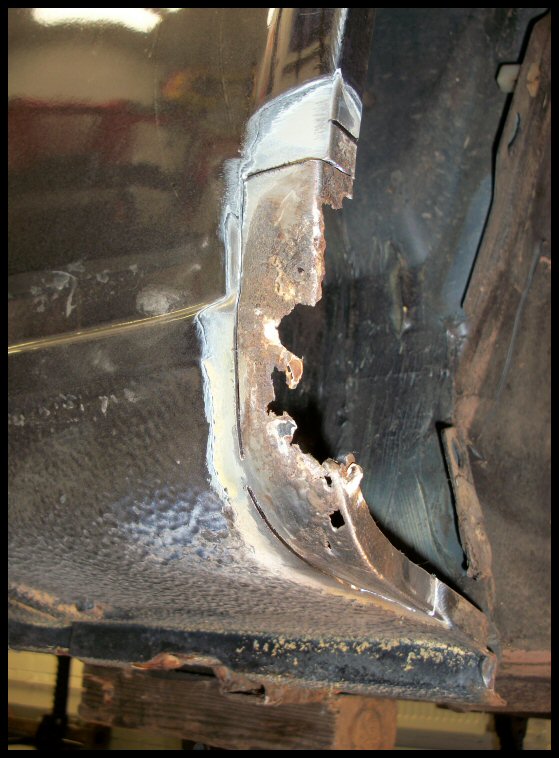
Someone has been here before me, because there is fresh underseal in the tool kit trough.. its been welded before...

Sadly, they didn't cut out the old, just welded over. This was presumably for a
'get me through an MoT' by the last keeper. It's not pretty underneath, trust me...

All needs cutting out and doing again.
Ground Zero!
End of January 2020 and we reached 'rock bottom' of taking things apart and finding more work. We are now at a place where there are no more horrors and the scale of work is known. Its quite a big scale admittedly

The good thing about rock bottoms, is that everything after is a climb upwards. So here we go...
February 2020; Remedial Work Begins!
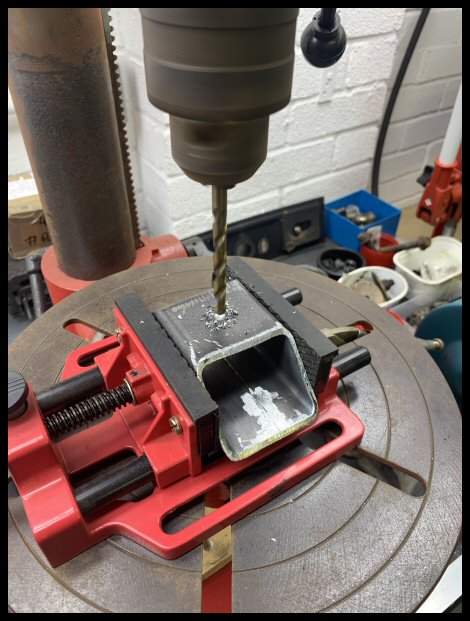
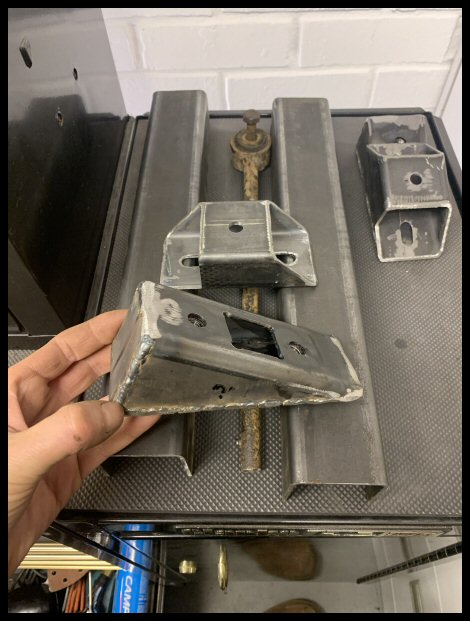
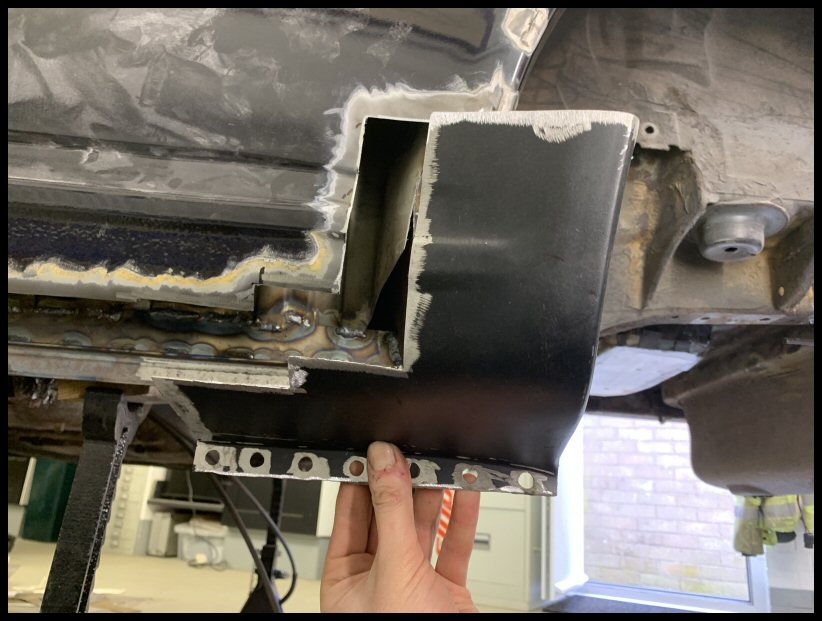
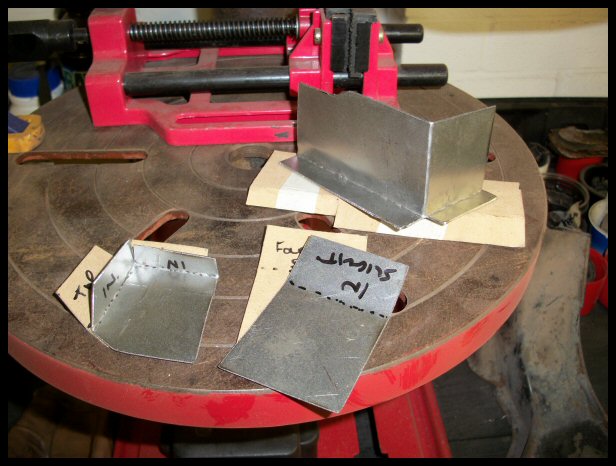
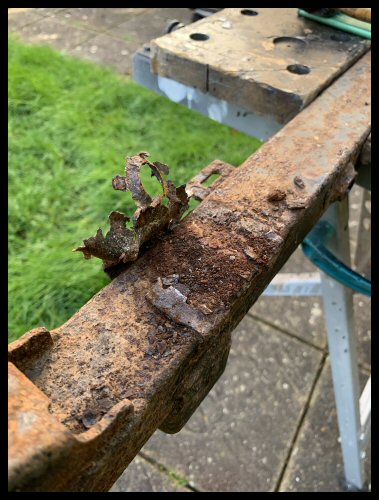
Rear Beam Spring Seats
Remove whats left...
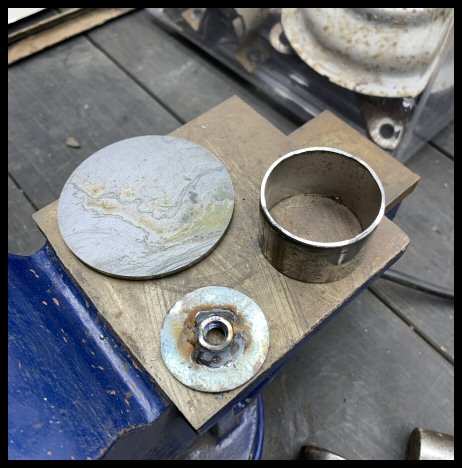
Measure, clean, measure again and mark...

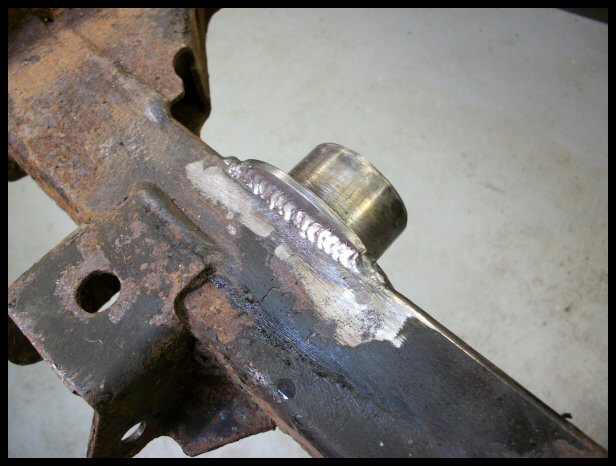
Get some tube, cut down, and CNC some circles (35mm and 75mm from memory)...
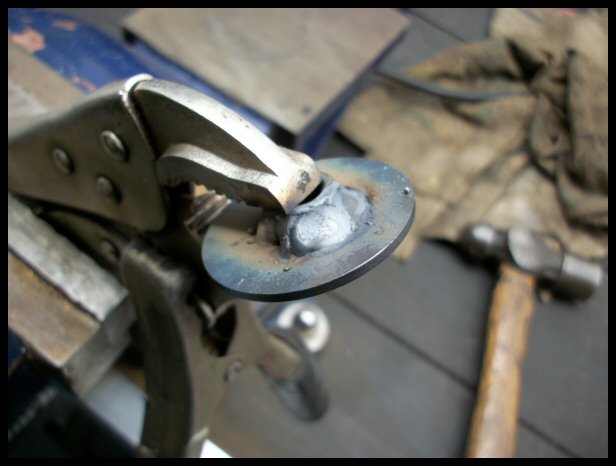
Weld a captive nut on the smaller circle...
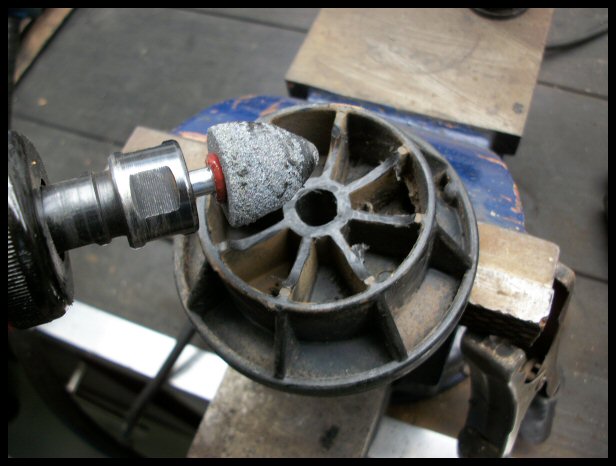
Chase out the plastic bump stops...
Weld the smallest circle and check relationship to the bump stops...

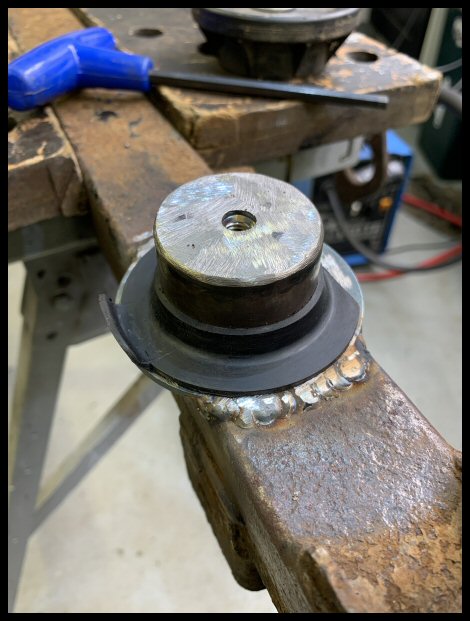
Clean and position larger circle...

Weld everything together...
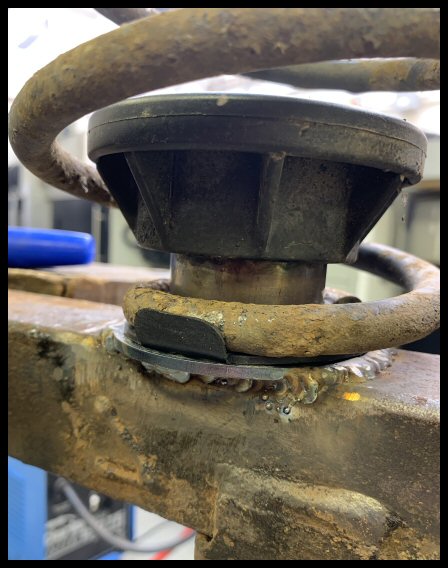
Test run with new spring seat rubber (still available!)...
Test run with old spring and bump stops all bolted down...
Very happy with that... when the beam is shot blasted and powder coated that'll look a treat.
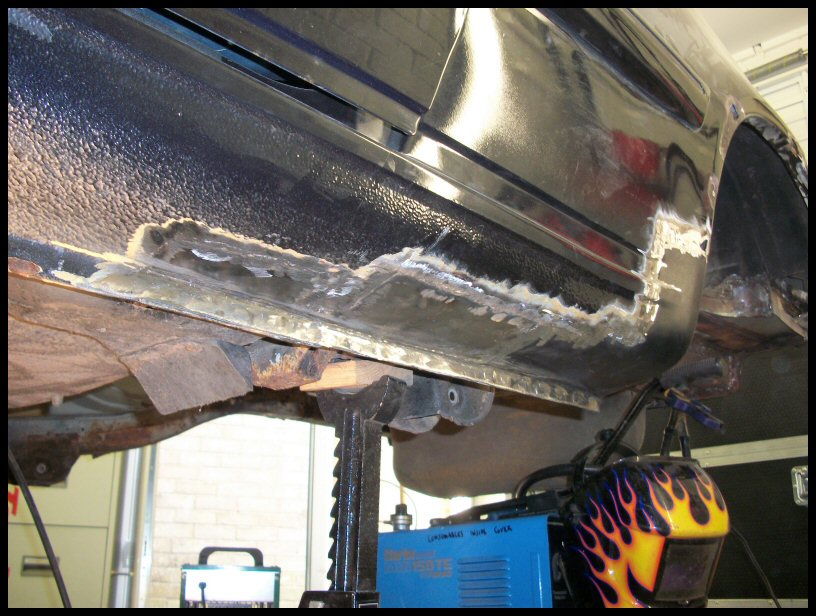
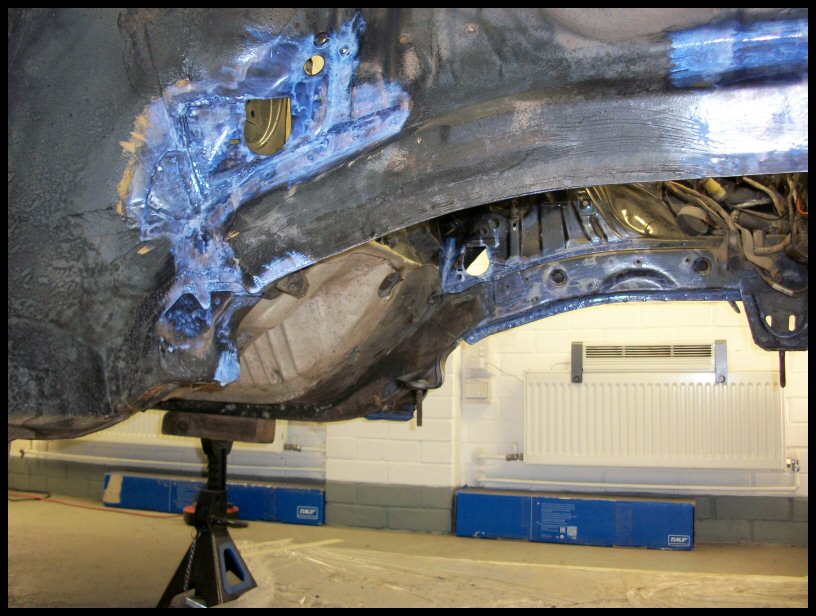
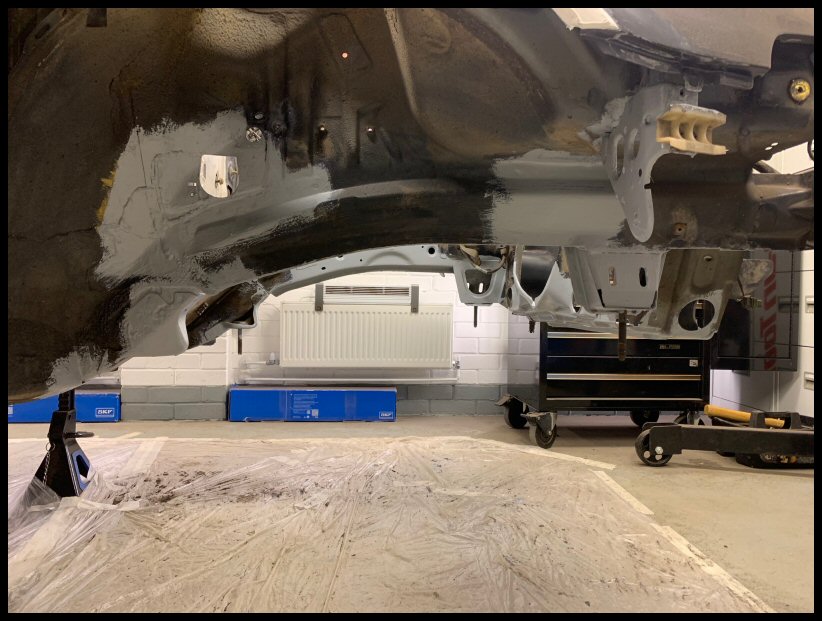
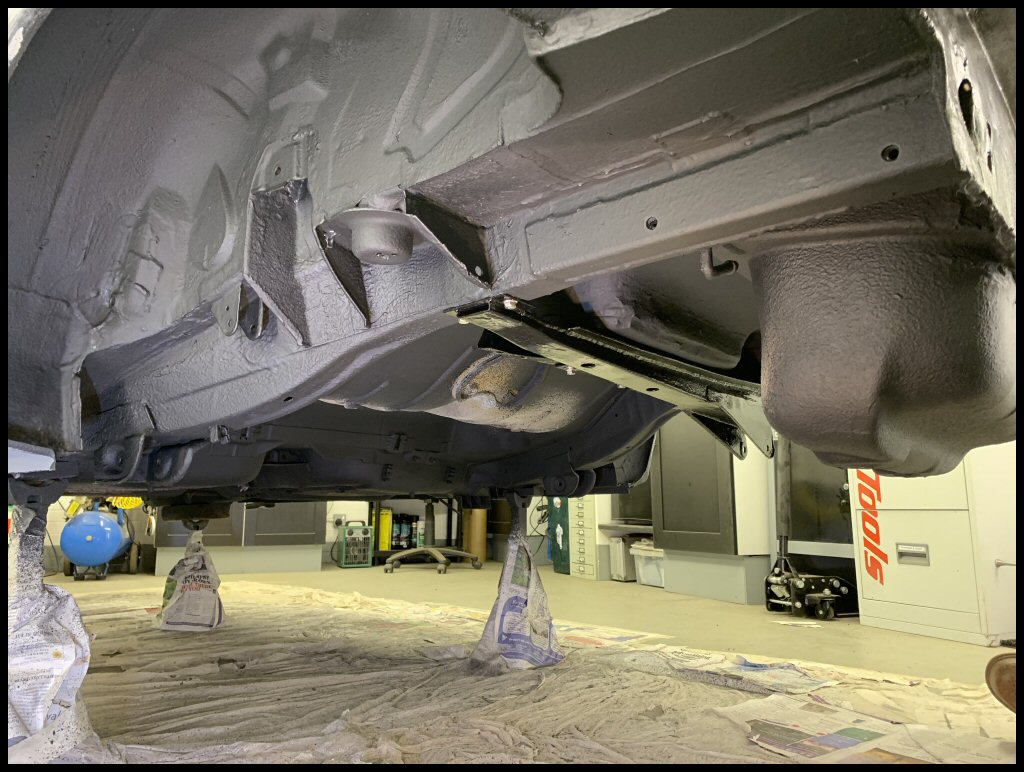
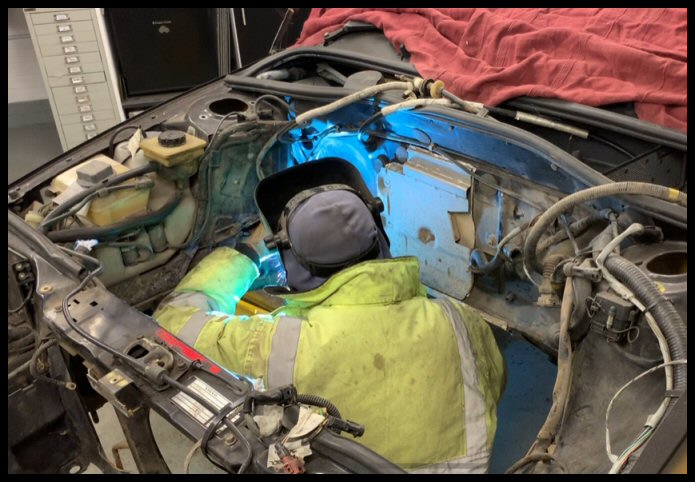
Engine Bay Welding
A sneak preview of February's efforts...
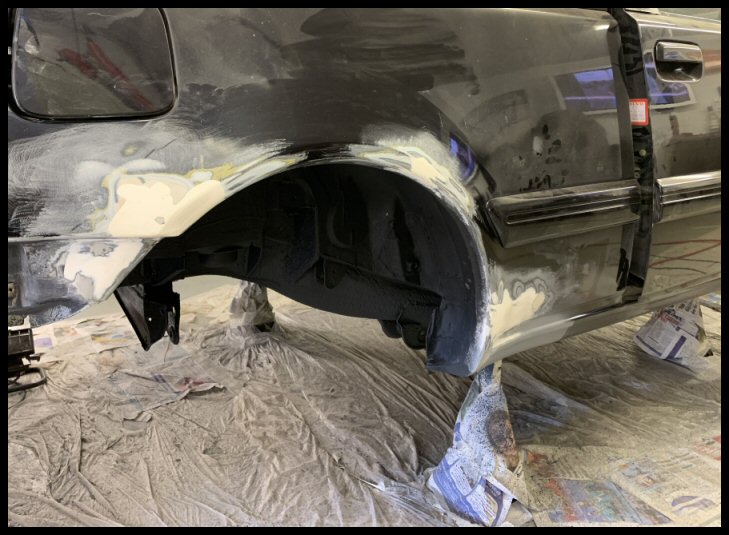
Much cutting nearside....
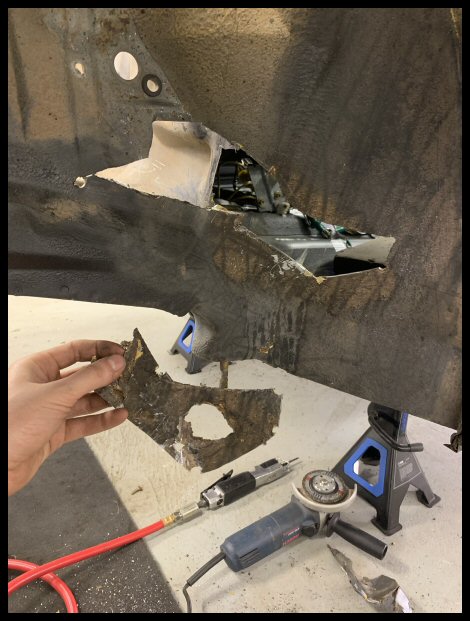
All cut out offside...
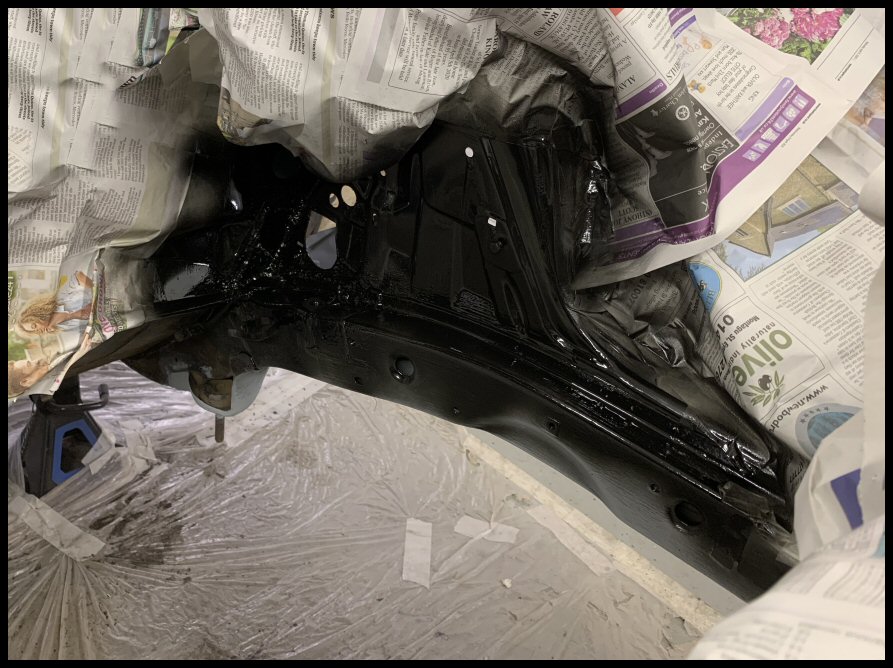
Let the weld-a-thon commence...
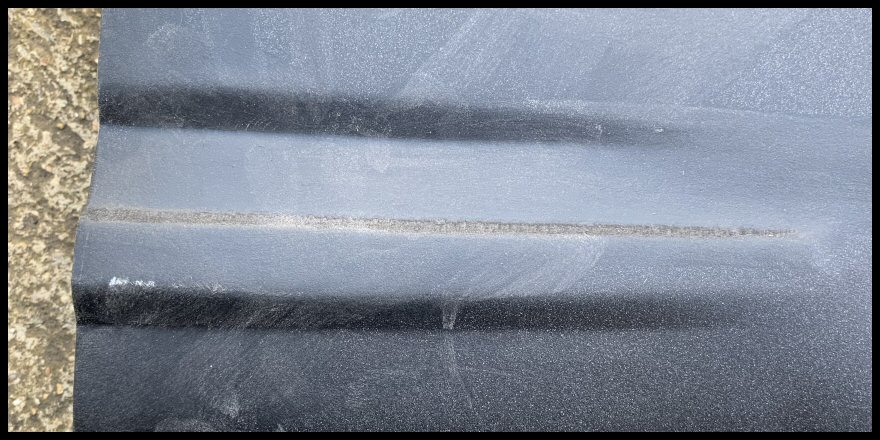
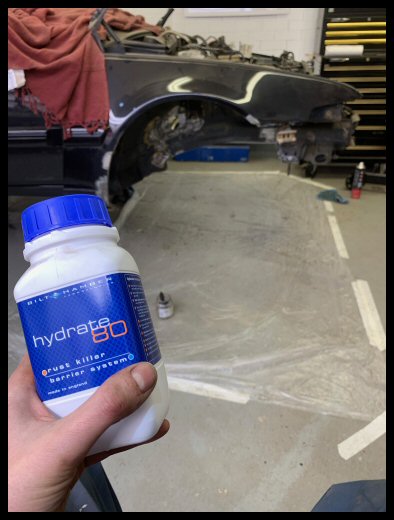
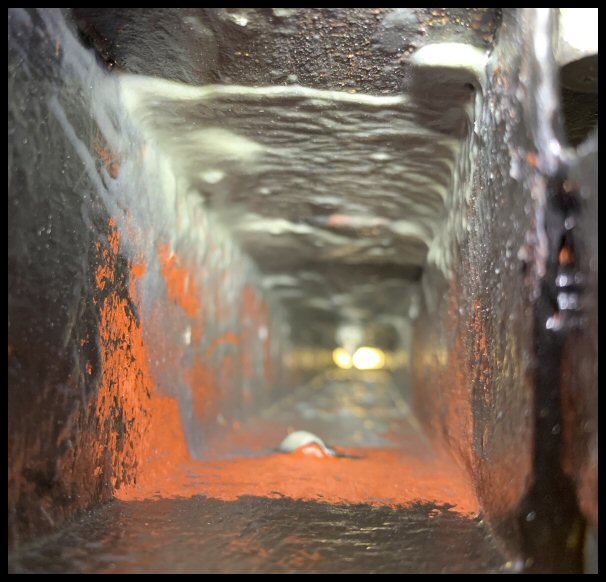
I think much of the corrosion looks worse than it is. Obviously anything 'holed' needs to be cut out and welded, but surface corrosion is cleaning up really nice.

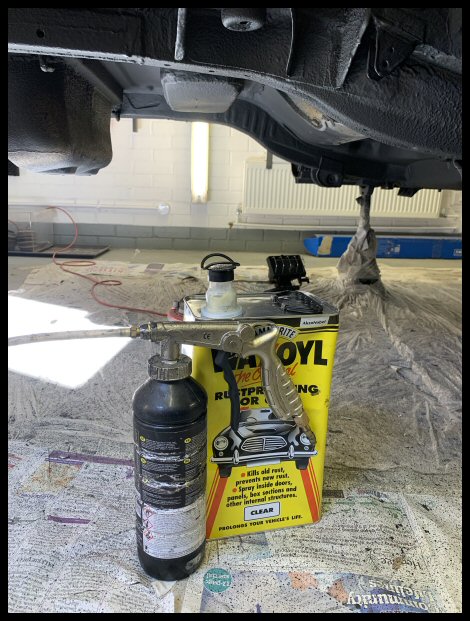
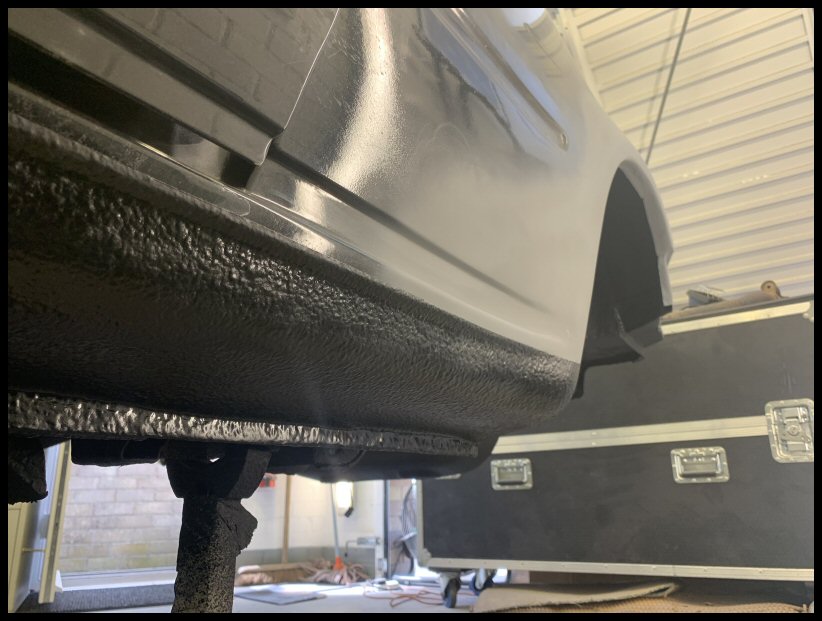
I think with good prep, Bilt Hamber Hydrate 80, a decent primer and body schutz, all will be good.
Offside inner leg welded with captive anti-roll bar nut retained...
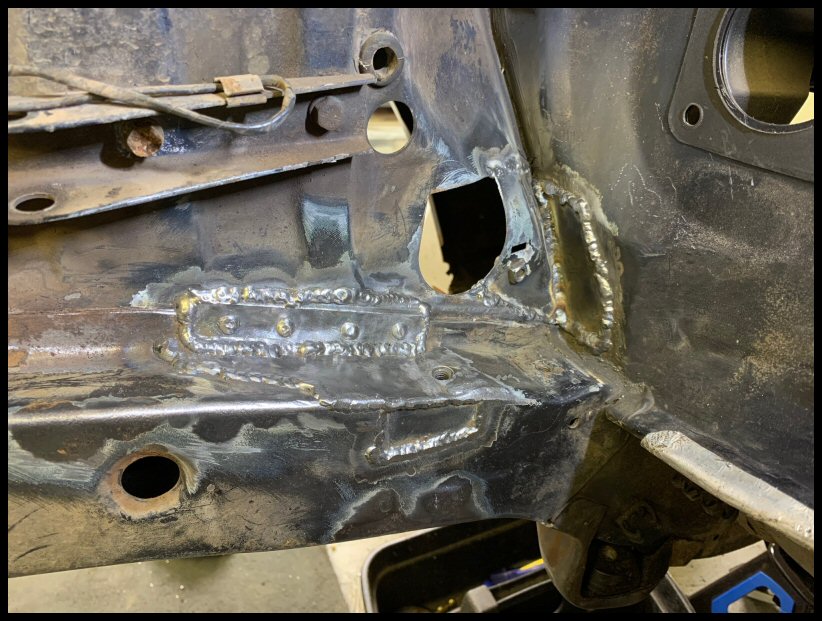
Offside viewed from wheel arch...

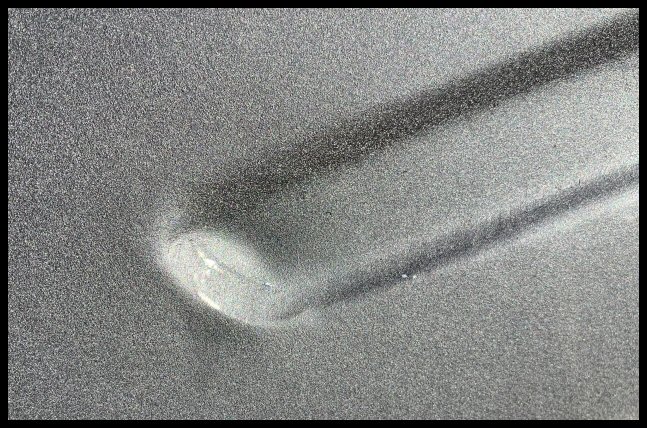
This is where my welding gets critiqued now! I enjoy welding, but I don't like interior fires or hot rocks dropping in my boots. My biggest fault is I use CO2 gas because its more economical. I could get it to look slightly prettier if I used an Argon mix.
On a lighter note...
Some good news now!
Did you know, complete, fully built, new (not recon) Turbo and 2.0 driveshafts are still available from SKF?
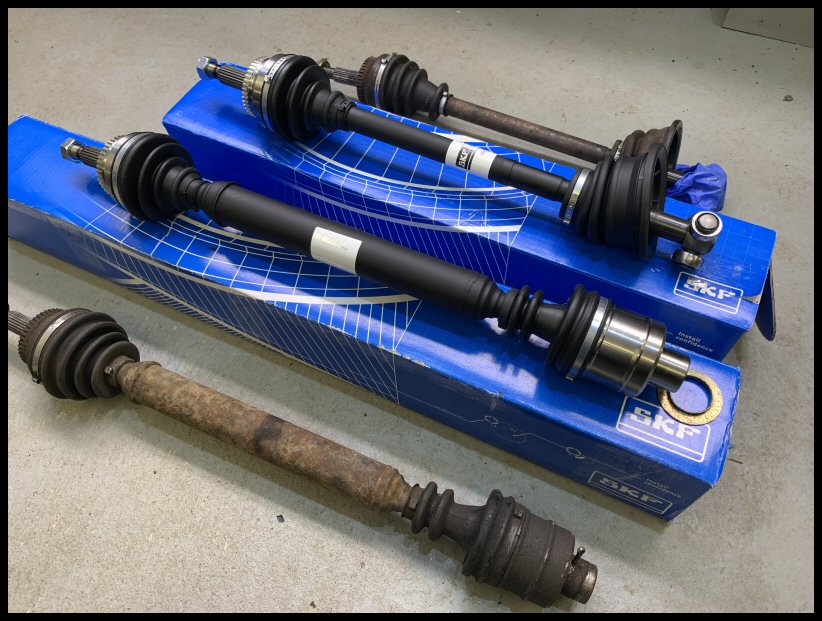
Sure, not cheap, but they do look pretty. The way I see it, you have to buy up all available parts now, because you'll kick yourself when they're gone.
Took a trip to the Lakes, Wyboston and relieved this 440 of its seat belt pre-tensioners...
And - amazingly - they have another 480 that has interacted with a post like object it would seem...

Not much on it.. I just had an interior lamp and the Volvo badges off the speaker grilles. It also had immaculate door lock perimeter trims. I was told as soon as it arrived, three blokes descended and stripped it immediately... anyone on here?!?
Lastly, all my brake calipers have returned from refurbishment. I used BCS Calipers, also known as Calipology. Shot blasted, ultrasonic bath, powder coated, new seals, new CNC turned stainless pistons from billet and all with a Lifetime Warranty...

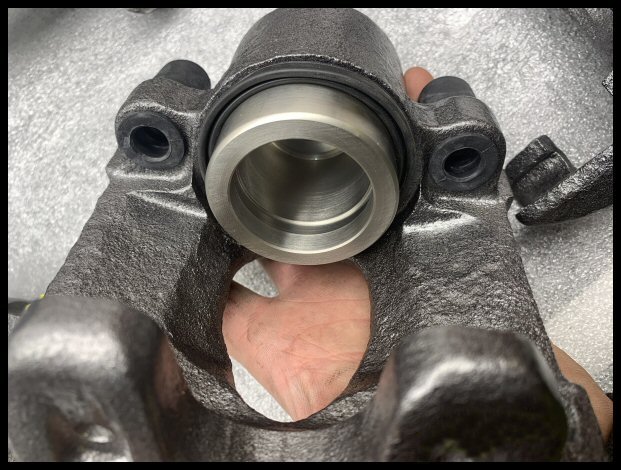
Very pretty. The day these get fitted will be a milestone!
Right, I have a month of evening welding... no joke... next update mid-March with hopefully a sound, treated, painted floor front to back!