September 2021 - Ups & Downs
Continued re-building. Not long until this is finished right?
 Doors
Doors
Time to rebuild the doors and seals...
Sadly, the paintshop returned me a collection of torn and ripped apart seals...

Paintshops are used to working on insurance repairs, where all seals are ordered new. They don't work in a 480 mindset of "save and protect everything"!
Luckily, I had bought a spare pair of doors
years ago...

These donated suprisingly good (after extensive cleaning!) single-piece window trim surrounds and guide runners...
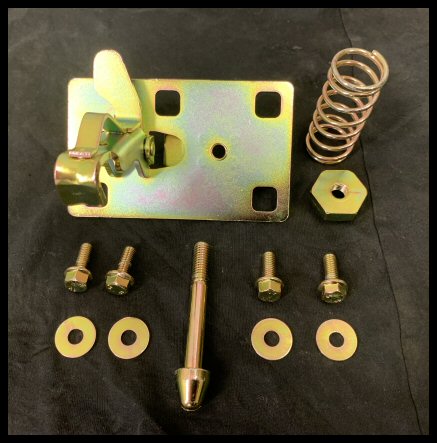
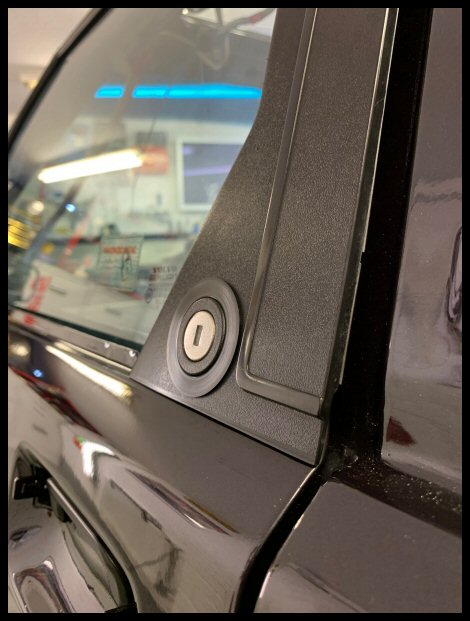
 Lock Trims
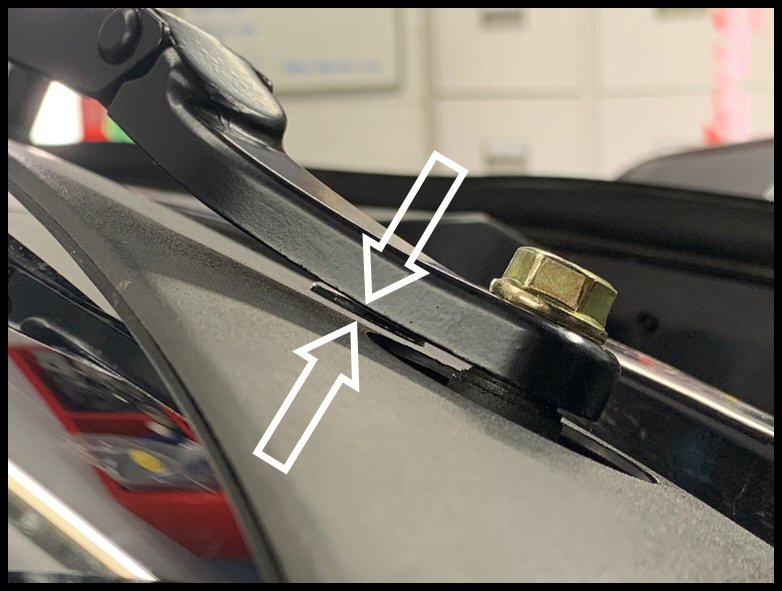
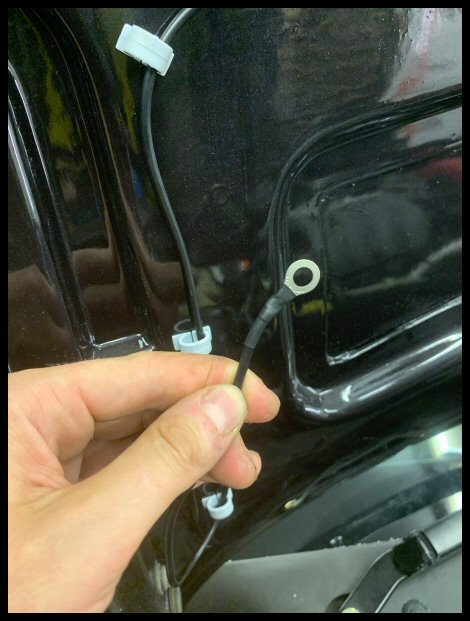
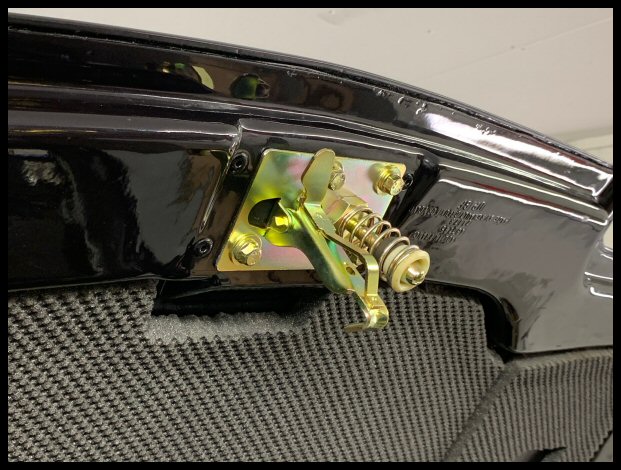
These were in a state of dis-repair. Captive nuts missing (A) and broken-off hook tabs (B)...

Everything is so bl**dy time consuming. There's no such thing in 480 land as just fitting something, everything is broken

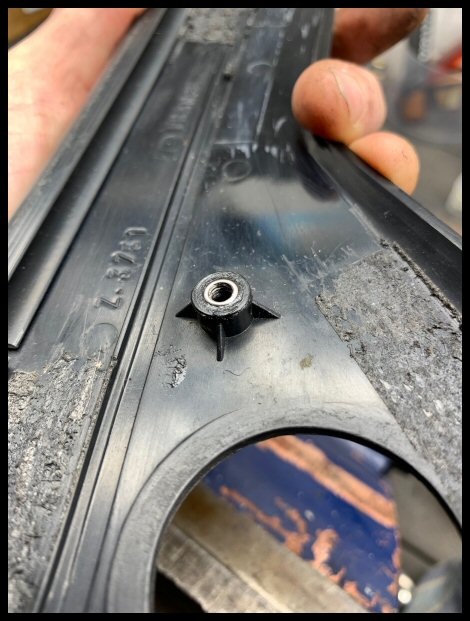
Fixing the captive nuts. I chopped a new riv-nut in half and maintained the threaded section...
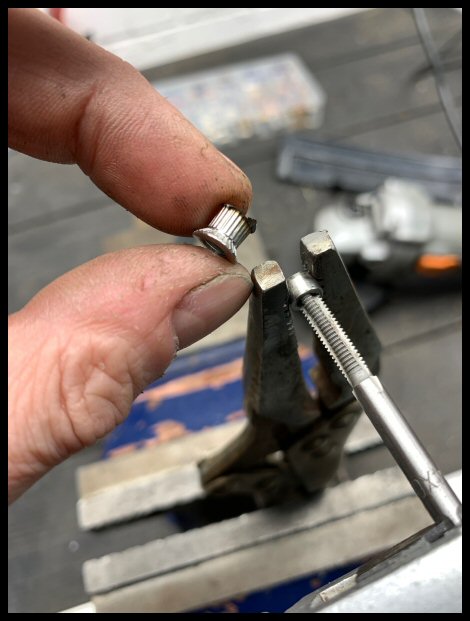
With some Tiger Seal, I then pressed it in...
Making a captive nut solution...
New lock trims from Joep...

All fitted...
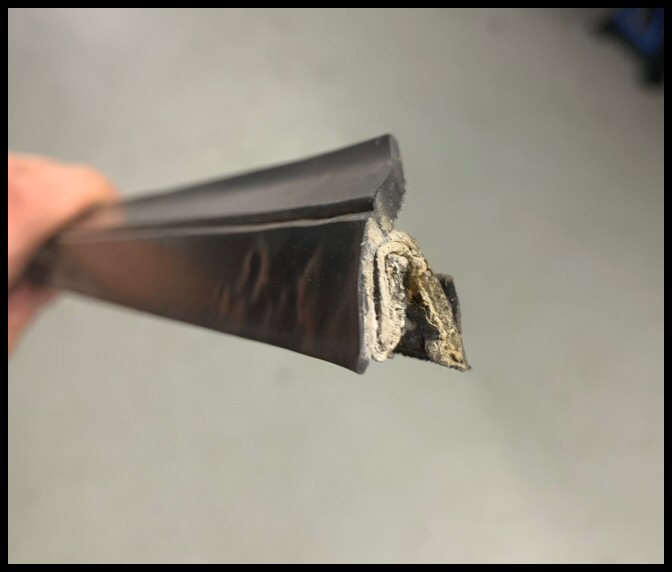
 Window Scrapers
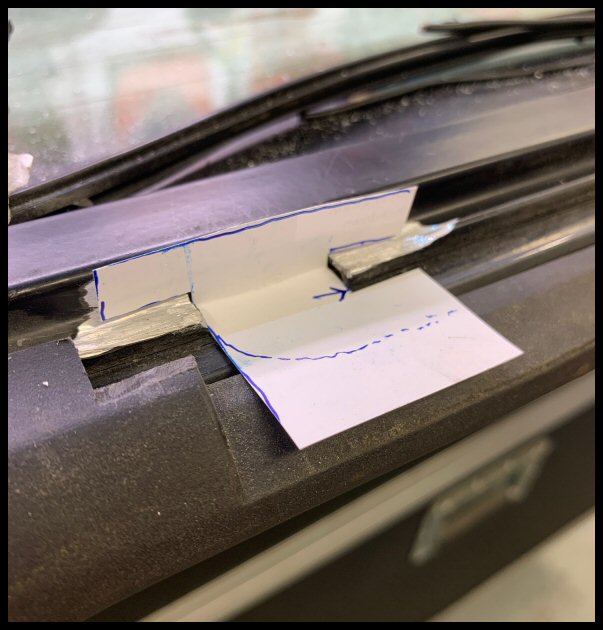
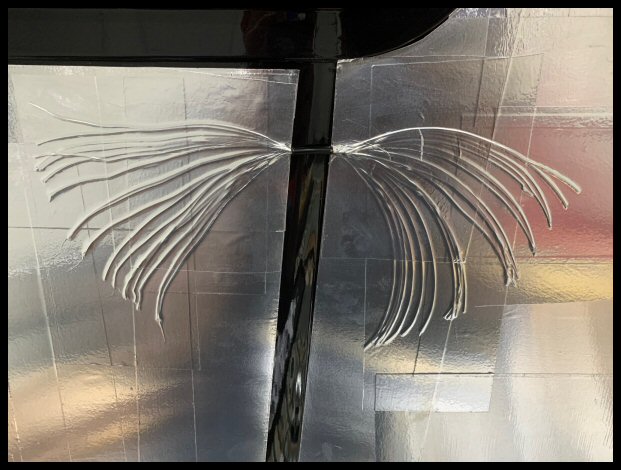
What to do with the window scraper seals? These, unsurprisingly, were badly corroded...
Well, it's been on my mind for over three years. So, over that time, I have collected various trims from various cars. This was the semi-finals...
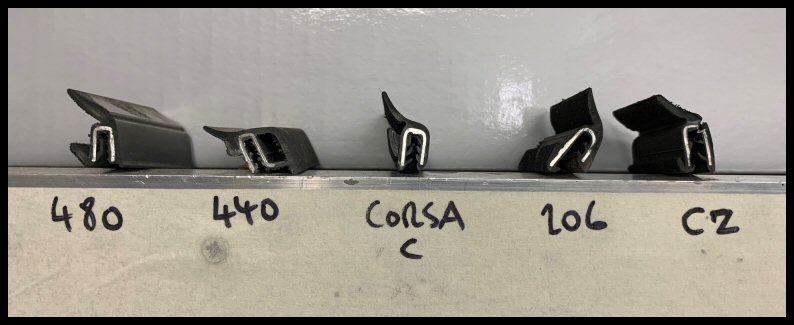
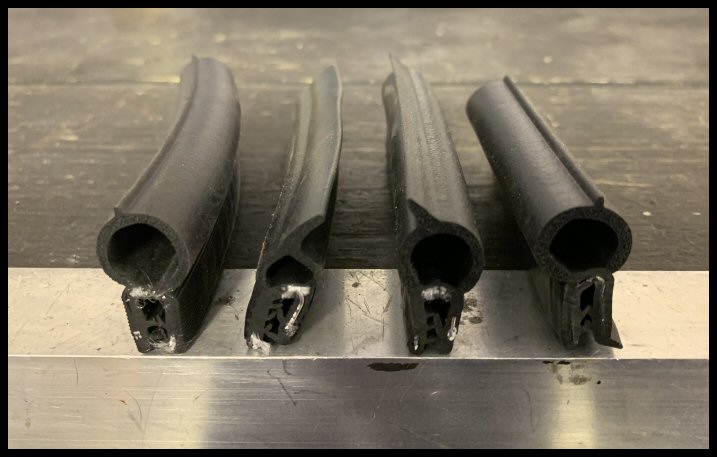
Fitment trials...

You'll notice the S40 trim isn't there. I was at "The Lakes" and I pulled an S40 trim and walked over to a 480. Basically, the S40 has a double flange, whereas the 480 has just a single door top flange. There isn't the thickness for the S40 trim to grab onto and it wobbles about. Yes, I could pack it out. I think duct tape has been mentioned on here, but I wanted a 'pure' solution.
The winner in my eyes was the 3-door Vauxhall Corsa-"C"...

It grips on tight with no mods, and is a very similar profile...

Now, i'm not saying Corsa-C is the best solution. It's just the best solution I have found to-date. Again, happy to be proved wrong!
That saying, I have also chosen what is also becoming a rare car too! Where have all the Corsa-C's gone?!? They have instantly become rare overnight!
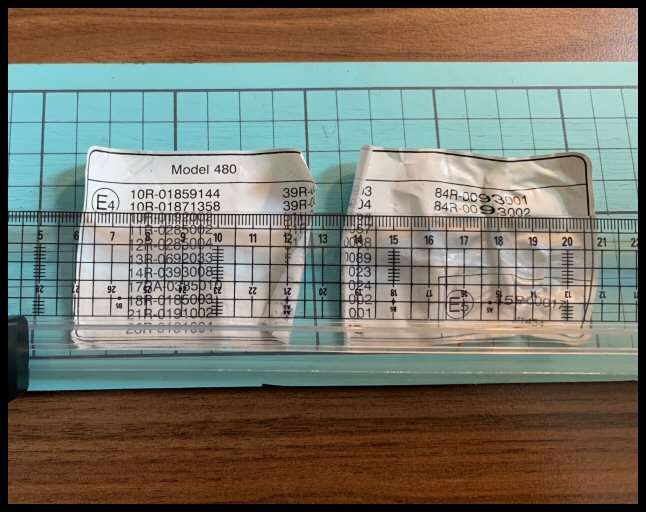
Then comes the cutting. You pay £20 a strip, and if you cut it too short, your seal is bin material!
Once cut, adding some black paint to the ends (which is what Volvo should have done in the first place!)...

All fitted at the front...

This might divide opinion, but for the rear, I decided for a "door trim over technique" by grinding the trim flat...

Then it sits
on top of the trim, making things neater I think...

Best I can do for now i'm afraid.
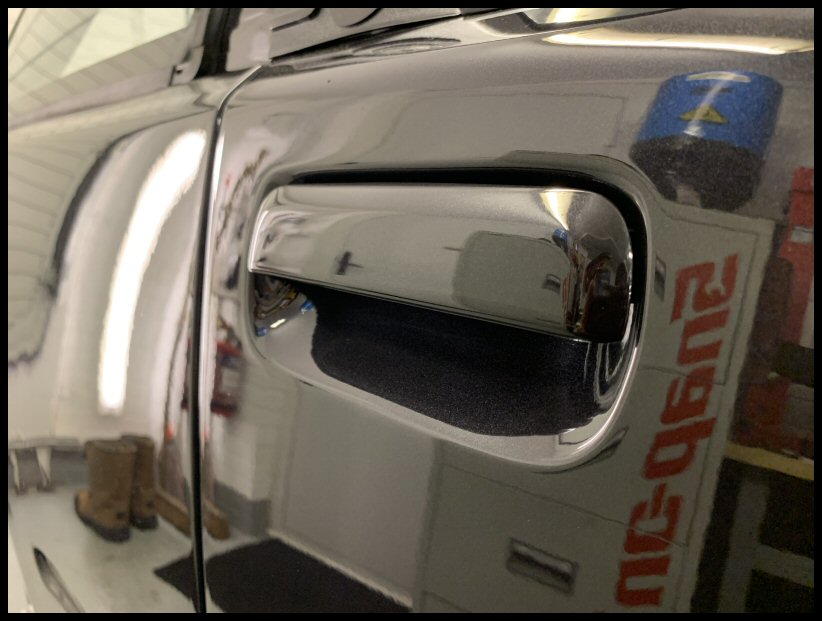
Door Handles
This is a nice easy one... push fit with locking tabs...
All going swimmingly right?
The Highs & Lows of What We Do
I read
Oli 100's last update with empathy. On his list of broken items was
his spirit.
I have been building and restoring cars for nearly thirty years and it doesn't get any easier.
This is where it all went wrong...
Screw Up #1 
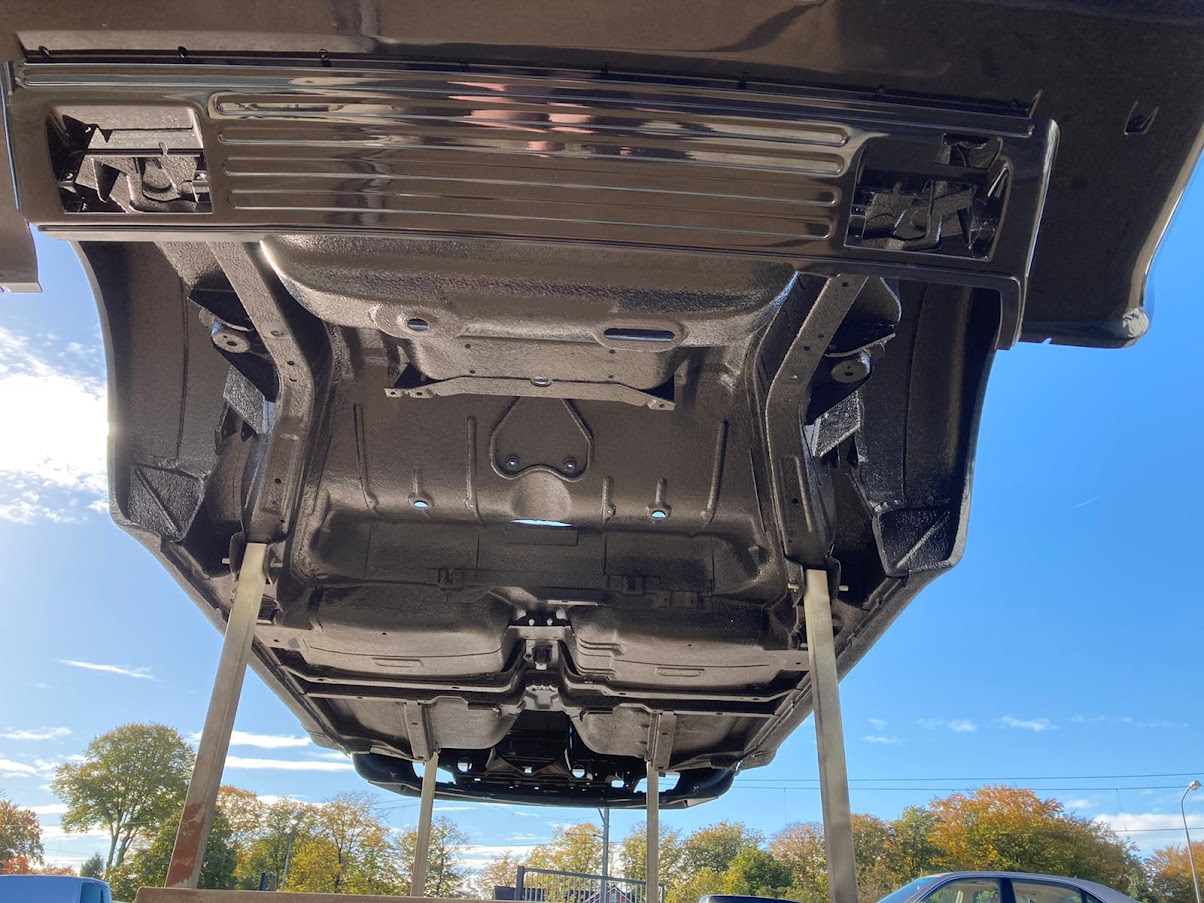
So, a month or so ago, when it came back from the paintshop, I had to wash an engine bay of dust and rubbing compound debris.
All sparkly clean, but...

Post wash, it was driven into the garage and there it sat for a month (or so) whilst being worked on. Upon driving again, I tried to engage reverse, only to be greeted with an almighty crunch. Clutch not working

Basically my friction plate had rusted to the flywheel. Solution - I had the pedal depressed overnight, then in the morning with a screwdriver just tweaked the friction plate through the bell housing inspection hole. Rotate the engine 15 degrees, repeat. Rotate the engine 15 degrees, repeat. Eventually the friction plate finally broke free.
Screw Up #2
I'm guessing this is the same root cause from an engine bay wash. Having just released the clutch, I noticed my charge light was on and failed to extinguish with the engine running.
All the standard diagnostic checks made - all earths good, all battery leads recently overhauled with minimal voltage drops. After finding nothing of interest, the only thing left was the alternator itself...

Sure enough, alternator had "gone bad". Again, probably due to water corrosion from the wash and the subsequent lack of use thereafter. That, and not doing much rotating in five years. Yes, I could of stripped it down and probably changed the rectifier or brush pack, but quite frankly, I was too p*ssed off to care.
Amazingly, still available from Euro Car Parts, with the correct pulley too.
Side Mouldings
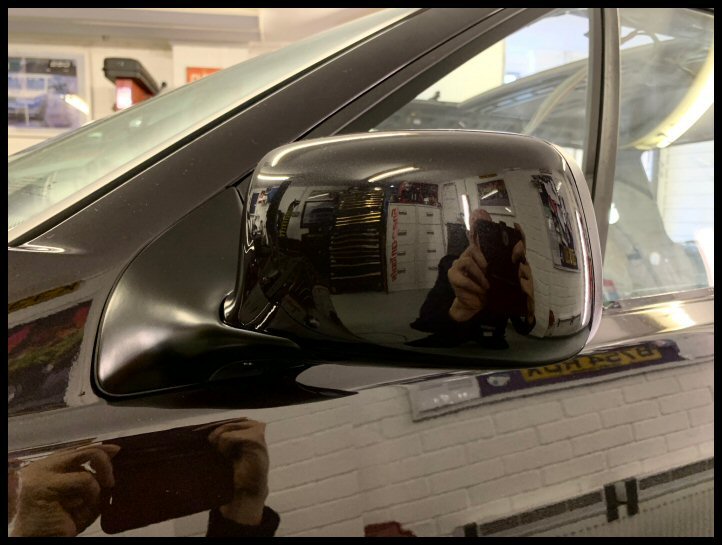
I made a start fitting the freshly painted side mouldings...
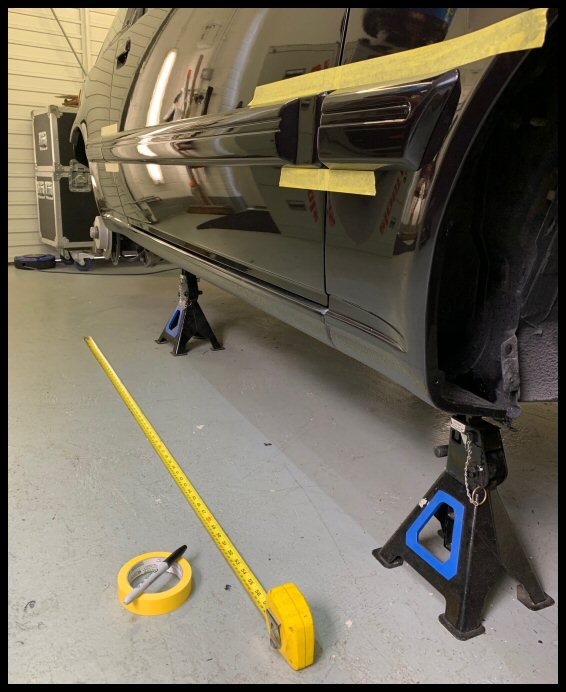
These are not clipped and are self adhesive only. There is very little reference to their correct height other than the loose tongue and groove moulding. I did take height measurements upon disassembly and re-matched those - only on the assumption they were factory height to begin with!
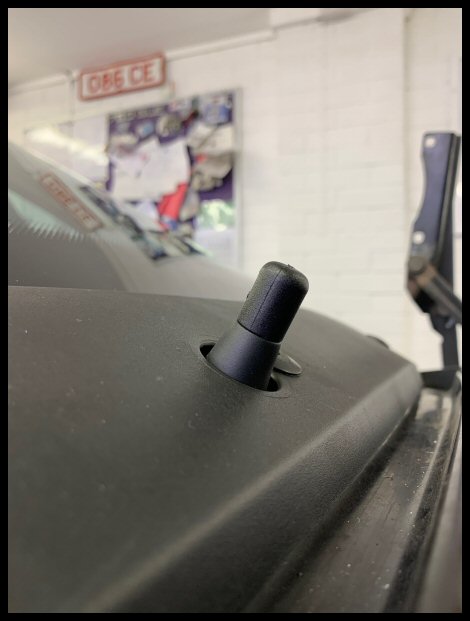
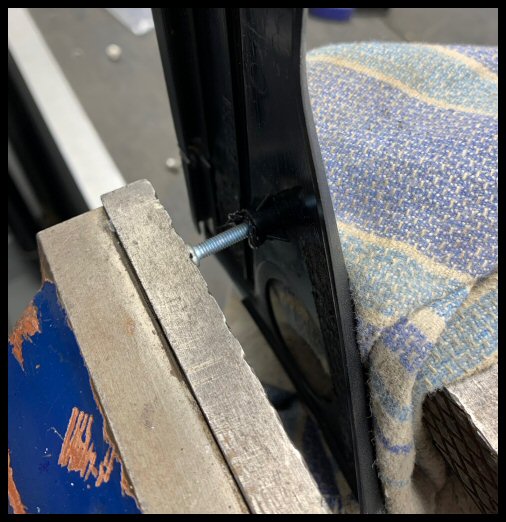
I am always nervous of double sided tape and longevity. My worst fear being in a few years, the adhesive fails, and my rubbing strip is bouncing down the motorway

To prevent this, way before paint, I drilled holes for a tiny "safety screw". This is not really to secure - the adhesive tape does that - but should the tape eventually fail, my rubbing strip is always safe.
 Screw Up #3
Went to fit the rear quarter rubbing strips only to be greeted by a major clanger.
Problem being, they no longer fit...

The new rear arches give the body a slightly new profile and I never even thought of testing the side moulding strips. My bad.
This meant my freshly painted and immaculate rubbing strips needed serious modifying, which is not ideal.
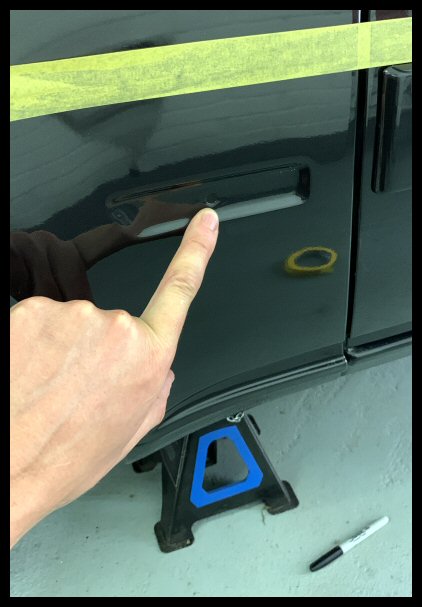
This edge needs adjusting to match the car...
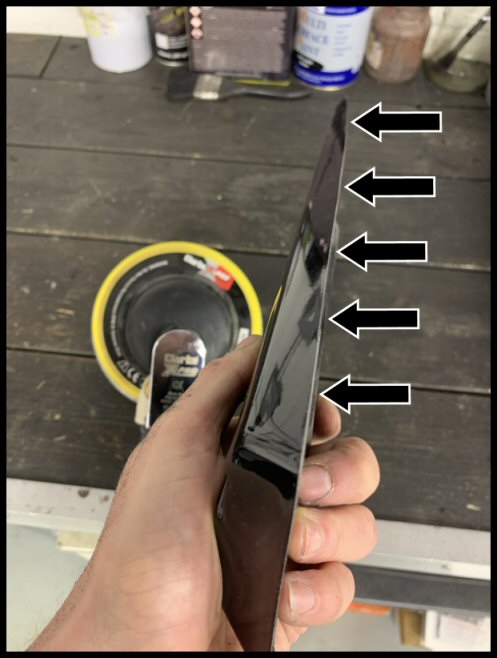
With a flat disc sander and my heart in my mouth, they went under the knife. Amazingly the paint survived which saved some money...

Only problem is, the strips are hollow, so the more you sand, the more the backing disappears...
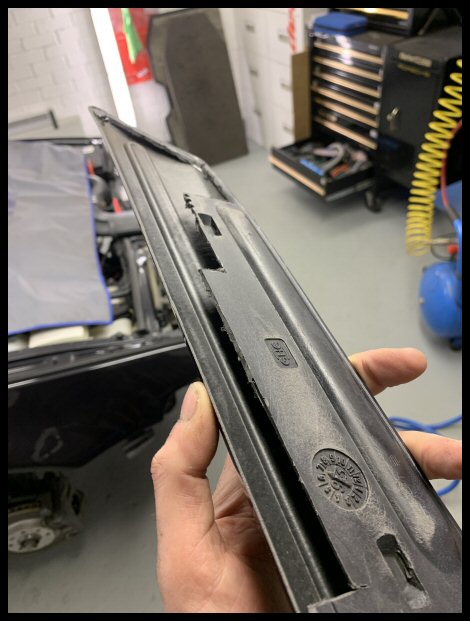
You need a flat surface for the adhesive tape, so the voids were all filled up and all sealed...
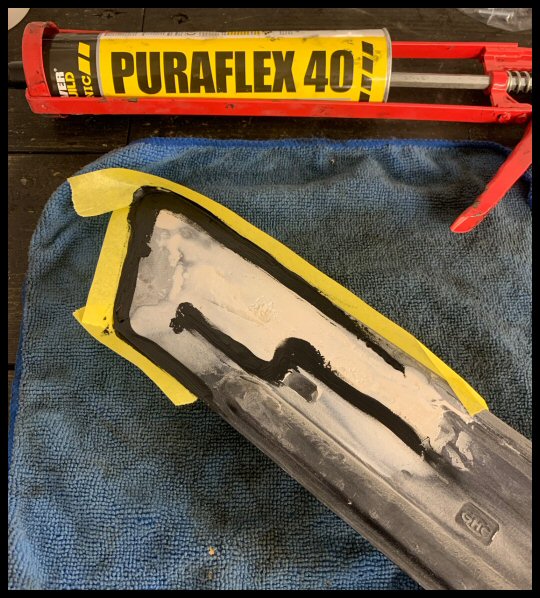
Backsides all painted black and ready for application...
 Screw Up #4
In the five weeks the car has been home, the fresh paint has been "evolving". This is all part of the curing process I guess.
Every evening in the garage, I would notice something new.
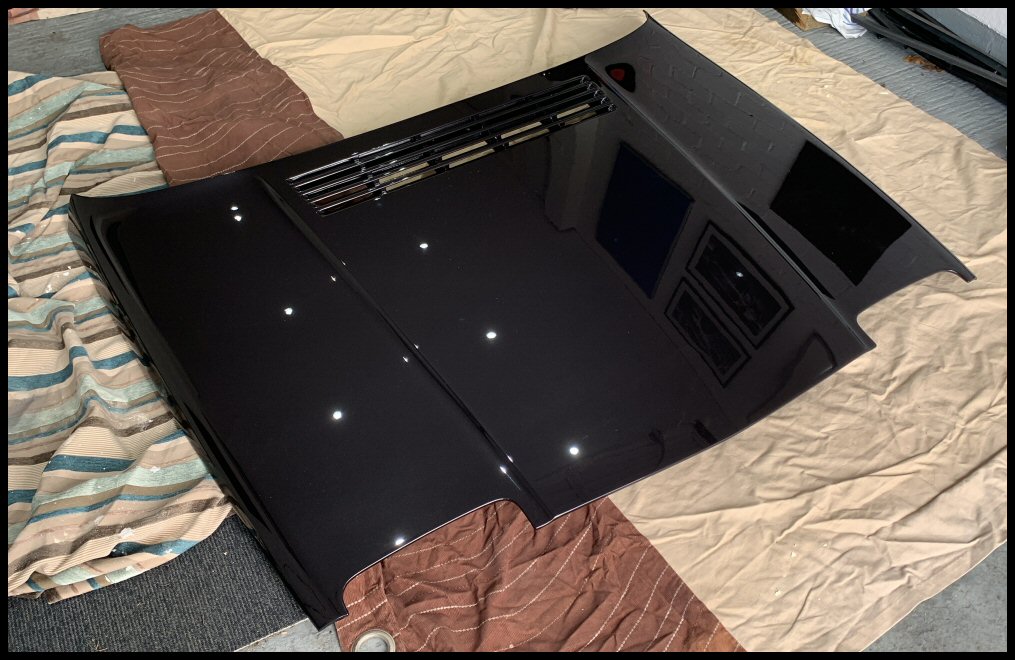
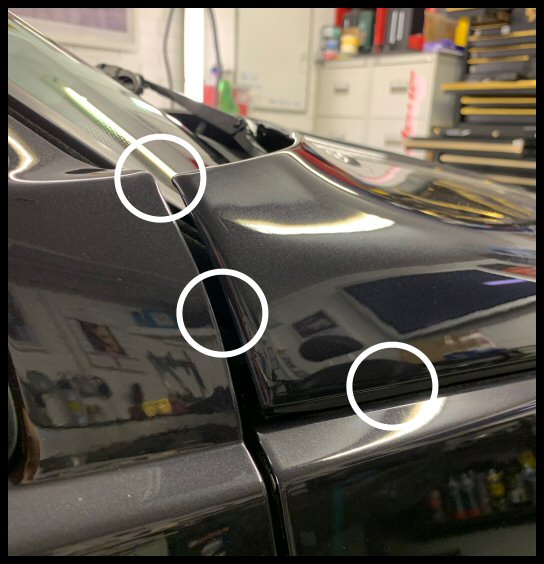
The bonnet has a some major sanding marks...

The front bumper has some serious fish-eyes where paint has been repelled...

Some panels have D/A sander swirls....

Further bodywork sanding marks...
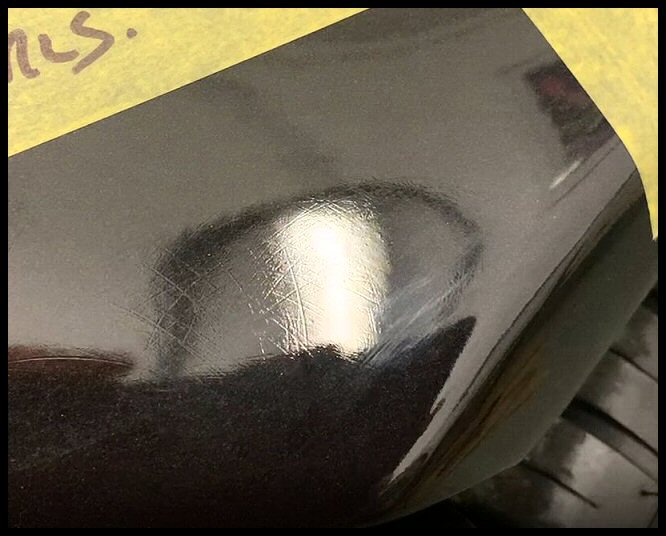
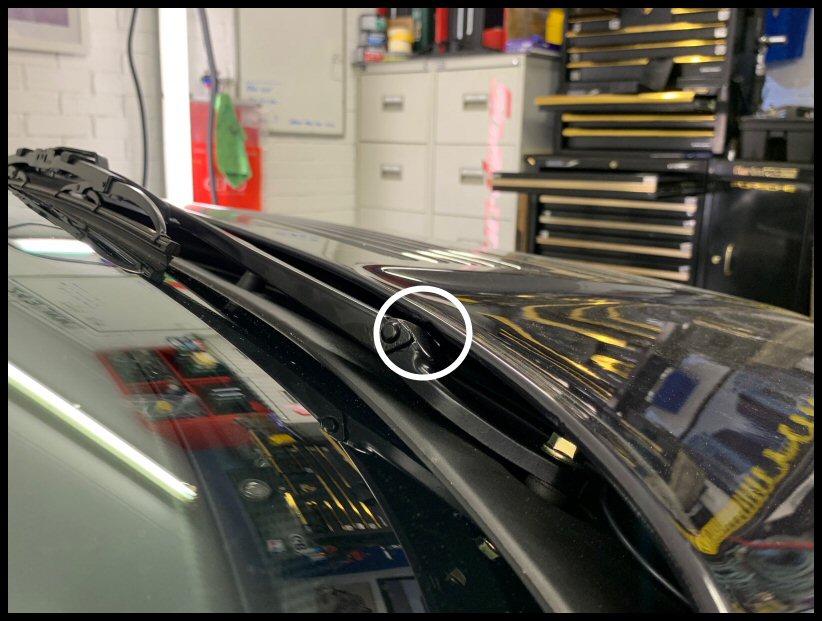
Anyway, when I noticed a crack-like mark in the nearside rear quarter, enough was enough...
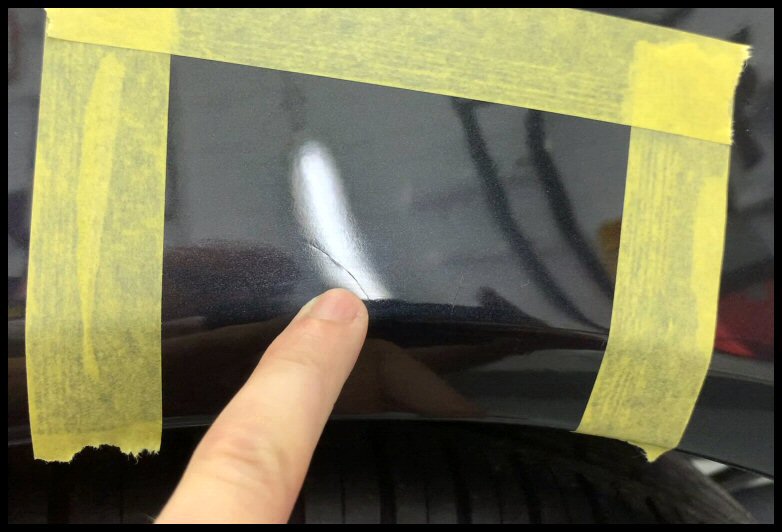
I swear all these things had evolved over time. Sadly, I had paid my paintshop bill in full already.
Cue a frosty chat with the paintshop

Having paid in full, I'm on the back foot here. I also don't want to keep paying £100 for vehicle transportation costs between my house and paintshop.
I refer to my opening paragraph of this car breaking my spirit.
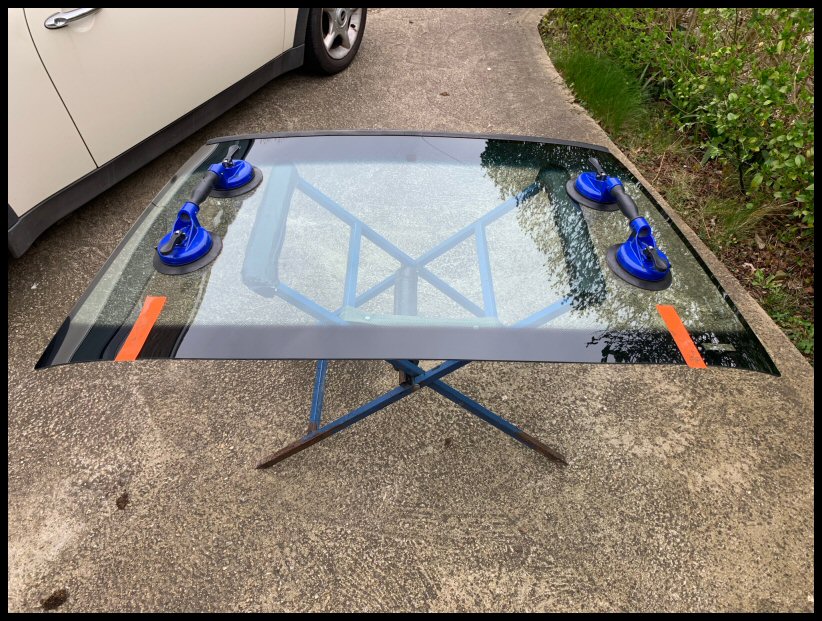
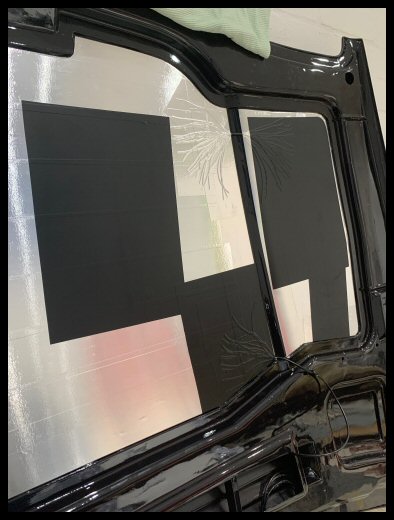
The only way to proceed was to make the car road legal - but try and leave off as much trim as possible so the paintshop have nothing to mask for rectification works. That included a nearside rear window made of cardboard, no rear bumper or tail lights, all so the nearside rear quarter could be repainted.
I therefore spent two weeks getting the car to a "bare minimum" MoT wise. One seat. One seatbelt. Trailer board lights...
Anyway, for the first time in four years, I ventured out on the public highway in a somewhat dodgy looking 480. What a complete screw up...

I really wanted that "first drive" out and about to be something special. It wasn't. No carpets. It was loud. Also very very toxic as all the exhaust gasses were getting drawn in through the rear light apertures. I had a headache for days.
Presented for test...

My MoT station hates me!
With much checking of the ministry manual for every "loop hole" I could think of, we now have an Mot. We now have tax. We now have insurance.
I marked up all the defects and drove it to the paintshop, leaving them the keys. I left the industrial estate on foot, turned, and looked over my shoulder...

...and I haven't heard a thing since.
That folks, was my August.
I predict a long radio silence here until the paintshop delivers. So, Happy New Year.
JKM.