Page 17 of 22
Re: Blinky 51/480
Posted: Sat Jul 27, 2019 6:51 pm
by arthuy
Re: Blinky 51/480
Posted: Sat Jul 27, 2019 7:30 pm
by Alan 480
I hope you ar ebuying 5kg drums of wire an dusing 'proper' gas bottles!!! other wise it gets 'expensive'

I think I used a WHOLE 5kg drum on the first Scimitar I had!!
half size pub gas bottle has been handy as well
Re: Blinky 51/480
Posted: Sat Jul 27, 2019 7:54 pm
by arthuy
My mig only takes big drums. Just replaced a 5kg 0.6mm drum and the last one lasted ages.
I have been using hobby weld gas, there is a local place that does it for £30 a cylinder. This is the hobbyweld 15 which is good, you pay a deposit which is refundable and they don't charge a rental. I found using a flow gauge helps make it last.
My old mig was small 150amp hobby job, used the small gas a few times but used it for years with gasless wire and that was ok, not the prettiest welds but I did a lot of out door work. Welded 4/5 Rovers, a Mini and some landrovers over the years all without gas.
Re: Blinky 51/480
Posted: Sun Jul 28, 2019 6:42 pm
by arthuy
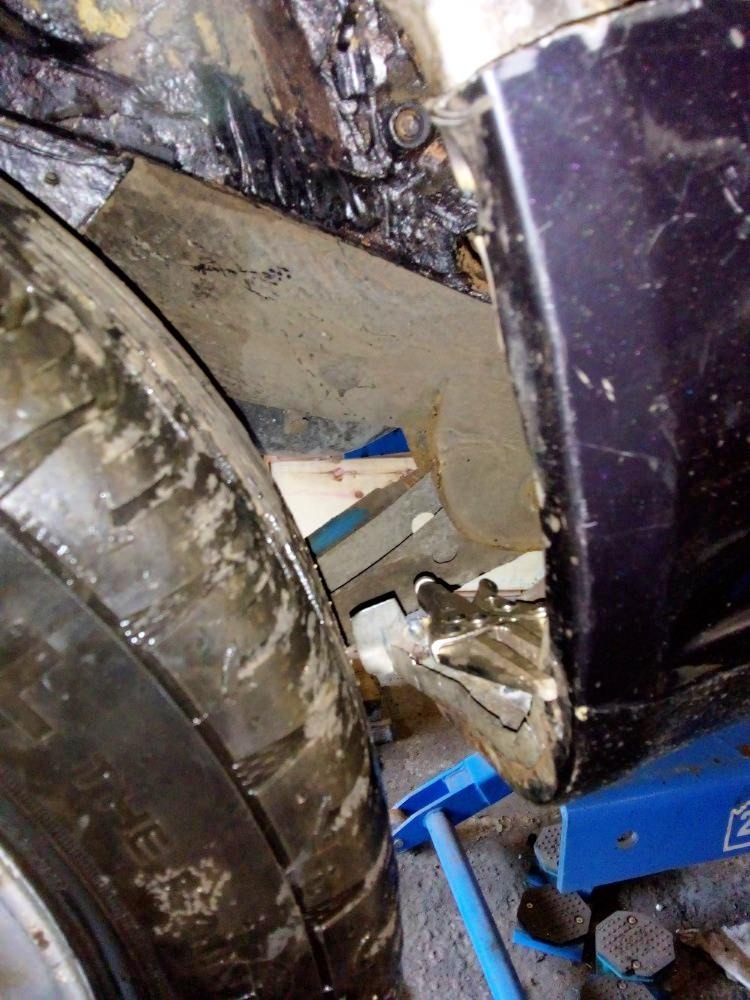
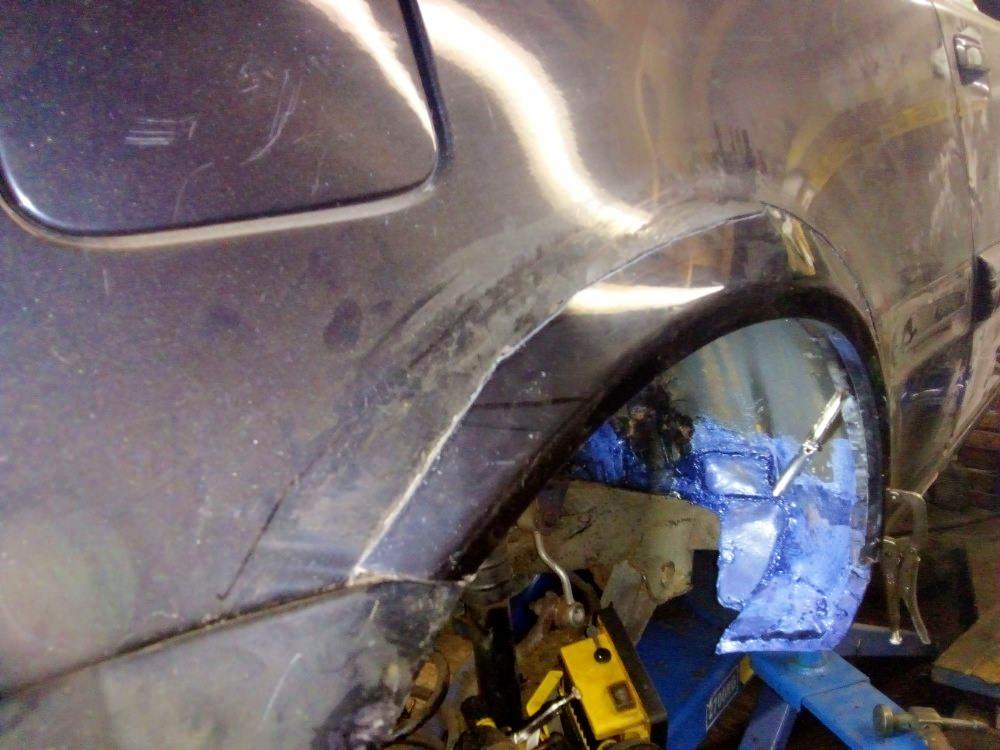
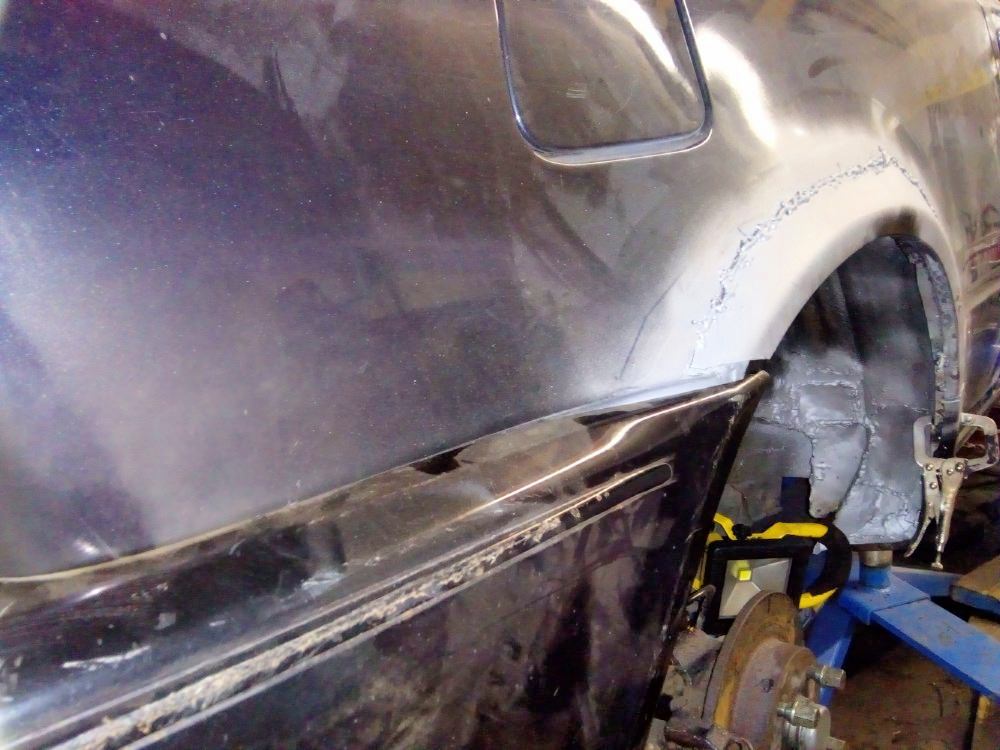
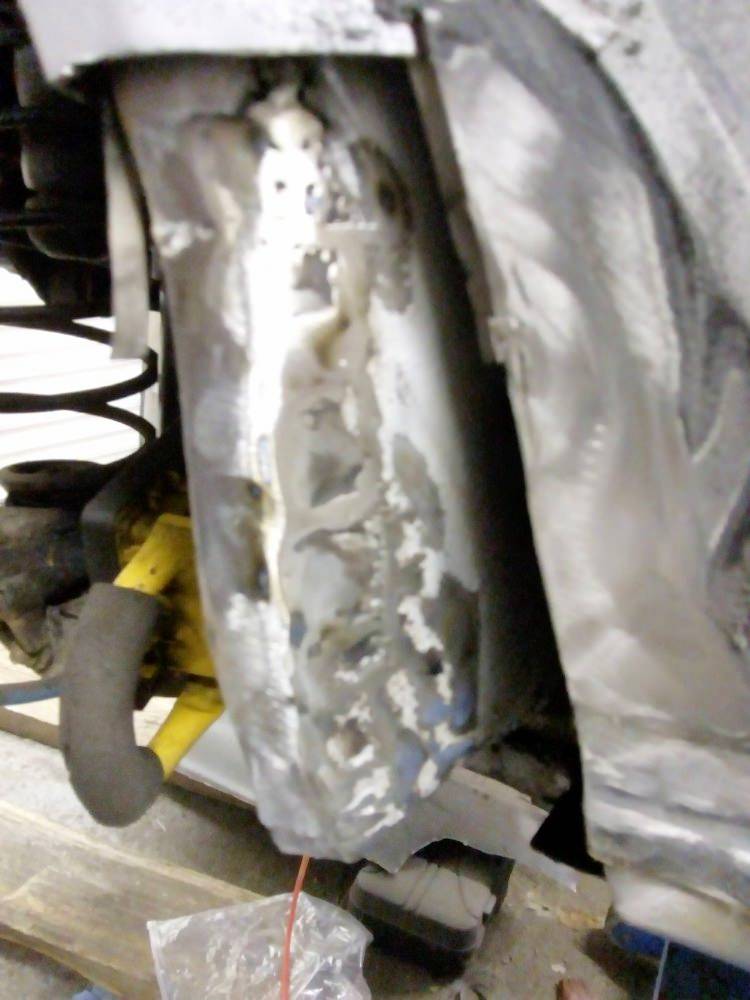
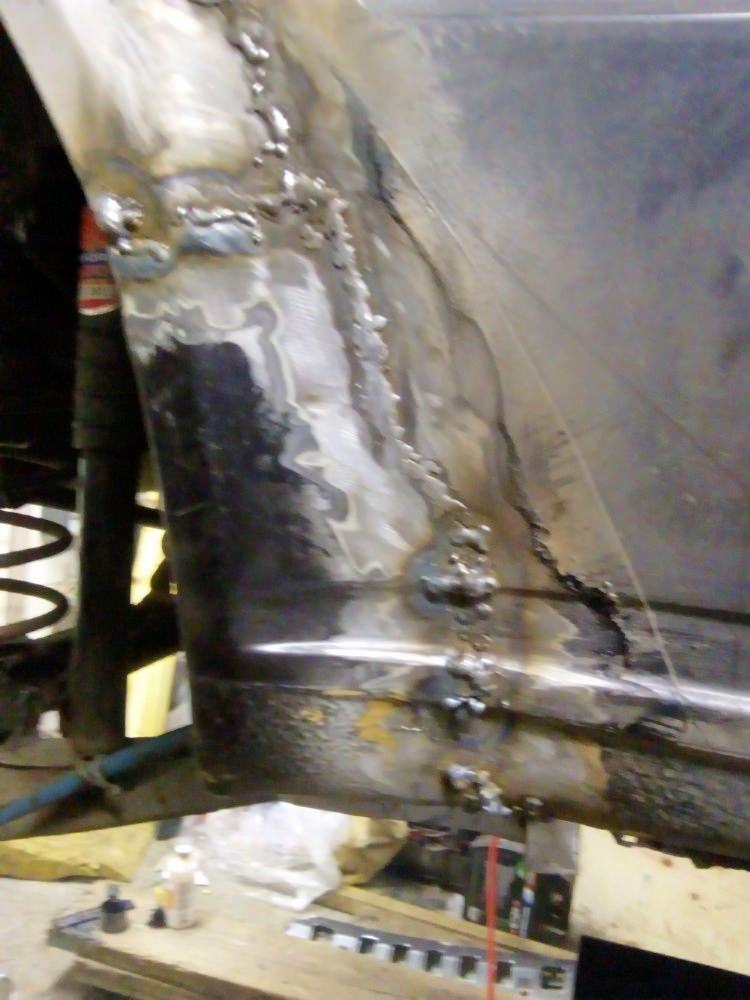
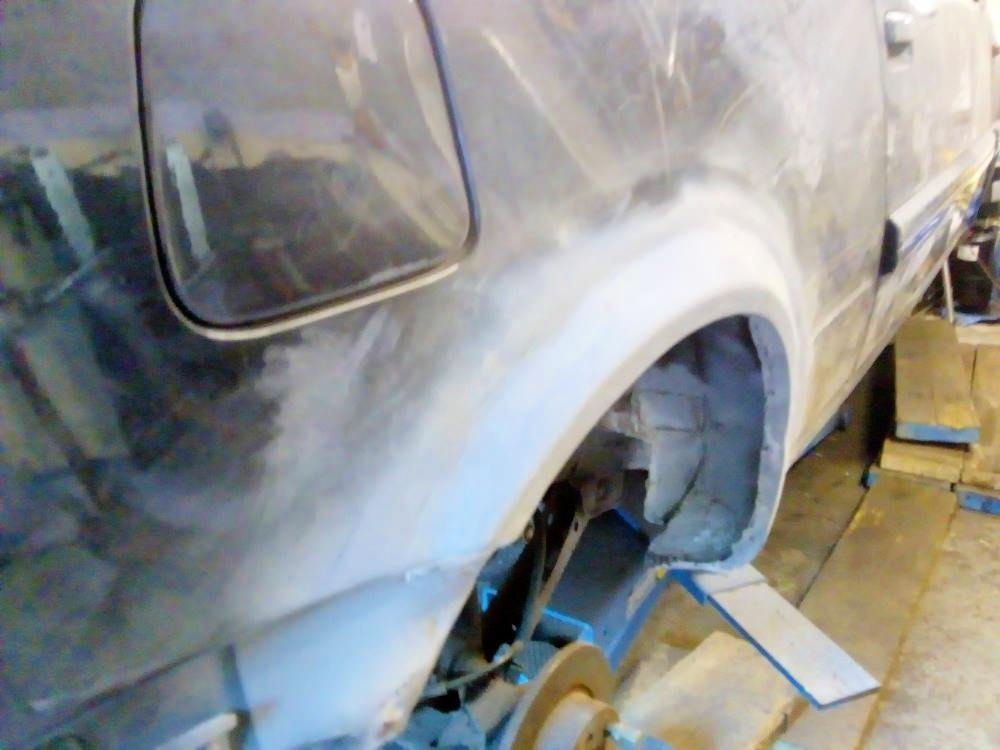
Thought I would use some primer to mark where to cut the panel, I had scored it but wanted to see if there was much difference.
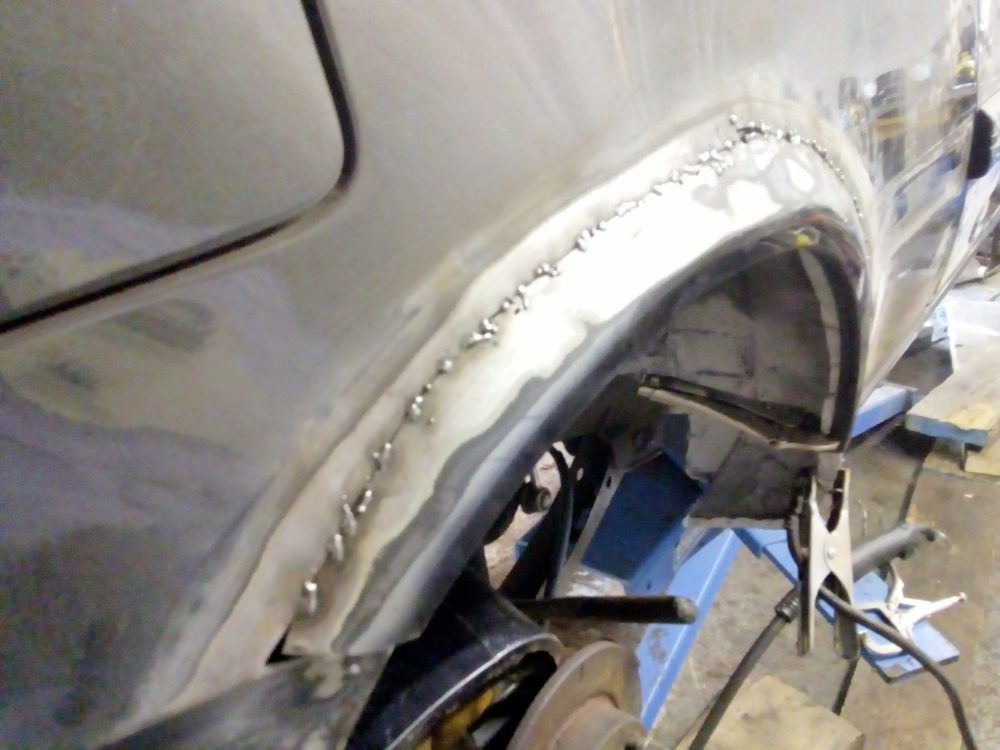
Going to take it slow to avoid distorting the panel. for grinding back the weld I am thinking of buying a mini belt sander rather then using the grinder.
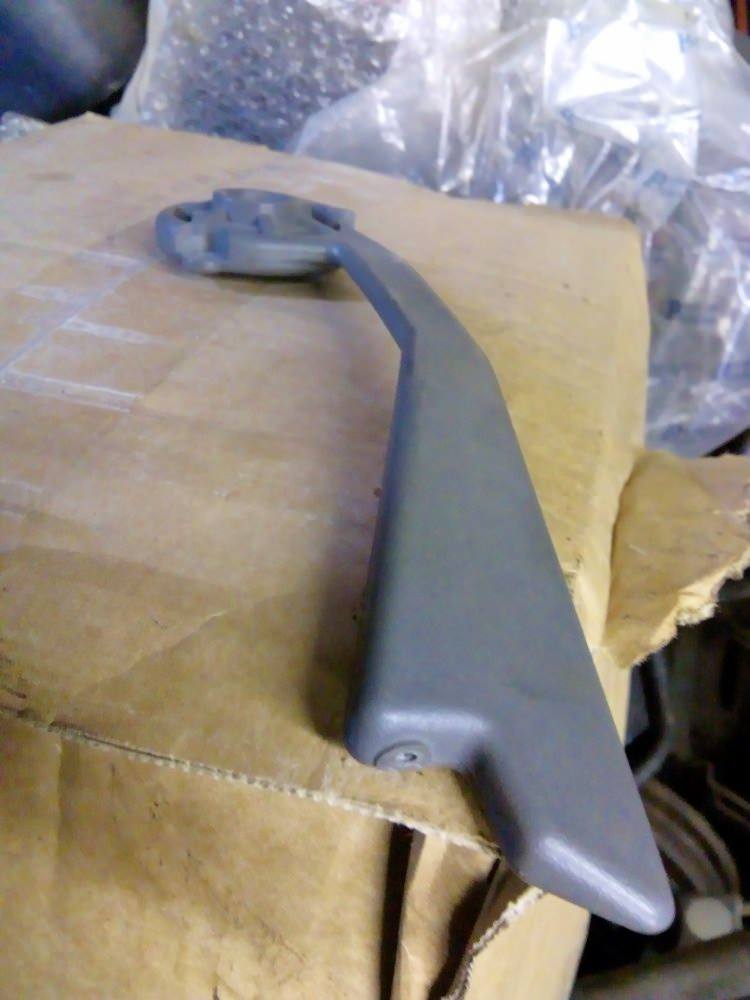
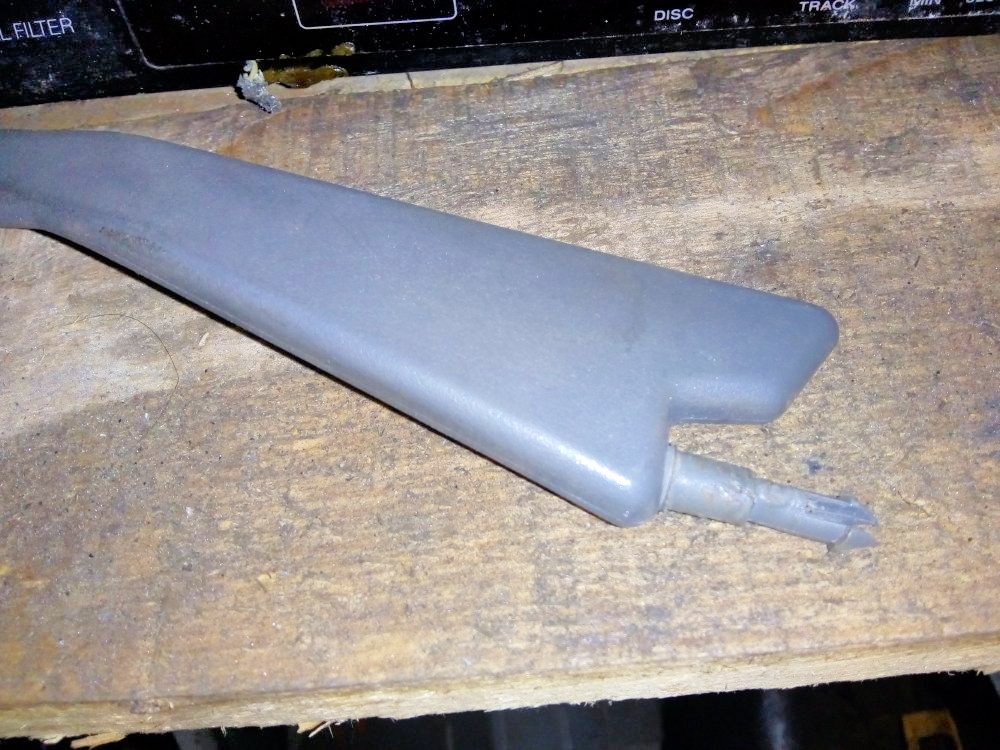
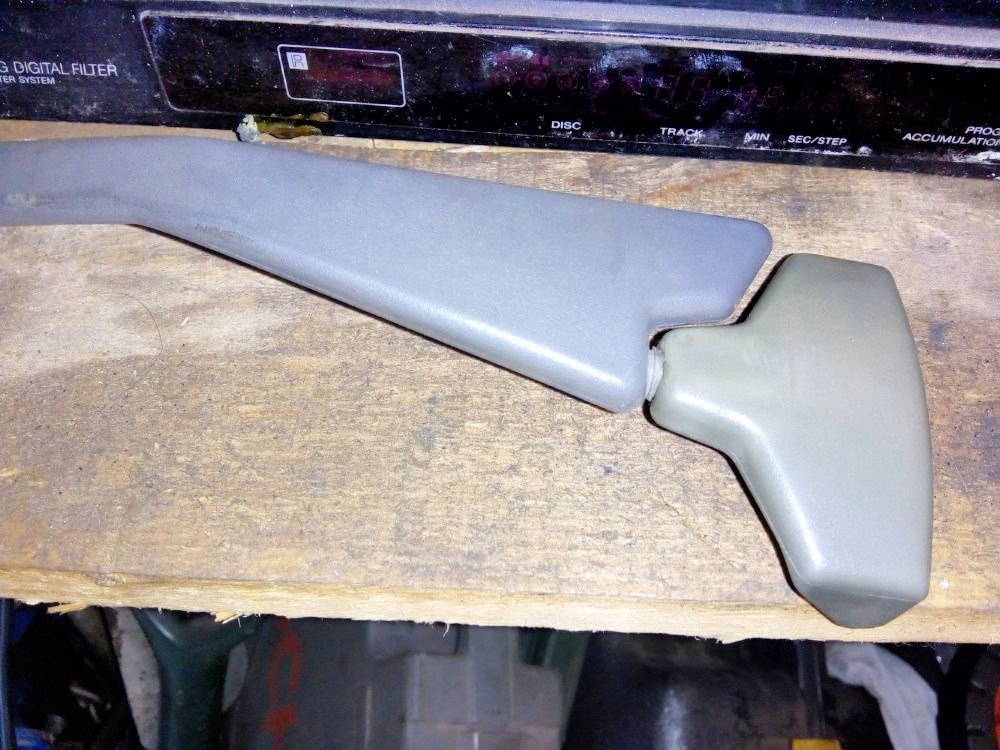
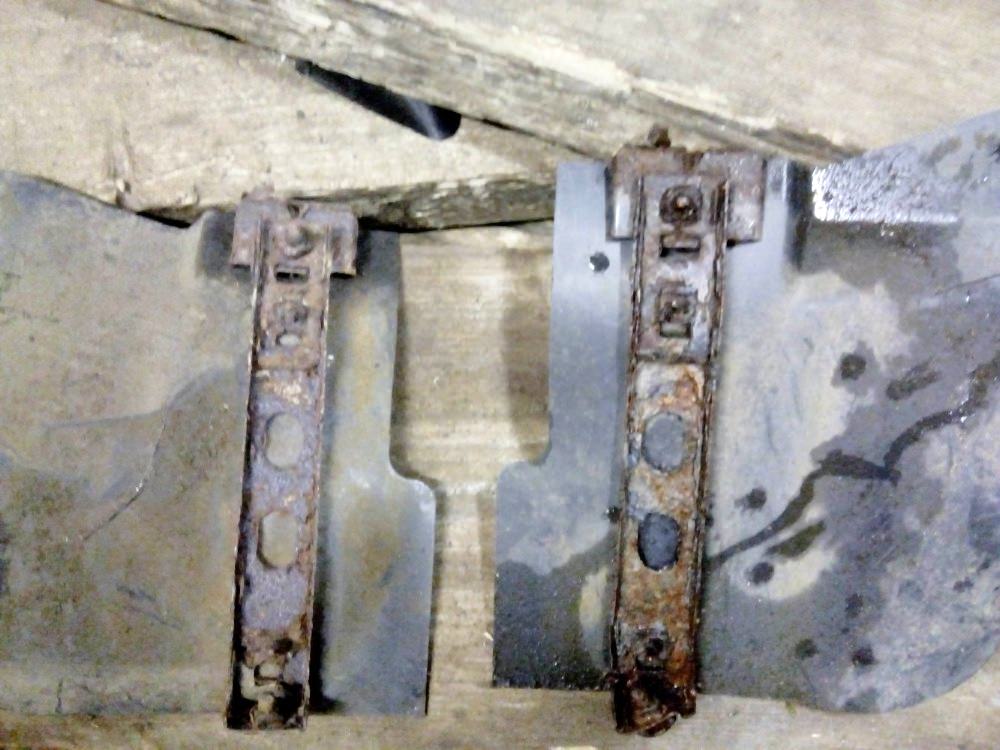
Some minor jobs to attend to is sorting out these brackets.
Re: Blinky 51/480
Posted: Sun Jul 28, 2019 11:17 pm
by arthuy
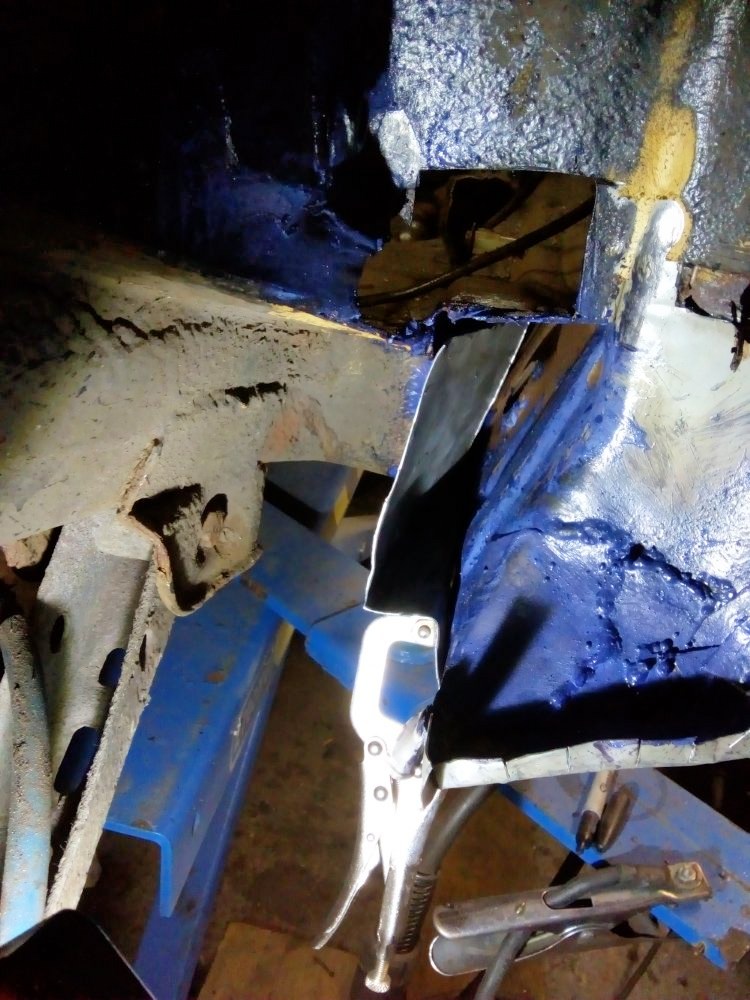
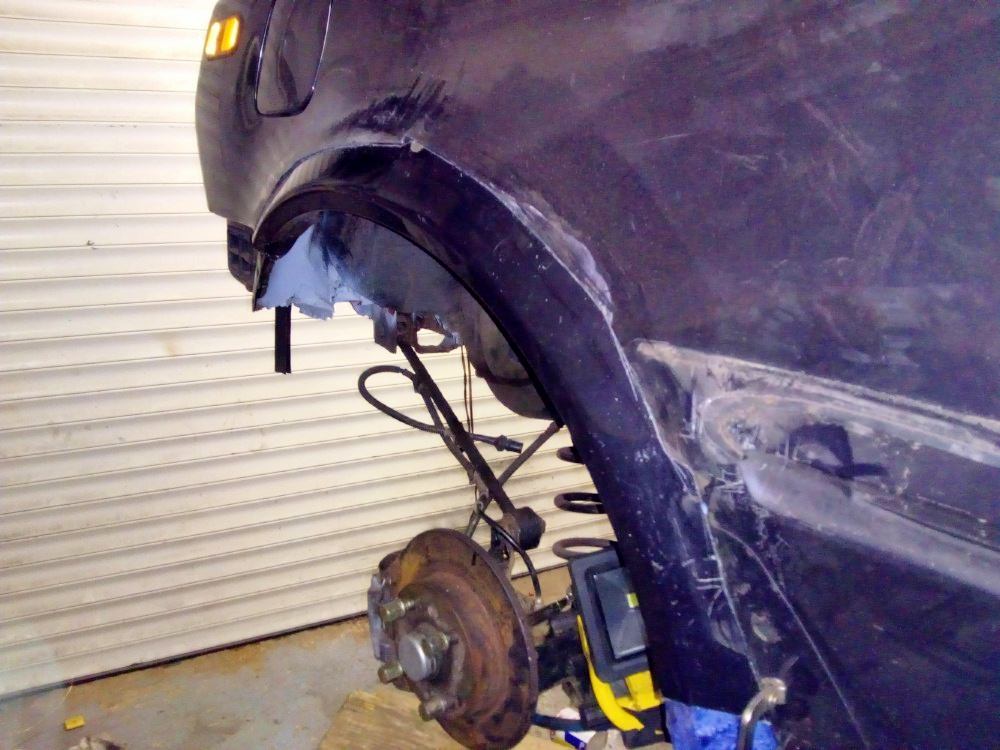
Ran out of gas again but got a decent amount done.
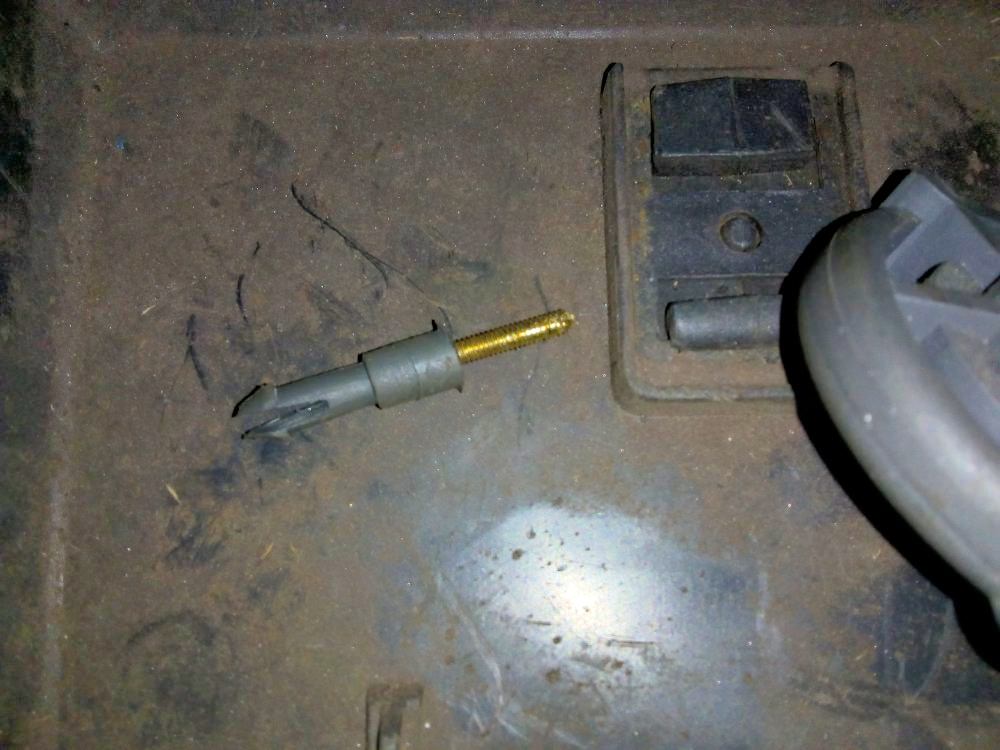
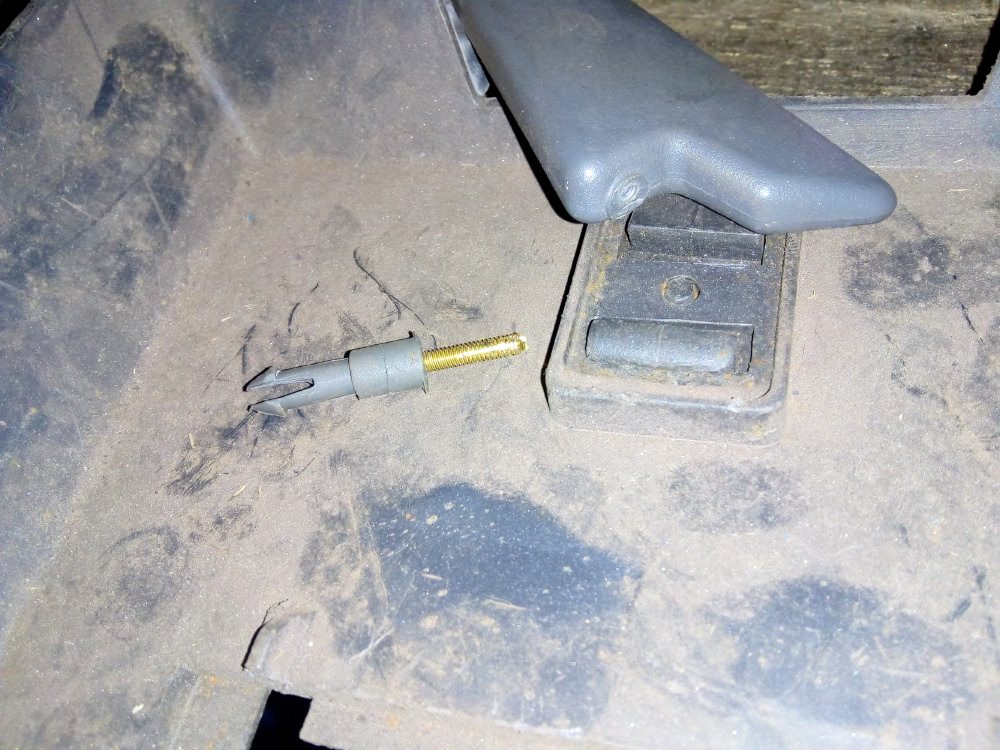
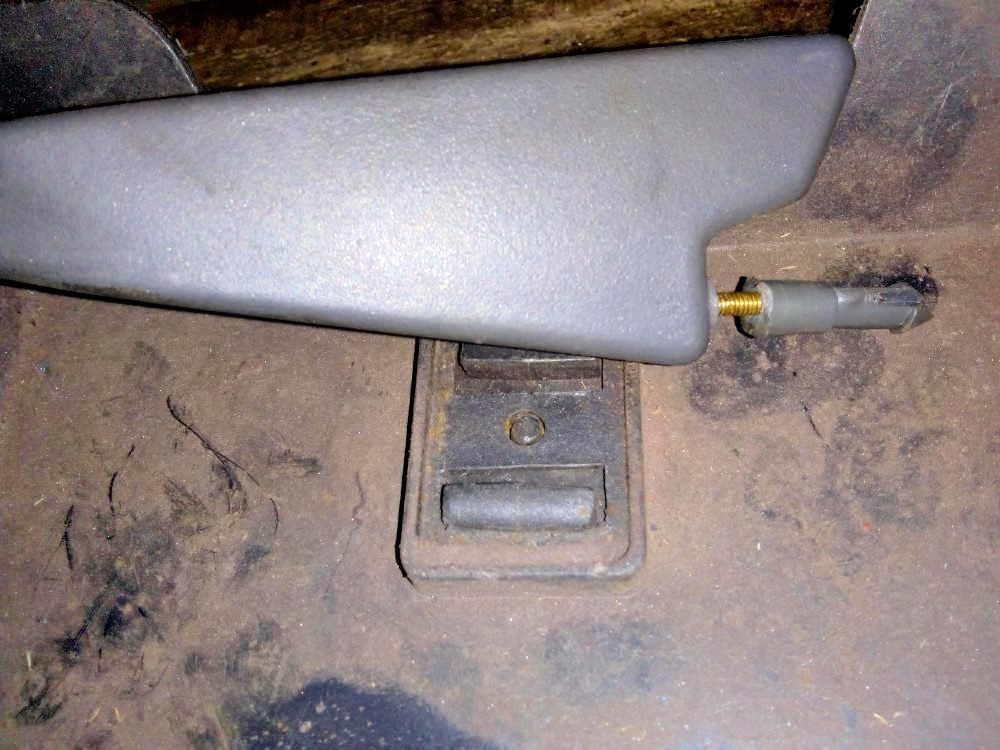
Managed to rescue some of the splash guard brackets and welded them back on.
I will try and weld a bit of steel to add strength back. It was hand that I kept that old damaged bumper, it was handy for locating the bracket and trim the rear edge of the arch.
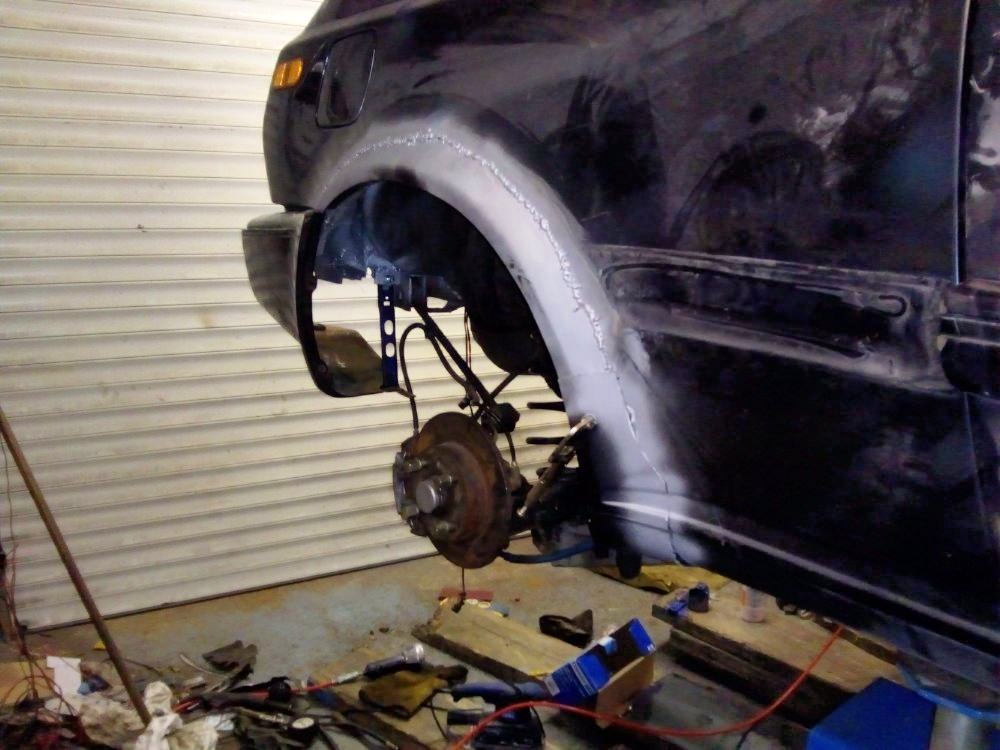
Really just the bottom to weld and a lot of grinding back.
Just hope I can find enough screws and bolts to put the bumper back on.
Re: Blinky 51/480
Posted: Mon Jul 29, 2019 5:48 pm
by arthuy
Bought some new flap discs for my grinder today. I prefer these over grinding discs as they as less damaging. I have bought a load on ebay but ran out. Screw fix do the but thing that £3/6 depending on the brand is a bit much. Whilst I was doing some surfing someone mentioned that you can but them for £1 at The Range. The post was a few years old but they have them for £1.50, handy for me as the gas supplier is just 5 mins along the road so killed two birds with one stone.
So to make sure I have a continuous weld on the panel I ground down the weld and will shine a torch in the back. Any gaps can be filled with a little zap of the welded. Though this can be hard as the metal is thin and can blow holes.
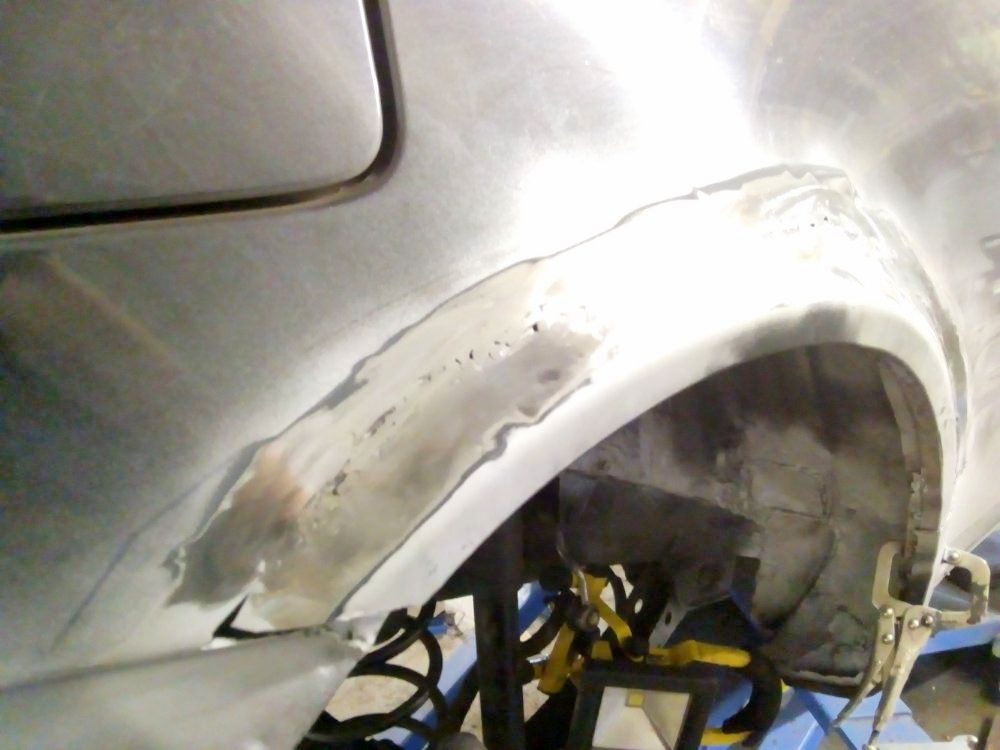
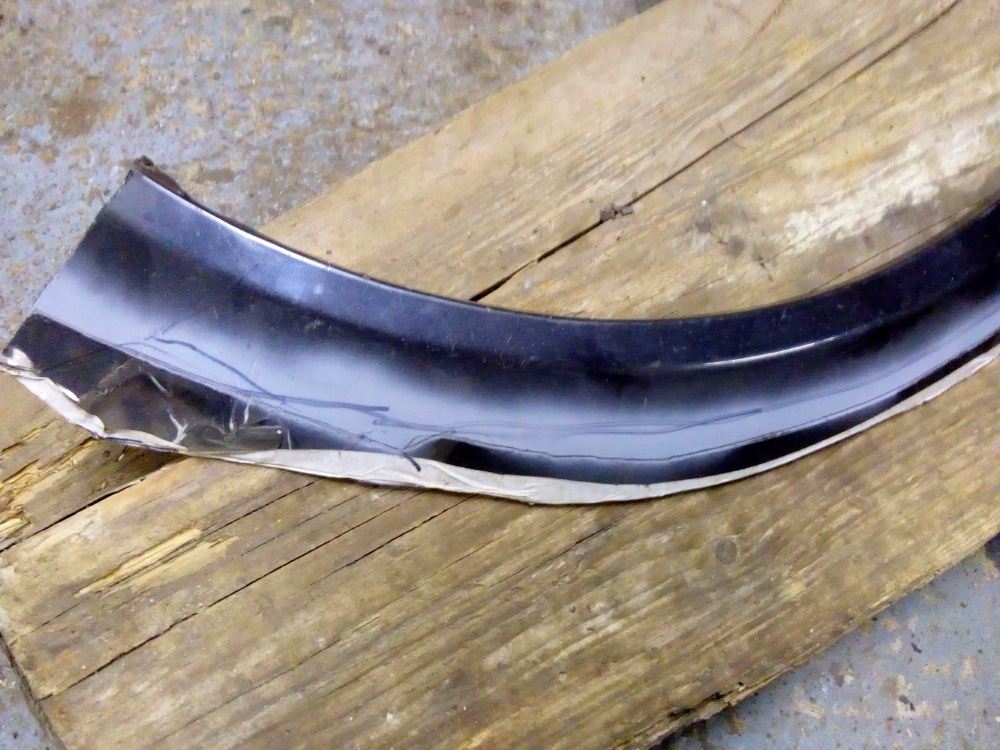
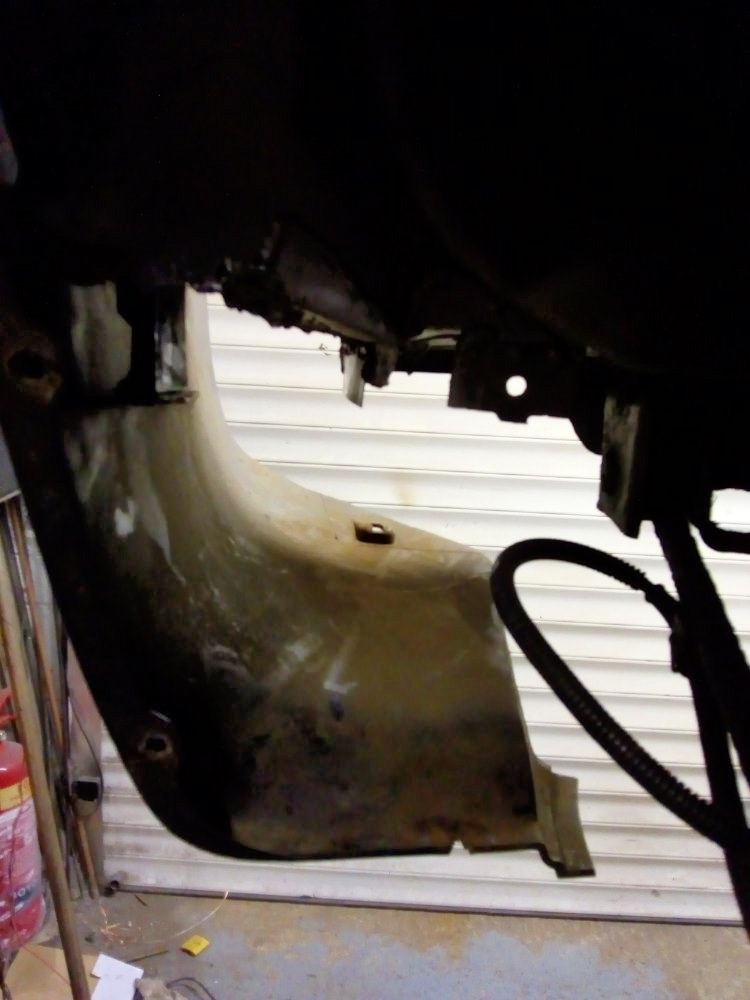
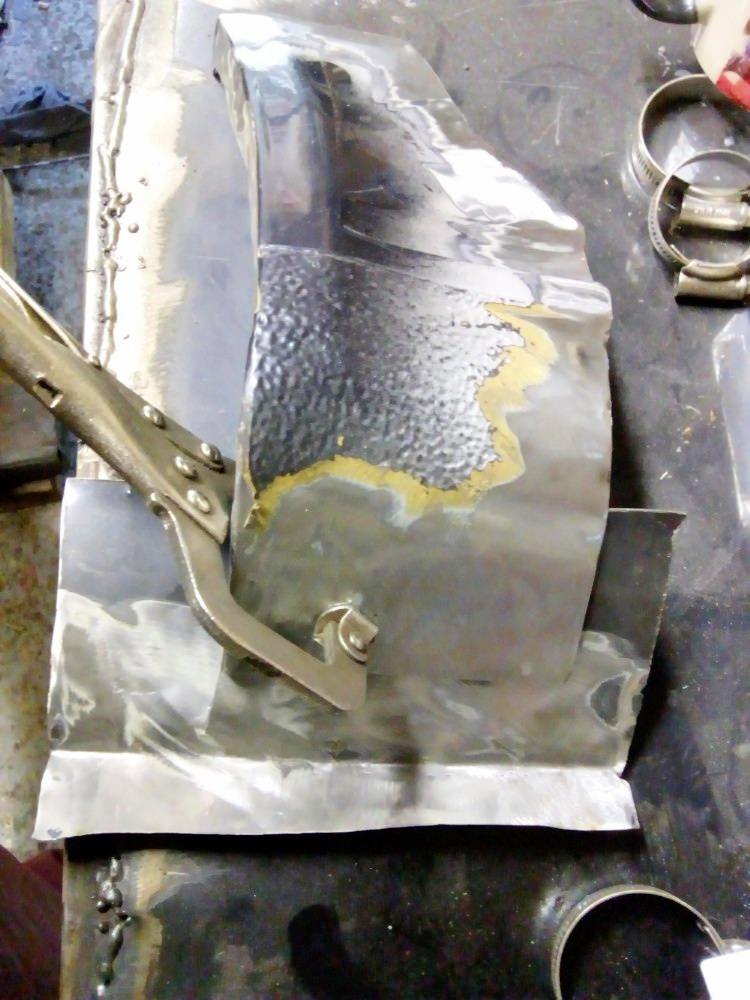
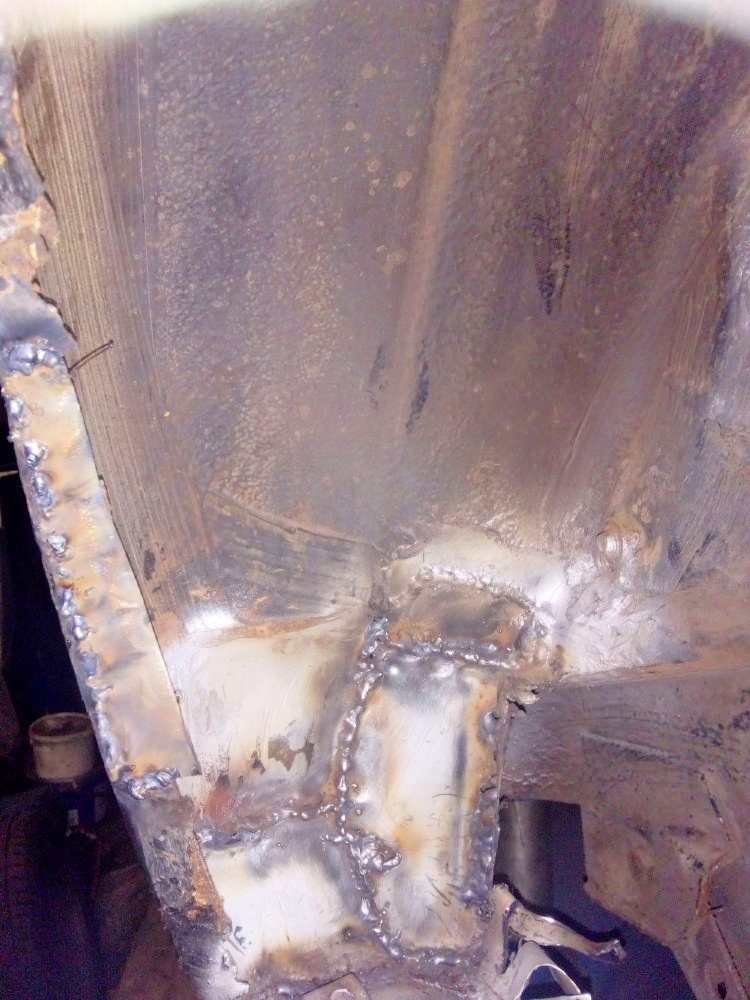
I have trimmed the lower wing section, as this panel came from a from wing from the sill to the outer curve is much deeper. There was some rust on the bit I cut off so no great loss.

Once I have welded the extra metal to the section I can get it welded to the car. I am pushing on to finish tonight and get the car reassemble and left the paint dry before the MoT on Wednesday.
Re: Blinky 51/480
Posted: Mon Jul 29, 2019 11:16 pm
by arthuy
I would work through the night but need to be considerate of my neighbours, so just a bit more to do.
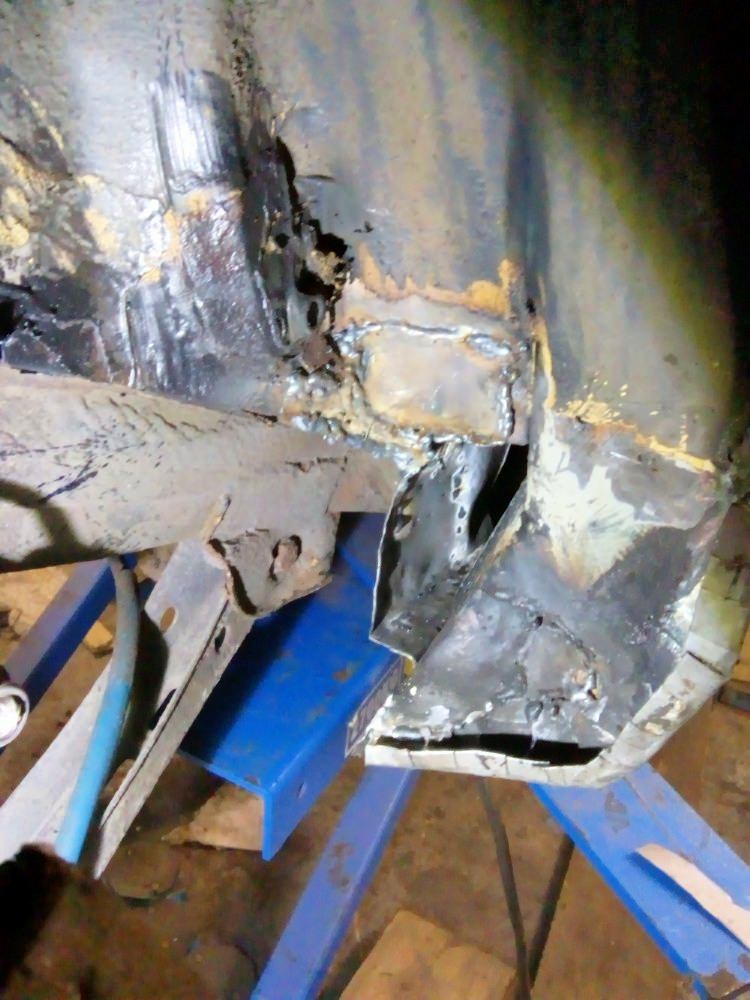
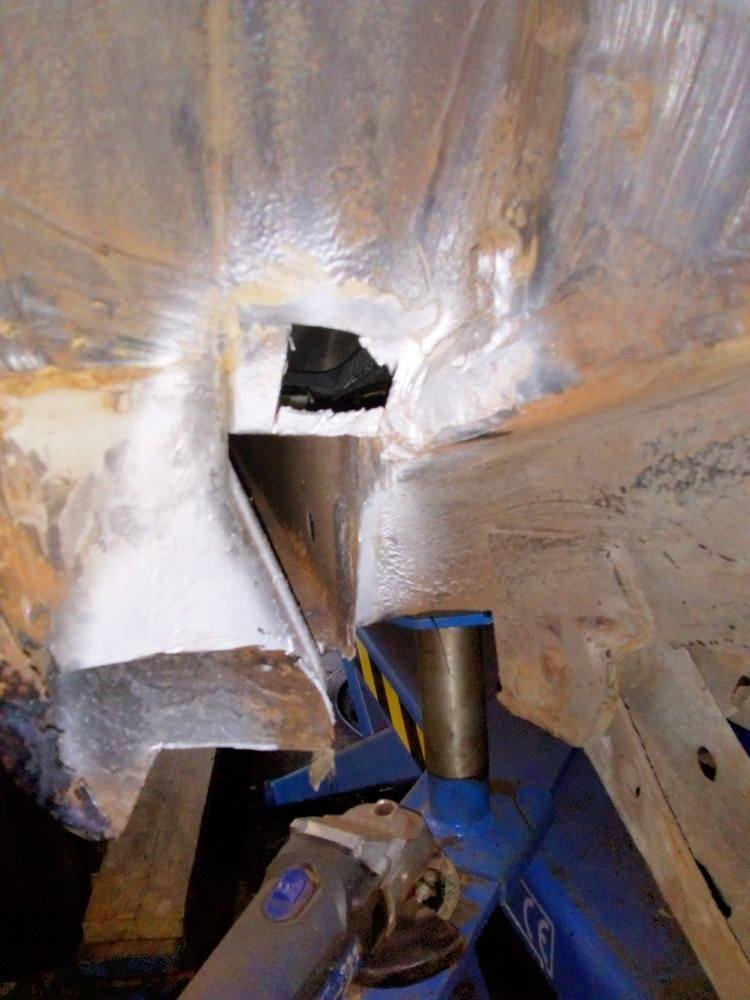
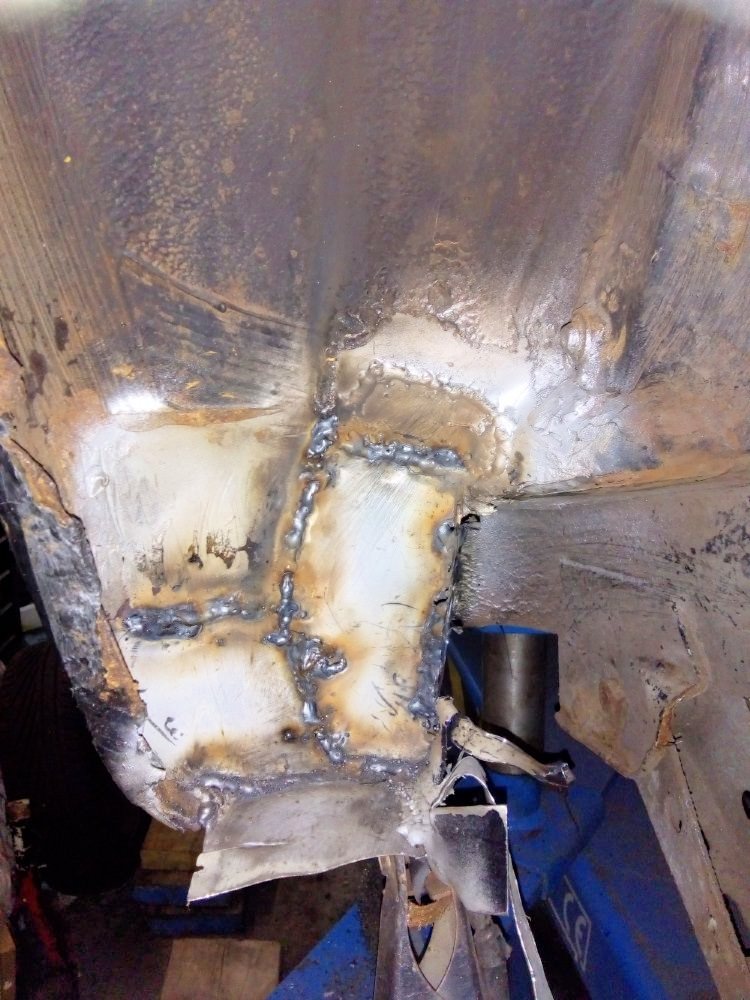
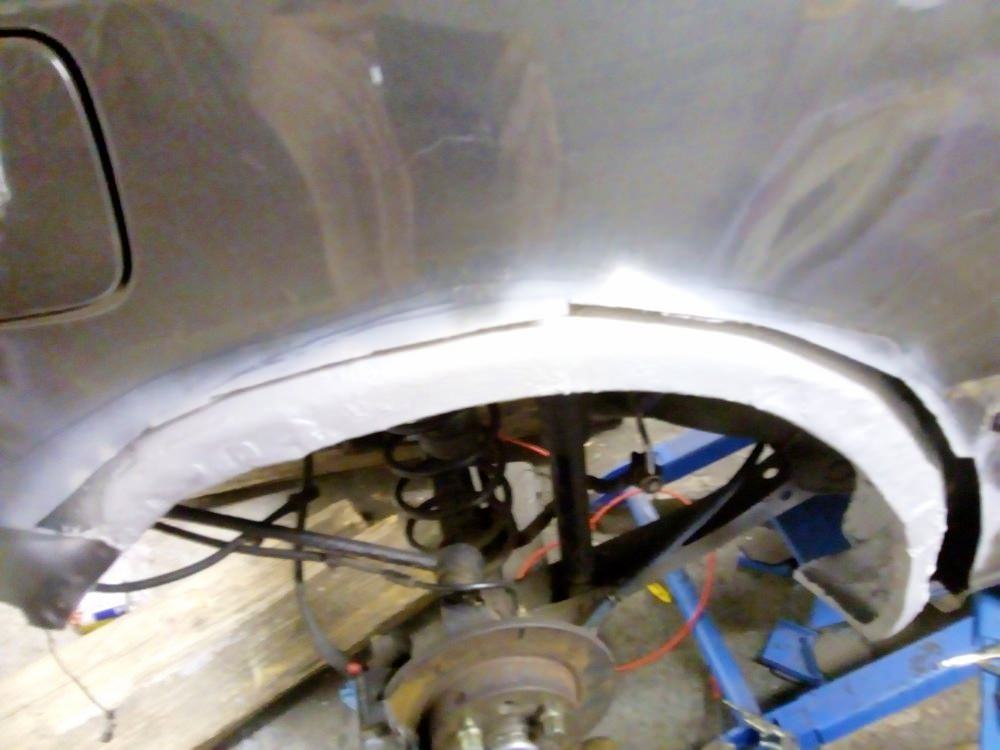
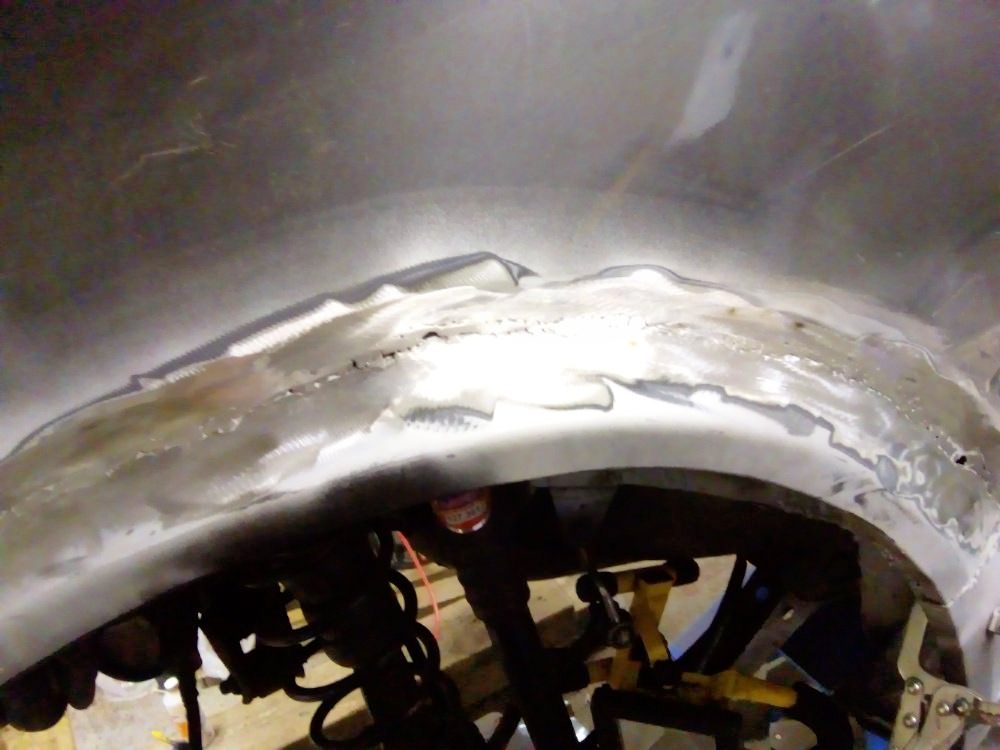
Lower section with a bit of metal added, Was able to weld on the inside and clean up.
Got to love how the lower wing profile matches, definately worth keeping front wings even if they are a bit damaged or rusty.
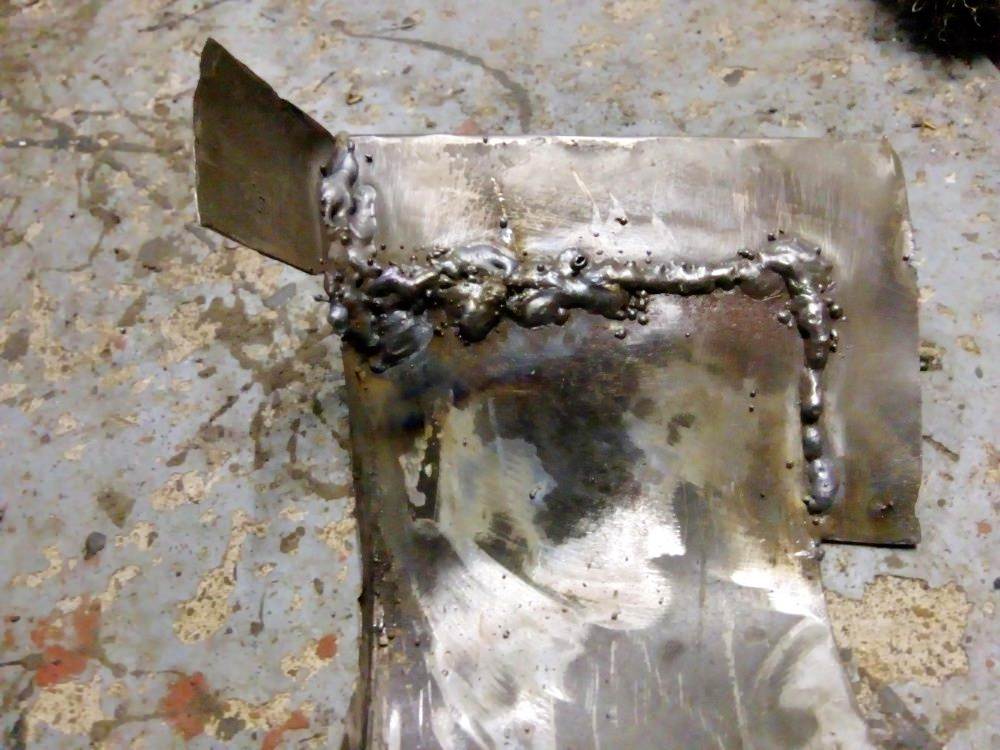
Will get the welds cleaned up and the inner and outer wing welded together, this has been a dragging on a bit and not how I wanted to spend my holiday.
Re: Blinky 51/480
Posted: Tue Jul 30, 2019 7:53 pm
by arthuy
Re: Blinky 51/480
Posted: Wed Jul 31, 2019 12:11 am
by arthuy
Have had to knock it on the head for tonight, will rebook the MOT for friday as I still have a few things to finish as well as refitting the interior and bumper.
My tester is a nice guy but dont think he would be too happy testing a car with glowing metal and wet paint

That aside I am glad I poked at N/S sill, I would have had a fail on the MOT and need to spend time setting the garage up to weld again.
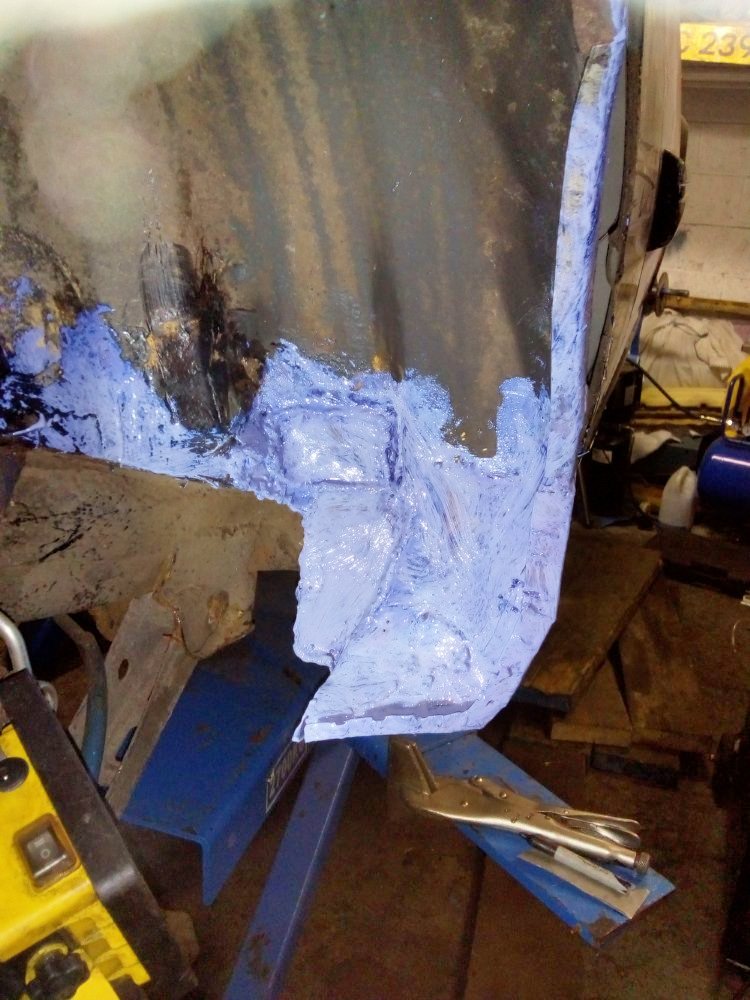
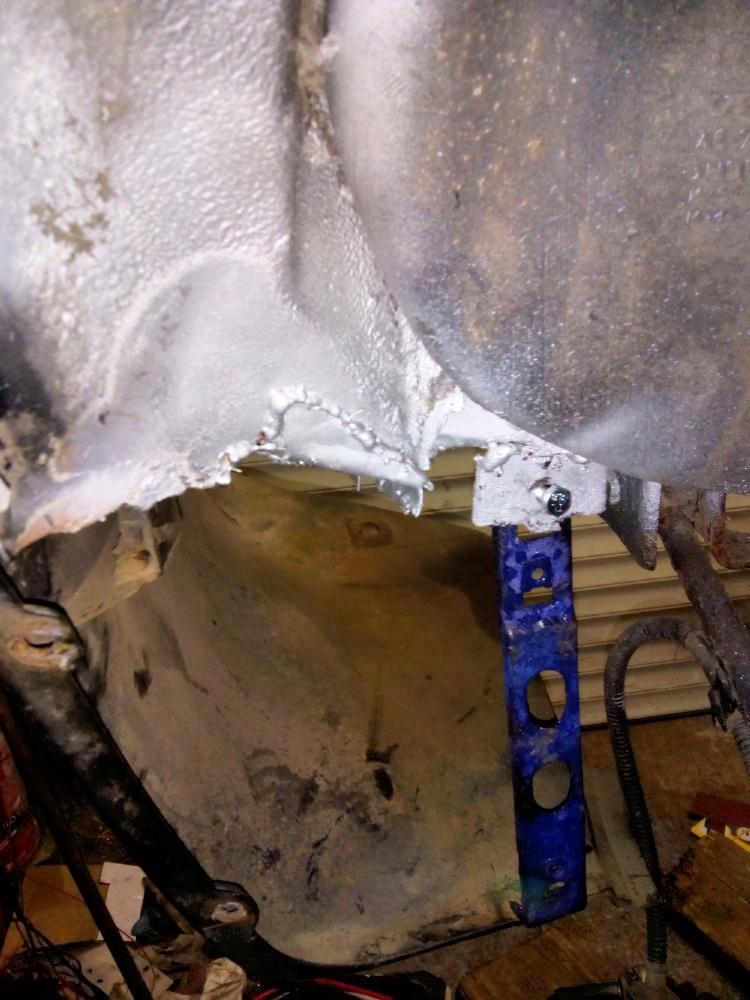
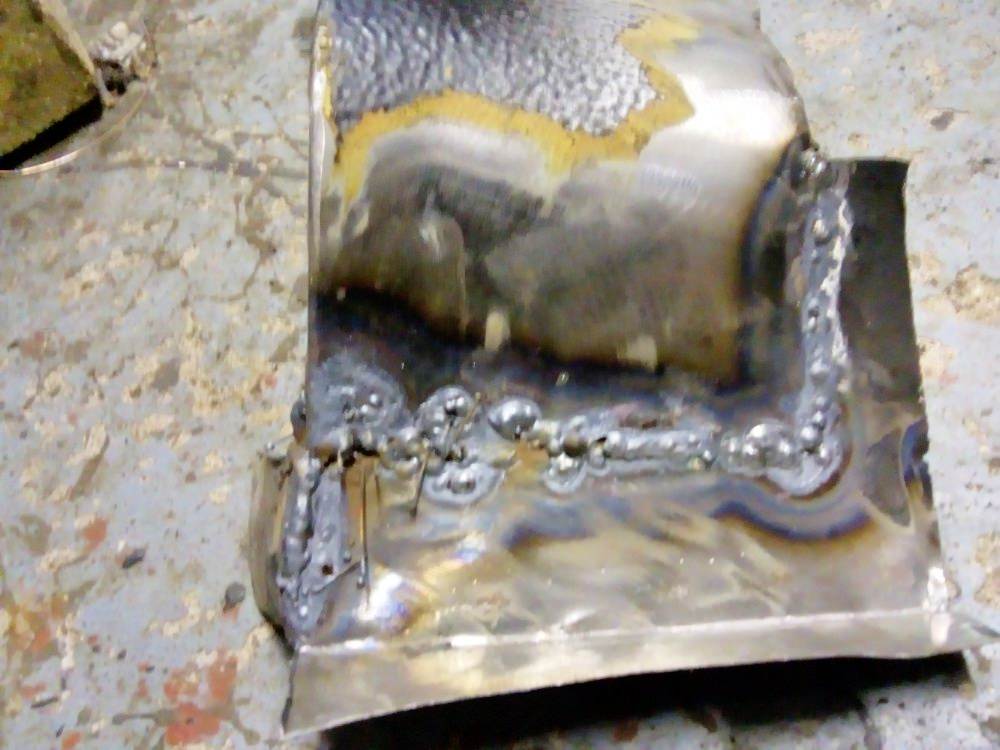
I added a new lip to the N/S arch, it was a little crusty and I grabbed hold when I was sticking my head in the door to check for fire. I would have got away with it but was one to the easier jobs.
And finally a bit of filler on the arch.
Re: Blinky 51/480
Posted: Fri Aug 02, 2019 8:30 pm
by arthuy
I have had a few days off the car, cant spend my entire holiday welding.
Still plan to get MoT done for the club meet though it might not be MoT until the day before.
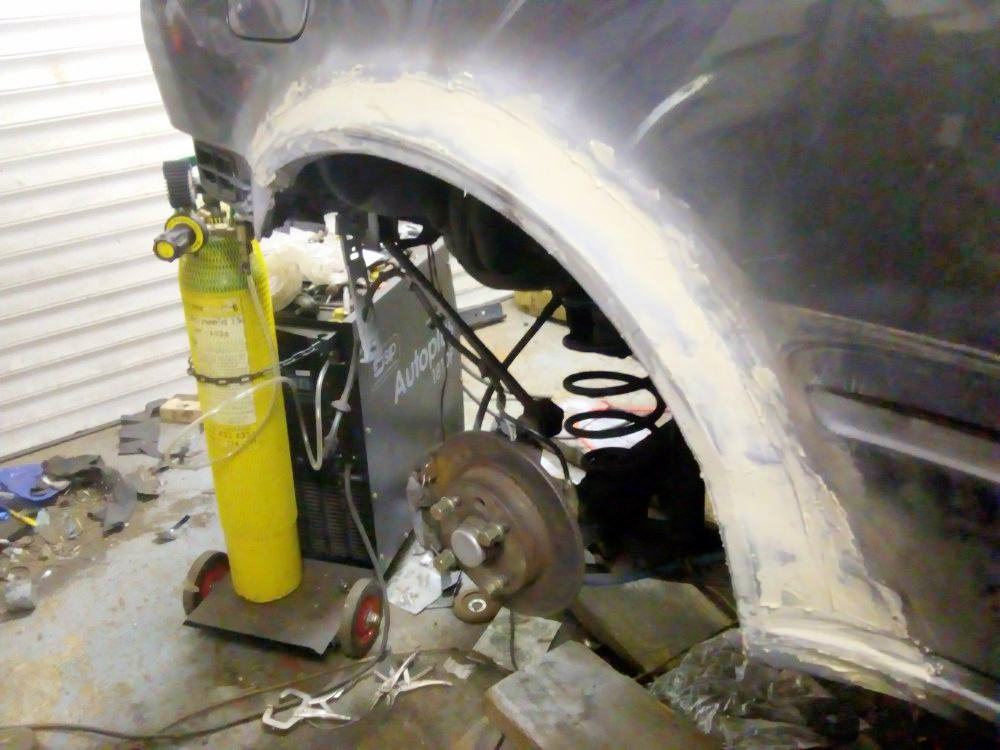
All I have done is give the filler a rough sanding to see how it looks. Not bad really but there are a couple of bits of distortion near the fuel cap but I am trying to pull them out with a suction cup. To minimise the filler.

Still to do:
Finish the inner wing welding
Paint inside wings and sills
Wax inside wings and sills
Refit the rear bumper
Top up the gearbox oil
refit the interior
Check brakes
Wash and MOT
Wheel alignment check
After I stopped working the other night I had a bit of ebay therapy and picked up a roller cover for the load bay, I had the brackets on the car. Not sure I will use it much but nice to have a treat.
Re: Blinky 51/480
Posted: Mon Aug 26, 2019 5:44 pm
by arthuy
Well I finally got the car out of the garage.
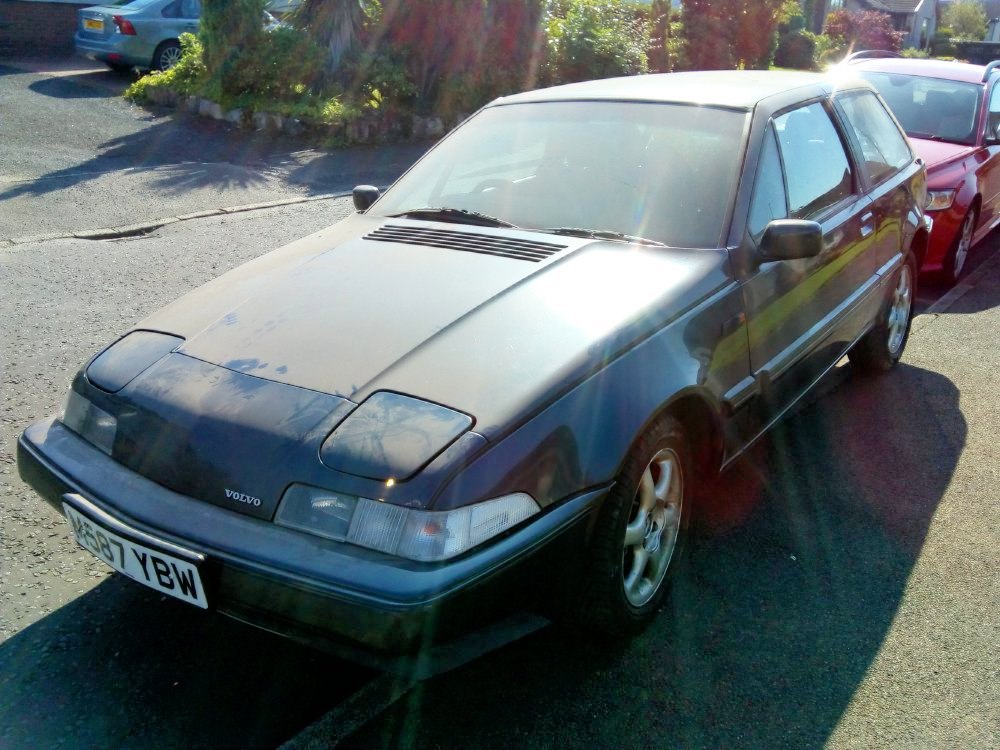
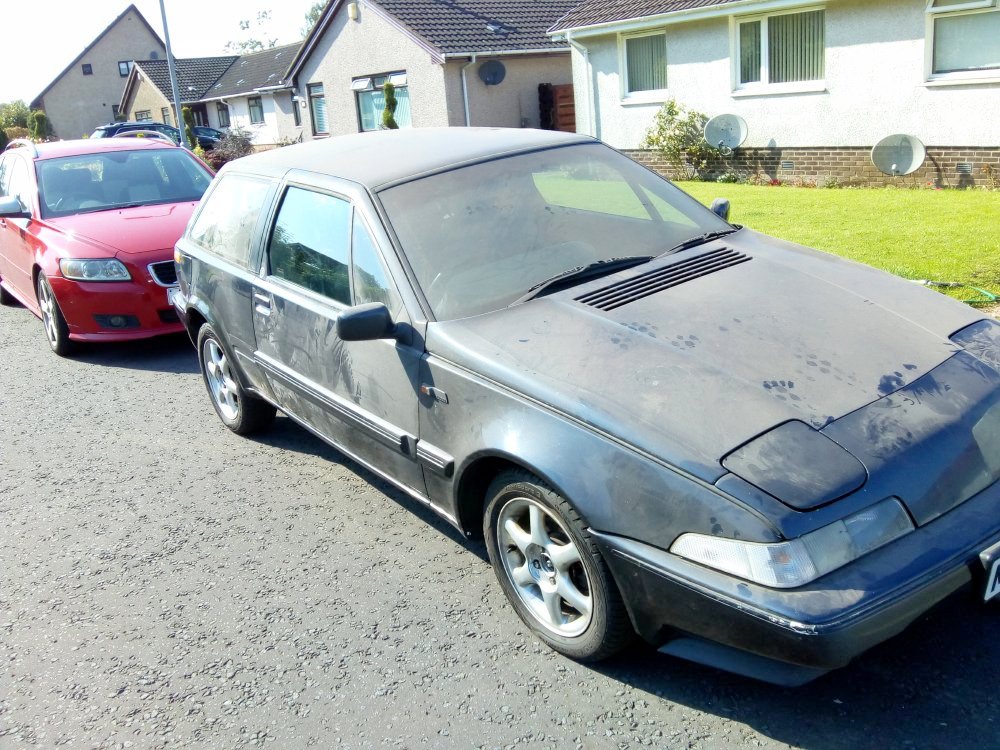
I seem to have developed a splade front end.
Looks like I have got the top mount the wrong way around

correct
Been a long week way.
.
Re: Blinky 51/480
Posted: Mon Oct 28, 2019 10:59 pm
by arthuy
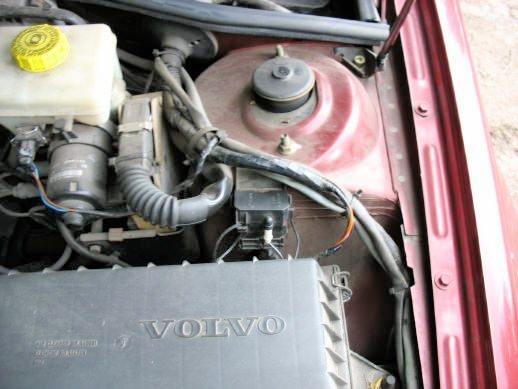
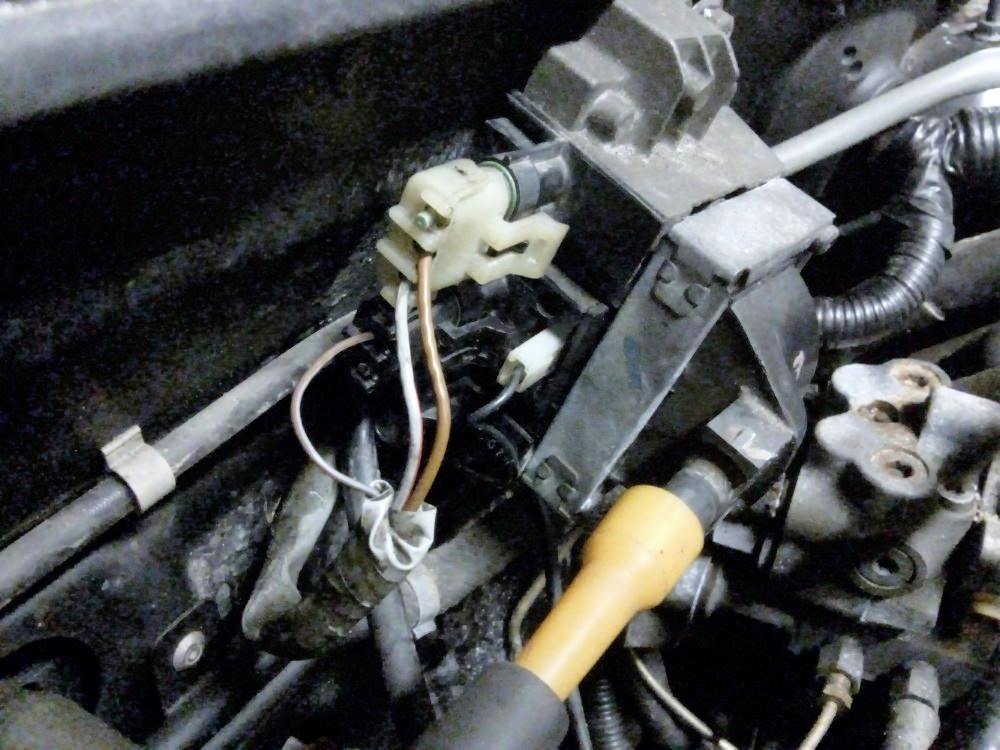
I am looking for a bit of help understanding the ignition module.
The car has developed a little fault. It will start and run but the engine dies abruptly after a while and wont restart, I have done some probing and it is lack of spark.
I was looking for a diagram but there isnt much out there.
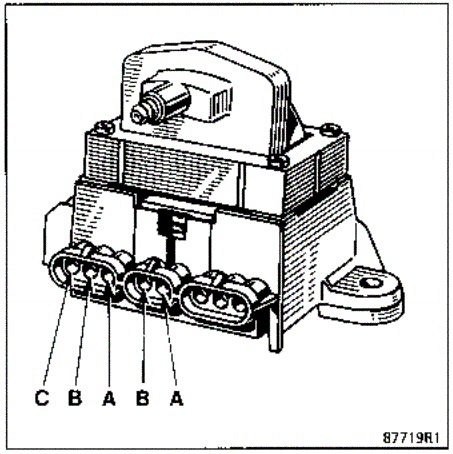
I think that the single wire on the twin plug is the signal from the ECU.
The Brown on the triple plug is a constant live from the ignition relay under the steering wheel. the Grey/red wire to ground?
Haynes describes measuring the primary and secondary windings but it isn't immediately clear to me.
As the engine cuts out I think it will be either the ignition module, relay under the steering wheel or the ECU. I have spares but would rather be able to test it without swapping parts and potential blowing an ECU.
I had a similar fault many years ago in a fuel injection mini, I think I had spiked the ECU when I was welding the car even though the battery had been removed.
Might not be connected but the rev counter was intermittent and doesn't seem to be working just now.
Re: Blinky 51/480
Posted: Sun Nov 03, 2019 3:04 pm
by arthuy
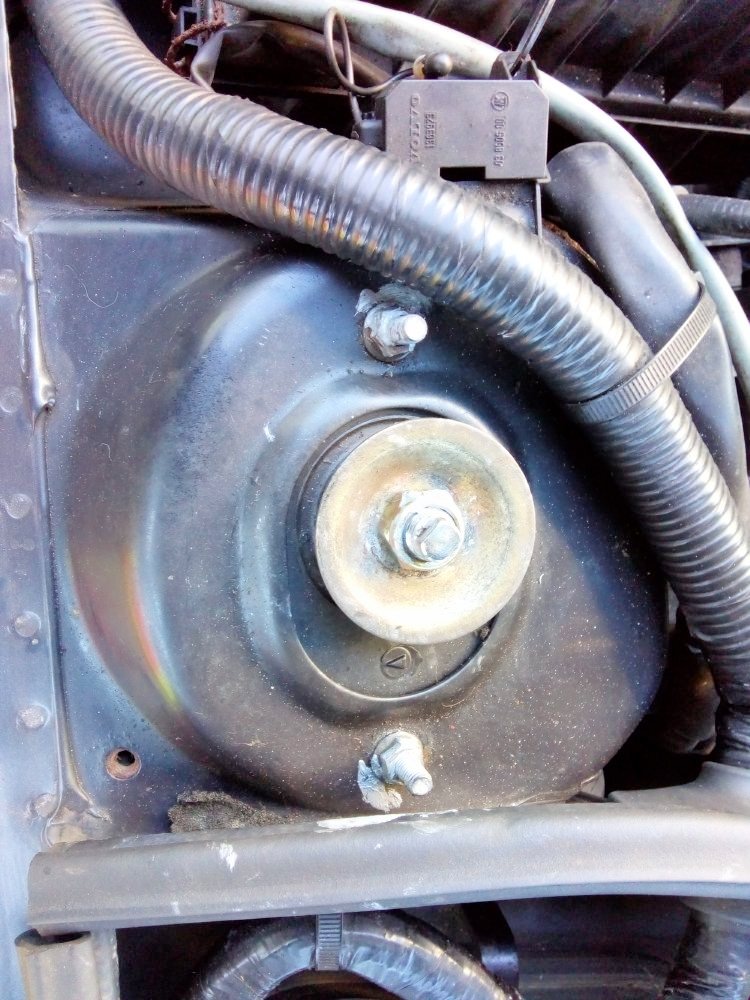
Looks like I have found the problem.
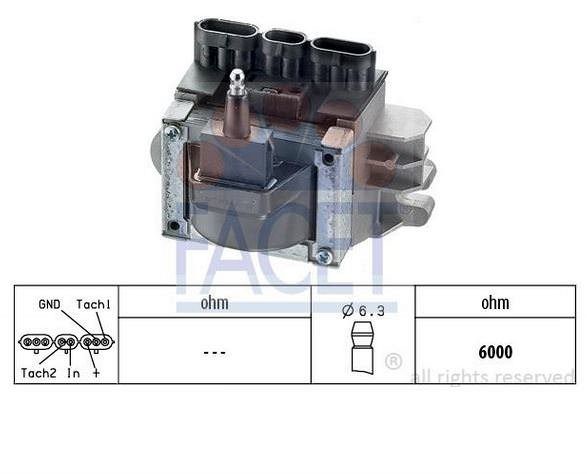
In the Haynes manual there is actually useful section on the ignition system. I followed it in a logical order.
The coil is attached to the ignition module by two screws. When you remove it it exposes the terminals to measure the windings.
one of these looked pretty dirty and tarnished as were the connection in the module. Gave it a clean and it started fine. I will swap it with the one from my spares car though as it looks to be in better condition.
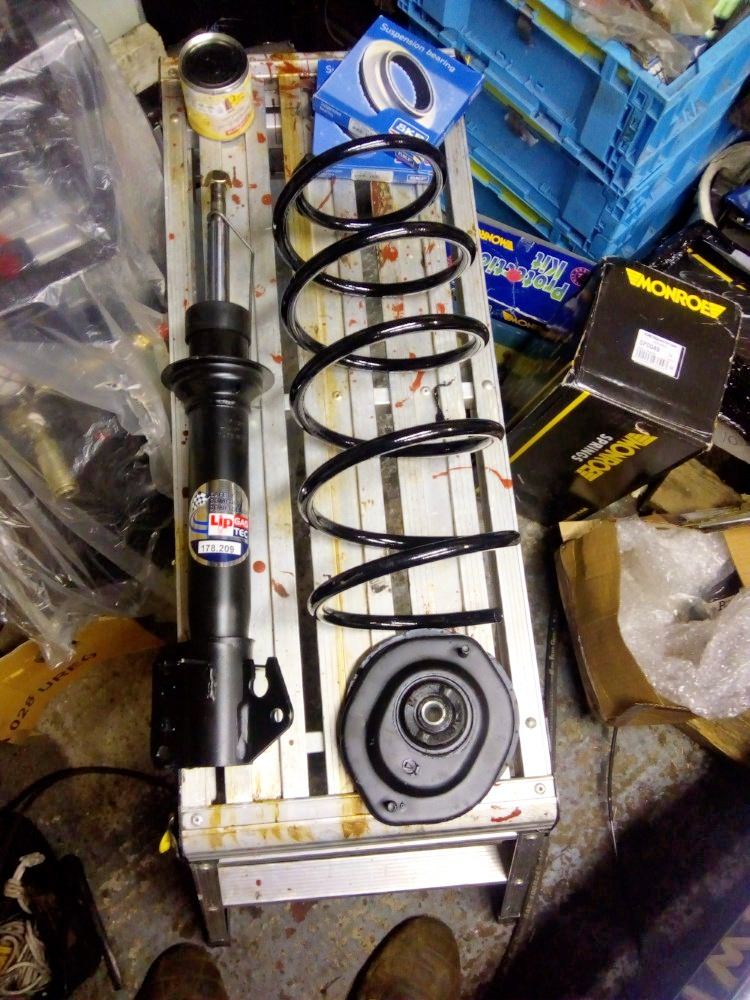
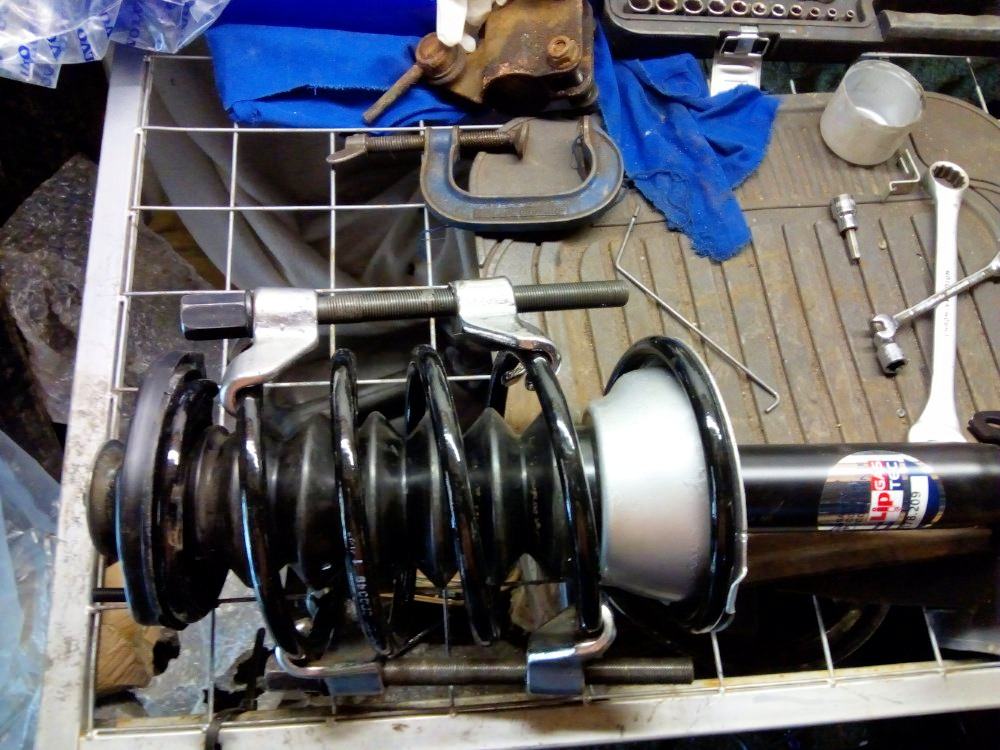
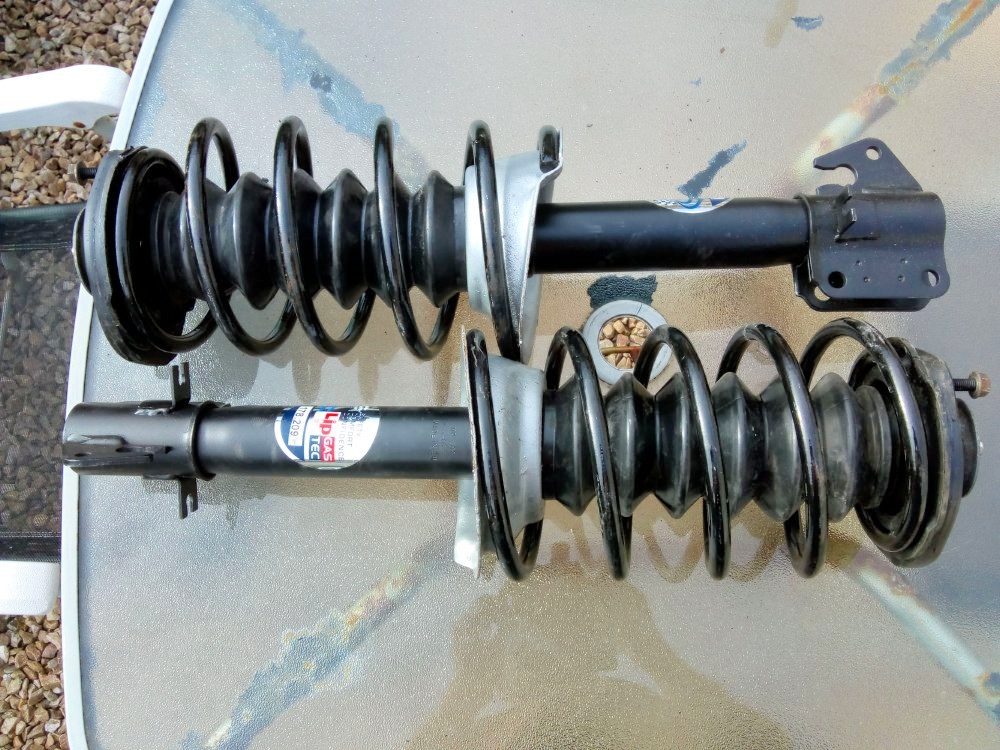
Now for a suspension head scratcher.
I notice that my front suspension still isnt quite right after I replaced the springs and shocks.
I dont know if this is down to the rear springs being too strong and pushing the nose down or something else.
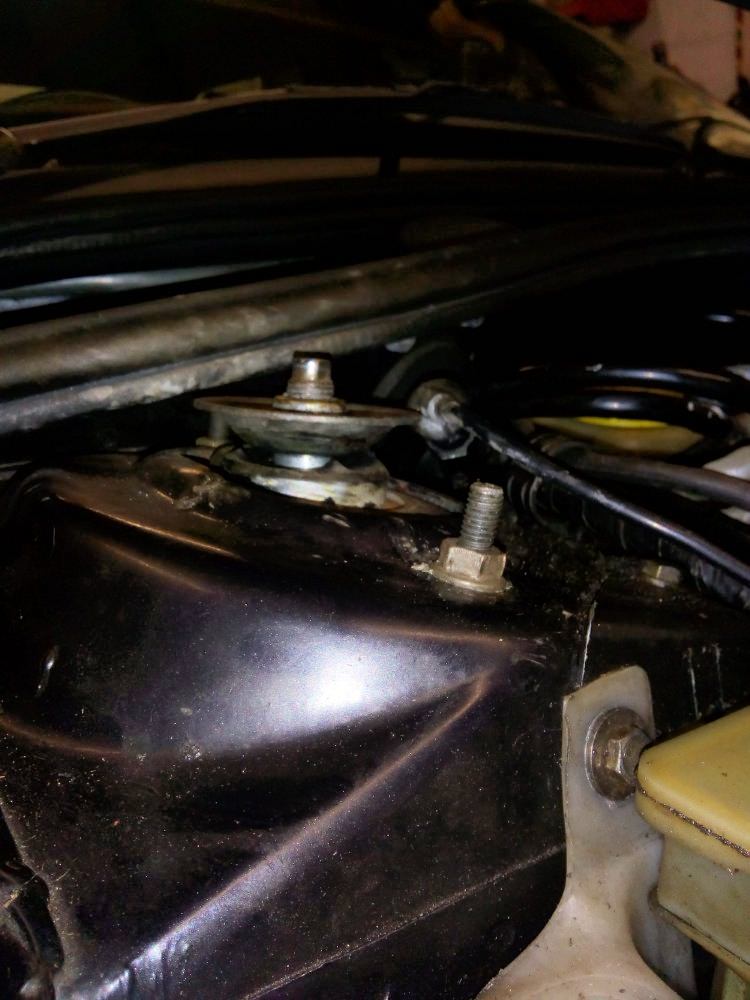
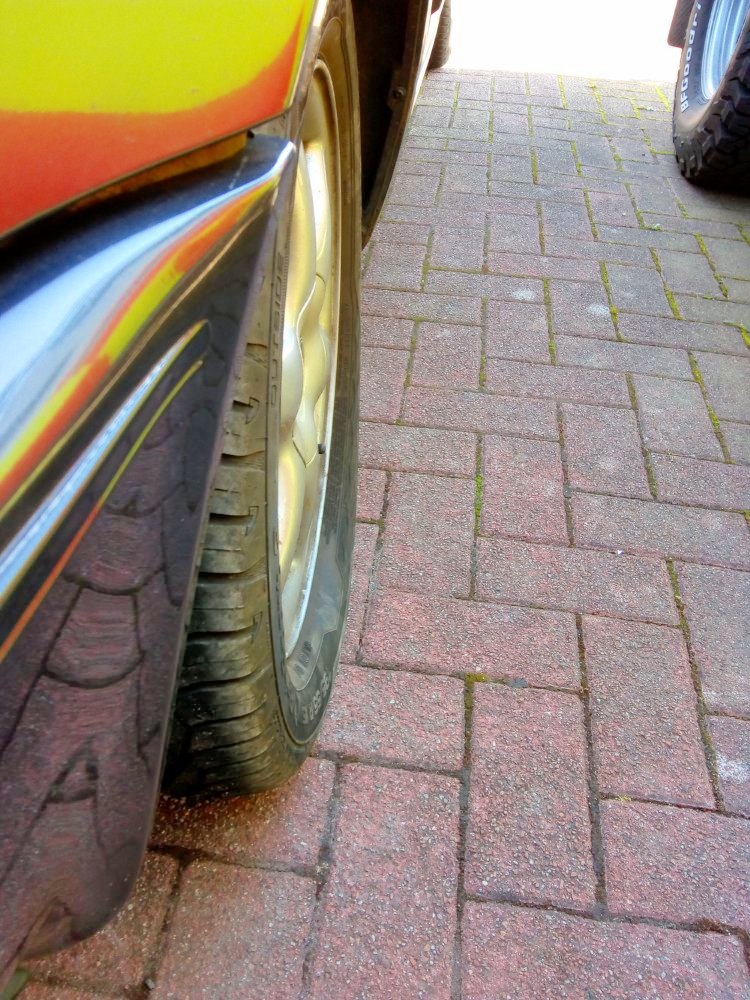
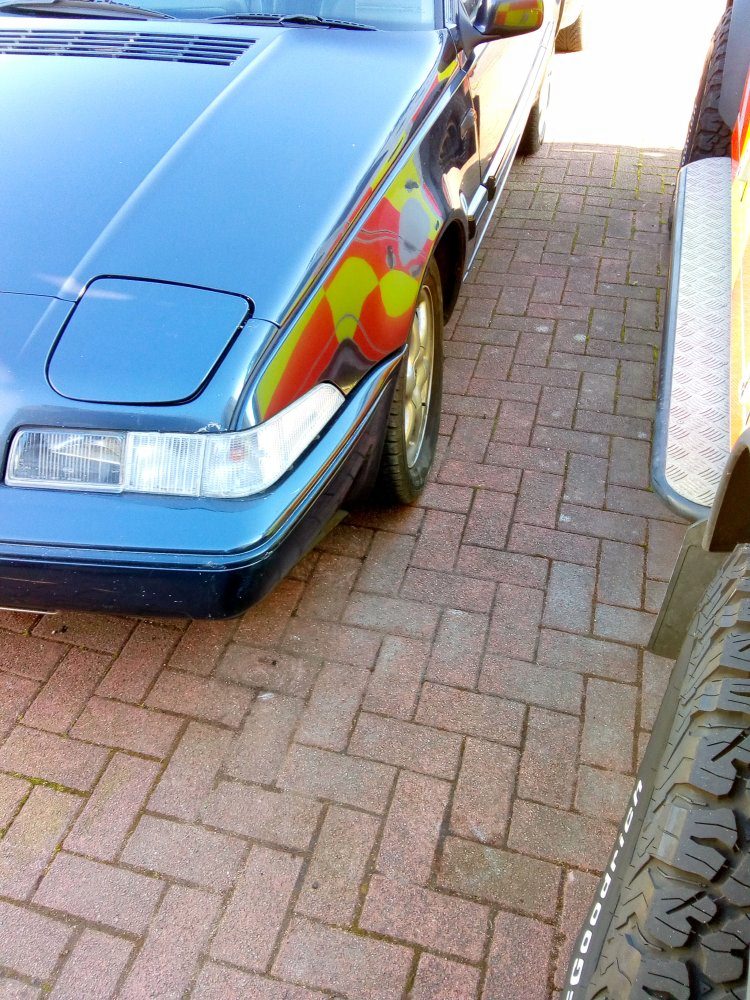
In the photo you can see some metal between the top mount and the cup washer. I dont think that should be like that even if the rear is pushing the front down. Obviously there is the washer on the top of the insert which the gaiter fixes to, then it passes through the top mount.
I will take the nut off to have a look but any ideas ?
Re: Blinky 51/480
Posted: Sun Nov 03, 2019 3:23 pm
by arthuy
Looks like I have found the problem.
In the Haynes manual there is actually useful section on the ignition system. I followed it in a logical order.
The coil is attached to the ignition module by two screws. When you remove it it exposes the terminals to measure the windings.
one of these looked pretty dirty and tarnished as were the connection in the module. Gave it a clean and it started fine. I will swap it with the one from my spares car though as it looks to be in better condition.
Now for a suspension head scratcher.
I notice that my front suspension still isnt quite right after I replaced the springs and shocks.
I dont know if this is down to the rear springs being too strong and pushing the nose down or something else.
In the photo you can see some metal between the top mount and the cup washer. I dont think that should be like that even if the rear is pushing the front down. Obviously there is the washer on the top of the insert which the gaiter fixes to, then it passes through the top mount.
I will take the nut off to have a look but any ideas ?
Re: Blinky 51/480
Posted: Sun Nov 03, 2019 6:02 pm
by jifflemon
Don't know if this helps?
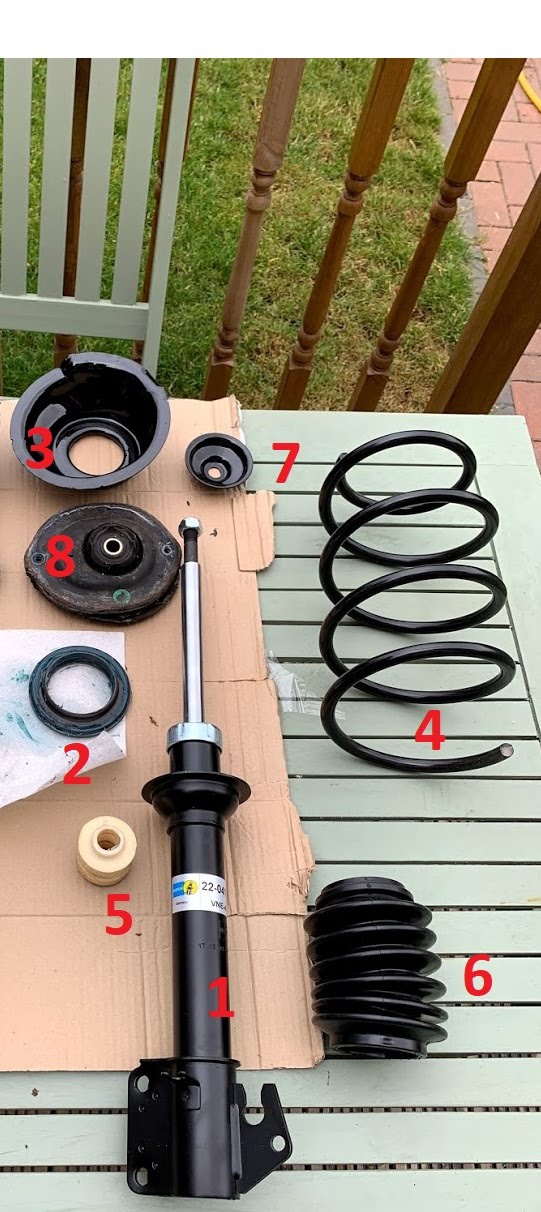
Numbers show order of assembly.
Your top mounts look a bit odd to me? Did you have the arrows pointing inwards?
There should only be thread pushing through the top mount - You seem to have solid strut poking through?
New springs or old?
Re: Blinky 51/480
Posted: Sun Nov 03, 2019 6:47 pm
by arthuy
Re: Blinky 51/480
Posted: Sun Nov 03, 2019 9:45 pm
by jifflemon
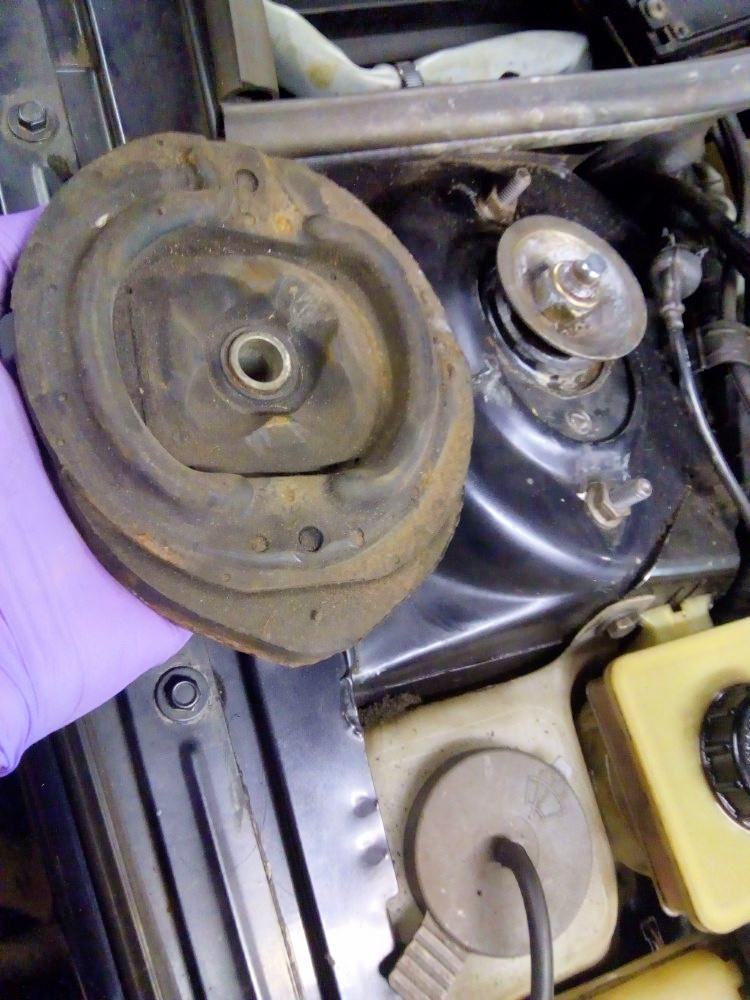
This is the bit that worries me

It looks like the strut is through the top mount
Re: Blinky 51/480
Posted: Mon Nov 04, 2019 8:17 am
by brinkie
Those struts look familiar:


Happened to me as well, was cured with new top mounts. It was a bit scary, because I found out the struts were coming through the mounts when I had done a stretch of motorway on very naughty speeds.

Re: Blinky 51/480
Posted: Mon Nov 04, 2019 11:14 am
by jifflemon
brinkie wrote: ↑Mon Nov 04, 2019 8:17 am
Happened to me as well, was cured with new top mounts. It was a bit scary, because I found out the struts were coming through the mounts when I had done a stretch of motorway on very naughty speeds.
The worry there, is that these are new top mounts....

Re: Blinky 51/480
Posted: Mon Nov 04, 2019 12:39 pm
by Alan 480
it might be that the new mounts have SHORT bushes
or
the new shocks have a rather long plain section and the thread is bottoming before it is clamping the mount?
what length is the bush in the OLD mount?
not sure how you can measure anything once assembled

you could measure the 'exposed thread length' by removing the nut as long as you leave the car standing on it's wheels???
not sure what you'd compare it with though?
a short spacer tube above the cup after enlarging the hole for the cup to push down onto the bush within the rubber?
or similar 'fix'
TBH it does NOT look as if the mount is 'pulling/pushing through' . .. .